Site guide
Shed Foundation Choices: Slab-on-Grade vs. Skids—Base Prep, Floor Framing, Anchoring, and Cost
Compare slab-on-grade and skid-floor shed foundations by site prep, floor framing, moisture, anchorage, and the material-list changes that drive real project cost.
BuildListCalc Editorial Team · 12 min · Published September 20, 2026 · Updated September 20, 2026 · Fact checked September 7, 2026
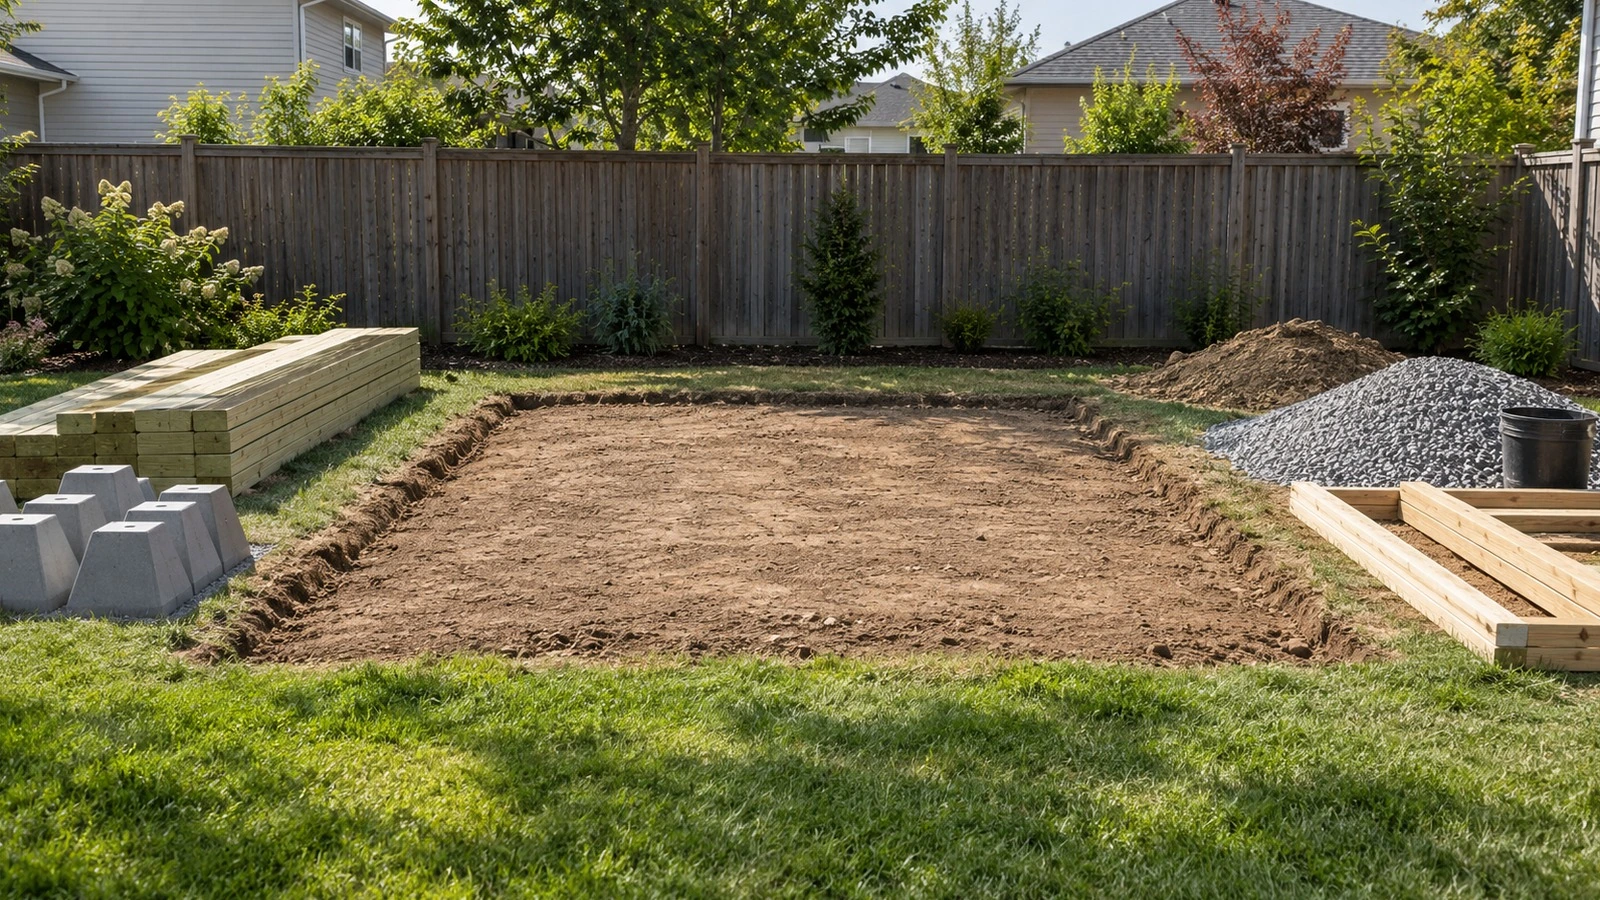
A shed foundation decision is not just a line item under the walls. It changes the first several rows of the material list, the finished-floor height, the way moisture reaches the building, the work needed before framing starts, and the questions that still need local review.
For a small rectangular shed, two common planning paths are a skid-and-joist floor and a slab-on-grade. BuildListCalc models both in its current Shed Material Calculator. The useful comparison is not “which foundation is always better?” It is: which path fits this site and use, and what changes in the takeoff when you switch paths?
This guide stays at planning level. It does not specify footing depth, slab reinforcement, anchor spacing, joist spans, or a permit-ready foundation design. Those details depend on soil, frost, wind, loads, local rules, and the accepted construction path.
The short answer: choose the foundation before you price the floor
A skid floor and a slab can support the same nominal shed footprint while producing very different material baskets.
| Planning question | Skid and joist floor | Slab-on-grade |
|---|---|---|
| What carries the shed at ground level? | Skids and supports, with a framed wood floor above | A concrete slab and its accepted subgrade/foundation assembly |
| What does BuildListCalc model in the main path? | Skids, pier blocks, joists, rim boards, and subfloor | Ready-mix concrete, pressure-treated sill plates, sill gasket, and anchor bolts |
| What happens to floor framing? | It remains a major assembly | The calculator hides the framed-floor inputs when slab mode is selected |
| Finished floor height | Usually raised above the site | Usually closer to the site grade, subject to the actual slab detail |
| Moisture focus | Splash-back, drainage, ventilation, wood treatment, support conditions | Drainage, sub-slab moisture control where required, concrete/base detailing |
| Anchorage | Still requires a locally accepted load path | Still requires a locally accepted wall-to-foundation/load-path detail |
| Cost tends to move toward | Lumber, supports, subfloor, and site base work | Concrete, base/prep, placement, anchors, and slab-related labor/equipment |
The table is a planning comparison, not a structural equivalency statement. A site that needs engineered piers, frost protection, special drainage, or a designed slab has moved beyond the simple calculator choice.
Start with the site, not the calculator
Before choosing either foundation, answer five site questions.
Where does water go? A flat-looking yard can still collect roof runoff or hold water after a storm. Federal building-science guidance for residential foundations emphasizes keeping surface water from saturating soil next to a foundation. For a shed, the exact grading detail is site-specific, but the principle is useful: do not choose a foundation while ignoring the drainage path.
What will the shed hold? Hand tools and garden supplies are different from a compact tractor, dense storage racks, masonry, or a future workshop. Heavy or concentrated loads can change the floor or slab design. A material calculator does not verify those loads for you.
How high should the finished floor be? A raised skid floor can improve clearance from splash-back, but it also raises the doorway. That may affect a mower ramp, step, threshold, or accessibility. A slab can reduce the step up, but site drainage and the slab edge still need a deliberate elevation.
What are the soil and climate conditions? Fill, expansive soil, frost, flood exposure, steep slopes, soft ground, and buried debris can all push a simple shed outside a generic foundation detail.
What does the local authority accept? Permit exemptions, setbacks, lot coverage, anchorage, height limits, and environmental rules vary. Foundation type can also affect what the jurisdiction wants to see.
What the current BuildListCalc shed calculator actually changes
As checked on September 7, 2026, the BuildListCalc Shed Material Calculator exposes two foundation choices: Skid and joist floor and Slab-on-grade. The page explains that the skid path keeps a framed wood floor above grade, while slab mode switches to a simple concrete pad and hides the floor-framing inputs.
The current foundation guide describes the modeled paths this way:
- Skid floor: 4x4 or 4x6 skids, pier blocks, 2x4 or 2x6 joists, and 23/32-in subfloor. The calculator describes about one skid runner per 4 ft of shed width as a planning rule.
- Slab-on-grade: ready-mix concrete, pressure-treated sill plates, sill gasket, and anchor bolts. Slab-contact bottom plates are modeled as pressure-treated members matching the resolved wall-framing size.
The calculator also exposes an optional compacted-gravel-base control for the skid path. Its current help text says the option can itemize base gravel and optional separator fabric, while other scope notes on the same page say gravel-pad excavation, geotextile, and compacted aggregate are outside the shed calculator. Because those statements are not perfectly aligned, inspect the material rows generated by your active plan and treat excavation, grading, and compaction as separate site work unless the output explicitly includes what you need.
The tool is a planning BOM, not an anchorage schedule or permit set. Its own current notes require local review for spans, site conditions, wind exposure, and final connector/anchorage details.
Worked example: the same 12 ft × 8 ft shed on two foundation paths
Use one footprint so the foundation decision—not a changing shed size—drives the comparison.
Example footprint:
- Length: 12 ft
- Width: 8 ft
- Floor area: 12 × 8 = 96 sq ft
The numbers below are intentionally separated into live tool values, derived arithmetic, and example inputs.
Path A: skid and joist floor
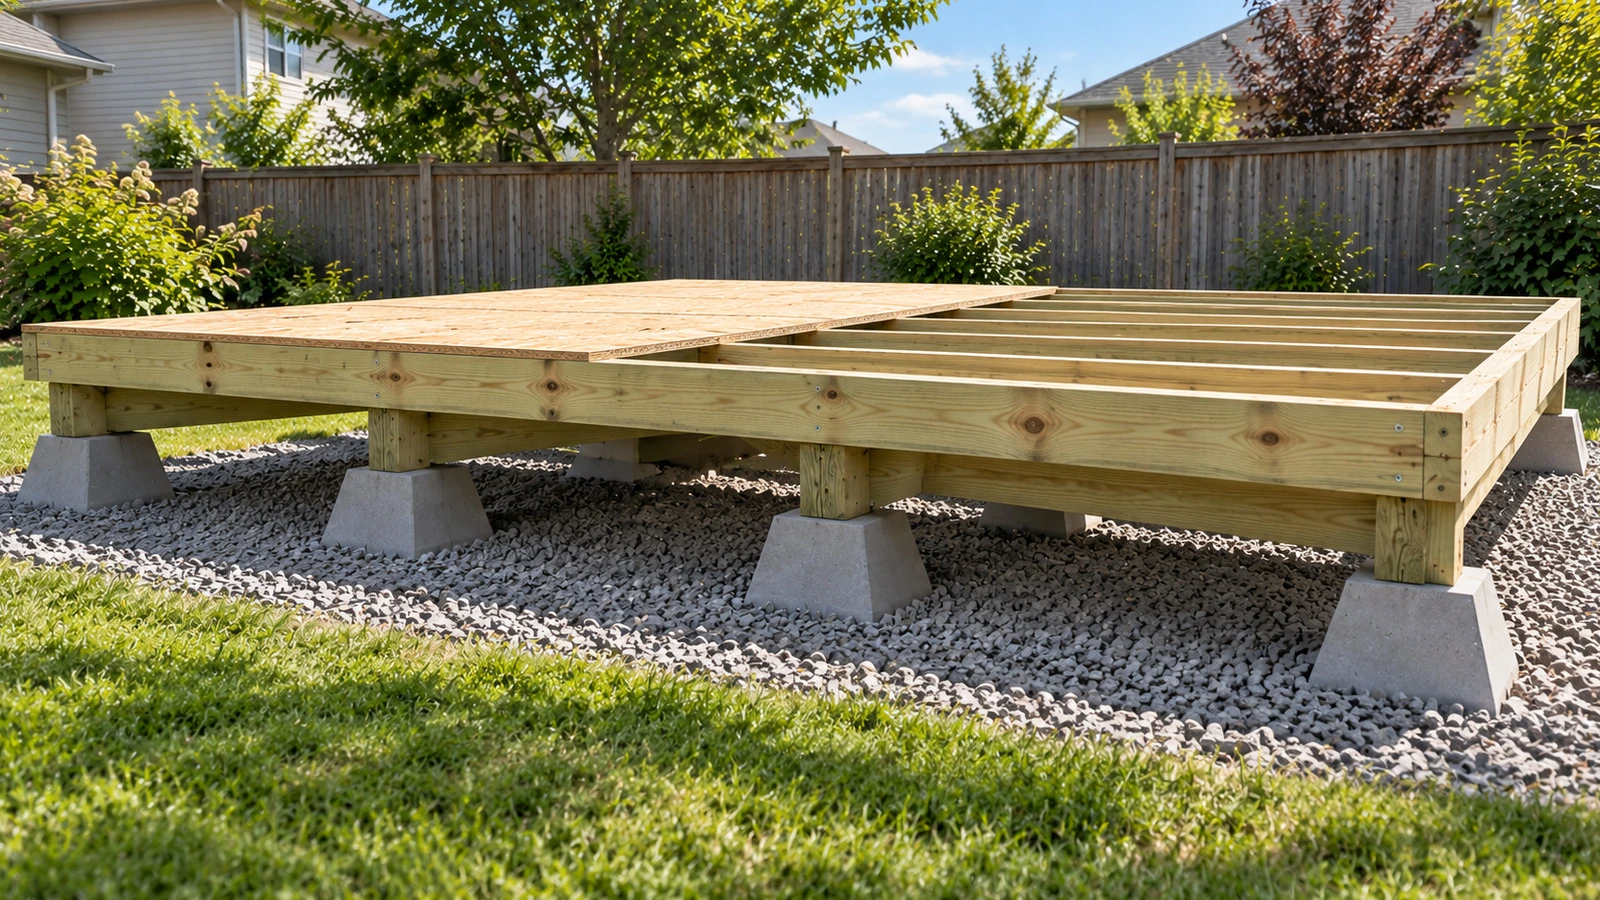
For a 12 ft × 8 ft skid-floor scenario checked directly in the current calculator with a 12-in floor clearance, 4x6 skids, 2x6 joists at 16 in o.c., and 23/32-in T&G OSB, the resolved foundation-and-floor rows were:
| Current live output | Quantity meaning |
|---|---|
| 4x6 skid runners | 4 boards purchased; the plan resolves 3 runner lines before stock/waste conversion |
| Pier blocks | 9 installed/coverage units |
| 2x6 floor joists | 11 boards purchased; the plan resolves 10 joist lines |
| 2x6 floor rim boards | 4 boards purchased |
| 23/32-in T&G OSB subfloor | 4 sheets purchased |
The current page also flags that this example's 12-in clearance switches the floor-framing path to pressure-treated stock. That is a BuildListCalc modeling rule, not a universal code threshold or an AWPA use-category threshold.
The subfloor number is also a useful arithmetic check. Three nominal 4 × 8 sheets provide 96 sq ft of geometric coverage. Applying the current visible 8% subfloor waste factor gives:
96 sq ft × 1.08 = 103.68 sq ft
103.68 ÷ 32 sq ft per nominal 4 × 8 sheet = 3.24 sheets
A purchase quantity therefore rounds up to 4 sheets. This does not mean every 12 × 8 floor physically consumes four full sheets; it means the planning takeoff includes a waste/contingency allowance and buys whole sheets.
Path B: slab-on-grade
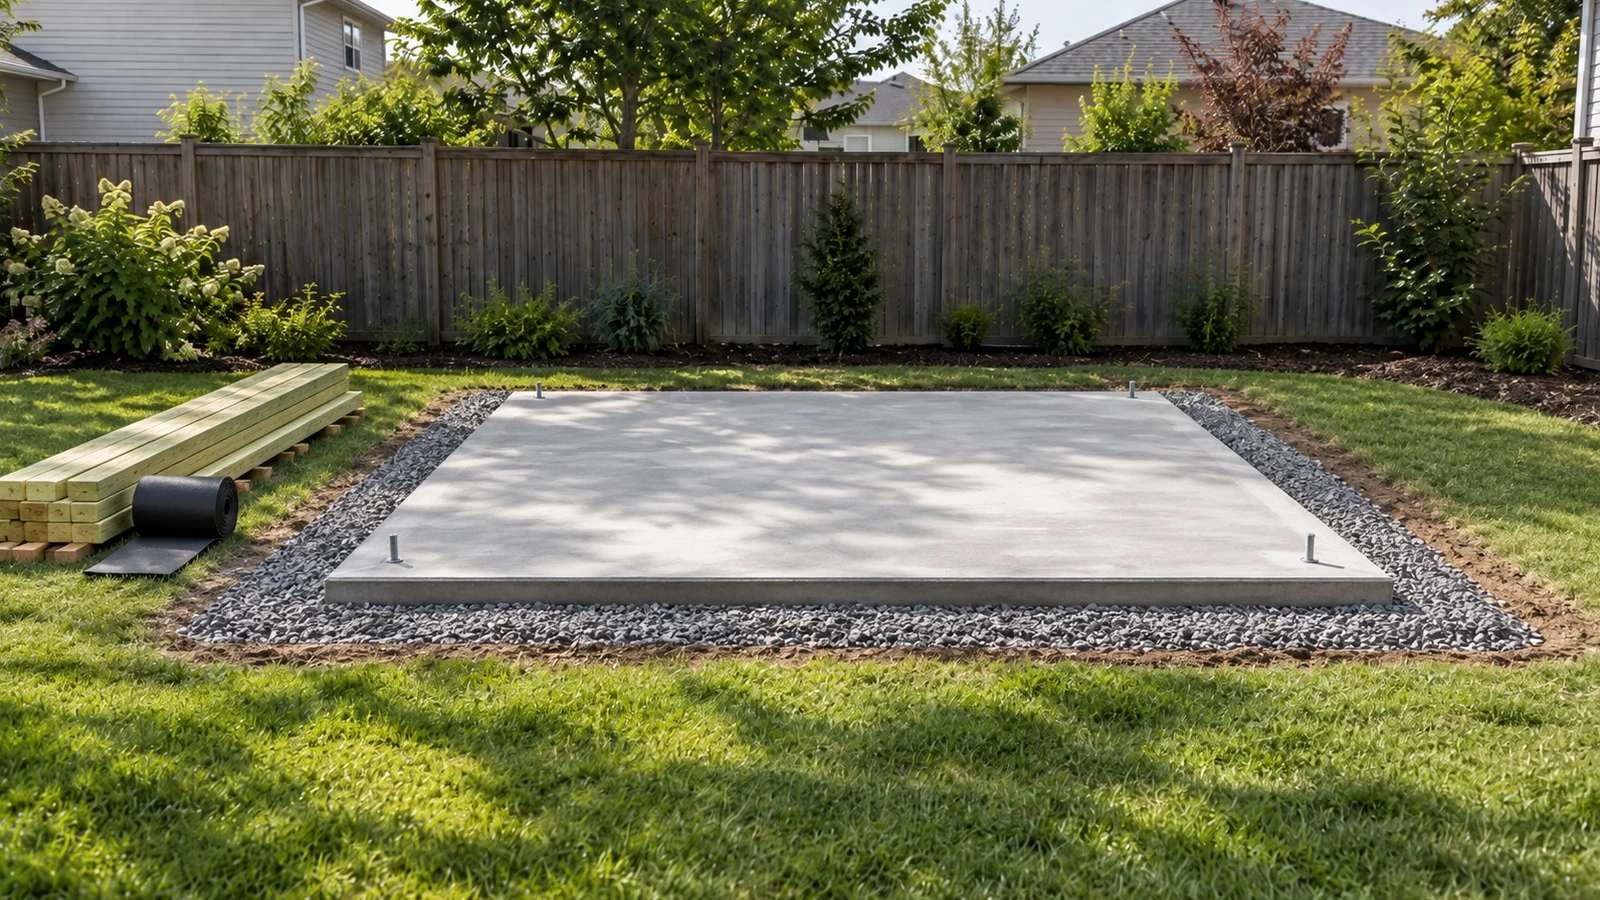
For the slab path, keep the same 96-sq-ft footprint. The current calculator's public guide identifies ready-mix concrete, pressure-treated sill plates, sill gasket, and anchor bolts as the modeled foundation basket, but this research pass did not obtain a verified live slab-output scenario from the public page. Do not invent a slab total from the skid result.
To show the volume math without pretending it is a design requirement, use 4 in only as an example slab-thickness input:
96 sq ft × (4 in ÷ 12 in/ft) = 32 cu ft
32 cu ft ÷ 27 cu ft/cu yd = 1.185... cu yd ≈ 1.19 cu yd
So a hypothetical 96-sq-ft, 4-in-thick rectangle contains about 1.19 cubic yards of concrete before any project-specific waste, thickened edges, footings, grade beams, or other design features.
The 4-in thickness is not presented here as a shed-code minimum. The actual slab section, base, reinforcement, joints, edge condition, frost design, vapor control, and concrete specification must come from the locally accepted design and product requirements.
The material-list difference matters more than the headline square footage
The footprint stays at 96 sq ft, but the purchasing problem changes.
Skid path material basket:
- skids;
- support blocks or the accepted support system;
- floor joists and rim boards;
- subfloor panels;
- compatible exterior/treated-wood fasteners;
- site-base material if your selected output or separate site plan includes it.
Slab path material basket:
- concrete quantity based on the accepted slab geometry;
- pressure-treated sill/bottom plates where required by the modeled path;
- sill gasket;
- anchor bolts or the specified wall-to-foundation connectors;
- separately verified base, moisture-control, reinforcement, joints, forming, and placement items that the simple calculator does not fully design.
This is why “same 96 sq ft” does not mean “same foundation cost with different materials.” One option adds a framed floor assembly; the other moves more work into concrete, site preparation, placement, and anchorage.
Why the cheaper material subtotal may not be the cheaper foundation
A foundation choice should not be made from one subtotal alone. The current BuildListCalc page labels its result as a materials-only planning estimate, not labor, permits, or code approval.
A skid floor can look material-heavy because joists, rim boards, subfloor, supports, and treated lumber are visible rows. But the path may be attractive where site access is difficult for concrete equipment or where a raised floor fits the use.
A slab can remove the wood floor assembly, but cost can move into excavation, grading, base preparation, formwork, concrete delivery, short-load charges, pumping or wheelbarrow placement, finishing, curing protection, reinforcement, and inspection requirements. Those project costs can be larger than the concrete line itself.
The useful cost comparison is therefore:
- keep the shed geometry and wall/roof choices identical;
- change only the foundation path;
- compare the foundation-and-floor rows;
- add the site work and trade work that is outside each calculator path;
- obtain current local supplier and contractor quotes for the unresolved pieces.
Pressure-treated wood: match treatment to the real exposure
“Pressure-treated” is not one universal exposure category. The 2025 AWPA U1 excerpt separates above-ground and ground-contact use categories. UC4A includes wood in ground contact and certain above-ground situations with ground-contact-like hazards. For sawn components, the standard also calls out conditions such as debris buildup, poor air circulation, frequent wetting, and—in a specific condition—components less than 6 in above final grade when supported on permeable materials without a moisture break.
That matters for skid floors because low clearance can increase splash, debris, and drying risk. But it also shows why the BuildListCalc rule should not be misread: the calculator's current under-18-in switch to pressure-treated floor framing is its conservative planning model, not the AWPA UC4A threshold.
Before ordering, verify the treatment/use category, fastener compatibility, end-cut treatment requirements, and actual exposure for the selected lumber.
Moisture and drainage are foundation decisions
Both paths can fail when water is treated as somebody else's problem.
For a skid floor, keep supports stable, avoid trapping organic material below the floor, move runoff away, and preserve enough clearance and drainage for the chosen wood assembly to dry. The exact support/base detail depends on the site and accepted design.
For a slab, moisture strategy depends strongly on use. A simple unconditioned storage shed is not automatically the same assembly as conditioned living space. However, federal Building America guidance is useful for understanding the mechanism: residential slab foundations may use aggregate or sand/geotextile capillary breaks with a continuous vapor-control layer to limit ground moisture movement. If the shed will be conditioned, finished, or used for moisture-sensitive storage, ask what under-slab moisture control belongs in the design instead of assuming bare concrete solves the problem.
Do not copy the federal guide's exact residential assembly into every shed by default. Use it as building-science context, then follow the locally accepted slab design.
Anchorage and permits do not disappear on either path
A skid foundation is not automatically “unanchored,” and a slab is not automatically “properly anchored” merely because concrete is present.
BuildListCalc's current uplift-connector option is explicitly a planning allowance. The page says final connector schedule, anchorage, and wind exposure still need local review. Roof-to-wall connectors, wall anchors, hold-downs, skid anchorage, and foundation attachment are parts of one load path; the correct details depend on the building and location.
Permit rules also cannot be reduced to one national square-foot number. As one current local example, Seattle says a shed can avoid a building permit only when all listed conditions are met, including a roof footprint of 120 sq ft or less, one story, a simple slab/pier-block/soil support condition, detached construction, location outside environmentally critical areas, and generally unoccupied use. Seattle also states that other code and land-use requirements still apply.
That is a Seattle rule, not a U.S.-wide exemption. Check the authority serving the project address before treating a shed as permit-exempt.
A clean comparison workflow in BuildListCalc
Use the Shed Material Calculator as a controlled comparison tool rather than changing five decisions at once.
- Enter the real shed length, width, wall height, openings, roof, and cladding choices.
- Save or record the first plan with the skid and joist floor path.
- Review only the foundation-and-floor assembly: installed quantities, purchase quantities, waste, stock lengths, and scope notes.
- Create a second plan with the same geometry and above-foundation choices, then select slab-on-grade.
- Compare what disappears and what appears in the material list.
- Add separate site, drainage, base, concrete-placement, anchorage, and permit items that the calculator does not fully resolve.
- Re-run the estimate after the local foundation detail is decided, then verify current supplier packaging and prices before ordering.
If an optional control's help text and the generated material rows appear to disagree, trust neither by assumption: verify the active rows and keep the unresolved item outside the final order until the scope is clear.
Before you order
Use this short review list for either path:
- Confirm property location, setbacks, easements, utility locate status, and permit path.
- Confirm drainage and finished-floor elevation before buying foundation materials.
- Confirm soil, frost, flood, slope, and load conditions are compatible with the intended foundation.
- Confirm the locally accepted support, slab, or anchorage detail.
- For skid floors, confirm lumber treatment/use category and compatible fasteners for the real exposure.
- For slabs, confirm the actual thickness, base, reinforcement, joints, moisture strategy, and concrete specification rather than copying the 4-in example.
- Separate installed quantity from purchase quantity, waste, and package rounding.
- Price labor, delivery, equipment, short-load charges, excavation, and compaction separately where the material calculator does not include them.
- Reconcile the final field plan with the BuildListCalc output before placing the order.
Related BuildListCalc tools
- Shed Material Calculator — primary comparison tool for the whole shed.
- Concrete Calculator — useful after the accepted slab geometry is known.
- How to Build a Backyard Shed — broader end-to-end site, framing, roof, and weatherproofing guide.
Sources
- BuildListCalc — Shed Material Calculator, current page checked September 7, 2026.
- Seattle Department of Construction and Inspections — Sheds, current page checked September 7, 2026. Used only as a Seattle-specific permit example.
- Building America Solution Center — Capillary Break Beneath Slab, Pacific Northwest National Laboratory / U.S. Department of Energy program resource, accessed September 7, 2026.
- Building America Solution Center — Final Grade Slopes Away from Foundation, Pacific Northwest National Laboratory / U.S. Department of Energy program resource, accessed September 7, 2026.
- American Wood Protection Association — AWPA U1-25 excerpt, 2025 edition excerpt, accessed September 7, 2026.