DIY tutorial
Kitchen Backsplash Tile Takeoff: Cabinets, Outlets, Tile Size, Pattern Waste, Thinset, Grout, and Trim
Measure kitchen backsplash wall sections, subtract meaningful openings, make cut waste explicit, then reconcile tile coverage to cartons and plan mortar, grout, and edge trim separately.
BuildListCalc Editorial Team · 12 min · Published September 22, 2026 · Updated September 22, 2026 · Fact checked September 15, 2026
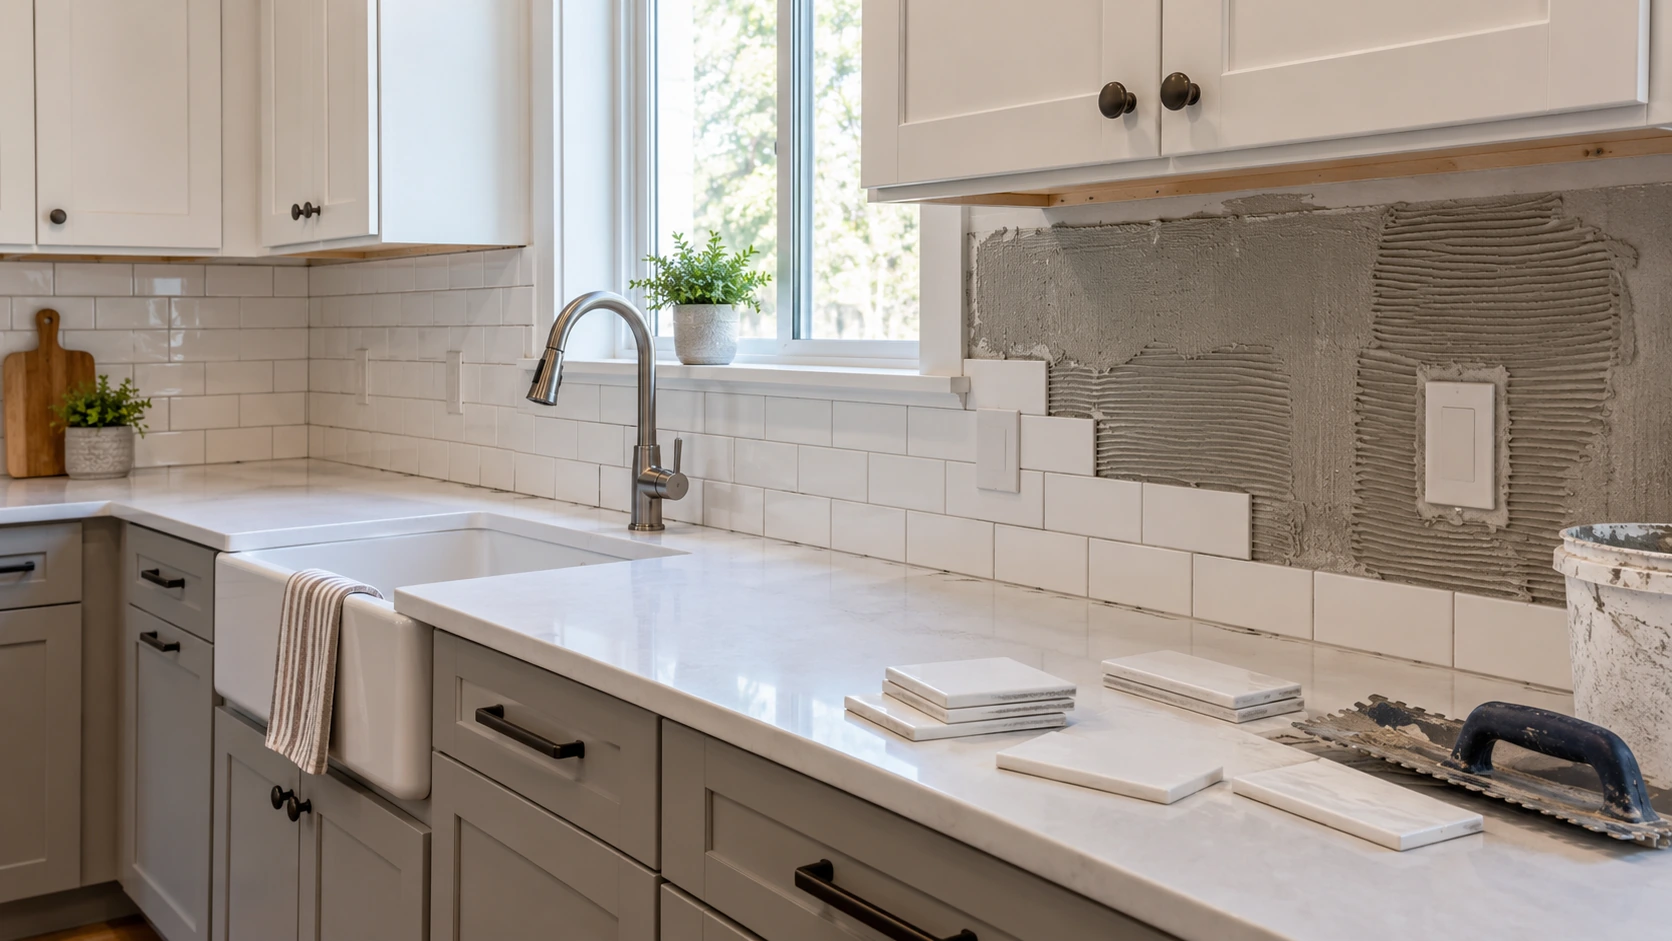
A kitchen backsplash is small compared with a floor, but it can be harder to estimate cleanly. Upper cabinets break the wall into short bands. A window can remove a meaningful block of tile. Receptacles and switches may save almost no square footage while creating several precise cuts. Exposed ends may need bullnose or another edge trim. And tile, setting material, grout, and trim are not bought on the same quantity basis.
BuildListCalc's current Tile Calculator supports floor and wall tile planning, including tile dimensions, grout-joint input, layout pattern, waste, wall-backer choices, an optional waterproof-membrane path, and an Openings / Fixtures to Subtract input that is deducted before waste.1 The calculator also says to use the finish takeoff after the substrate, wet-area path, and layout pattern are already decided.1
That makes it useful for backsplash planning, but it does not turn a complicated kitchen elevation into a perfect cut map. This guide keeps the geometry visible, separates large openings from small cutouts, and then converts the tile area into supplier cartons.
Planning boundary: This is a finish-material takeoff, not an installation approval. Confirm the actual wall condition, tile and setting-material compatibility, wet-area needs, electrical-work boundaries, movement/transition details, and manufacturer instructions before ordering or installing. If receptacles, wiring, boxes, plumbing, damaged wallboard, or other trade work must be altered, coordinate that work with the appropriate qualified trade and local requirements.
Start with the wall that will actually receive tile
Do not estimate a backsplash from countertop length alone. Measure each tiled wall section between the countertop and the upper cabinets, hood, shelves, window trim, or other real boundaries.
A common kitchen may have:
- a long sink/counter run;
- a shorter return wall;
- a taller section behind a range or under a hood;
- a window that interrupts the tiled band;
- several receptacle or switch boxes;
- one or more exposed outside edges that need a finished termination.
Treat those as geometry first. The material choices come later.
For a simple rectangular section:
section area = section length × tiled height
For multiple sections:
gross backsplash area = section 1 + section 2 + ...
Keep the measurements in the same units before multiplying. Eighteen inches of backsplash height is 1.5 ft, not 18 ft.
Manual example: two wall runs and one large window
This article uses a manual example, not an observed custom BuildListCalc result. The current public calculator was verified for its wall-tile controls and planning behavior, but this exact multi-section kitchen was not submitted through the live form.
Assume the backsplash has:
- Main run: 12 ft × 18 in high
- Return run: 5 ft × 18 in high
- Window inside the tiled band: 3 ft × 18 in high
- Several small receptacle/switch boxes that will be cut around rather than treated as meaningful area savings
- Straight-lay 3 × 6 ceramic wall tile for the quantity example
Convert the height first:
18 in ÷ 12 = 1.5 ft
Then calculate the two wall sections:
- Main run: 12 × 1.5 = 18 sq ft
- Return run: 5 × 1.5 = 7.5 sq ft
So the gross tiled band is:
18 + 7.5 = 25.5 sq ft
Subtract large openings before waste
BuildListCalc's current Tile Calculator provides an opening/fixture deduction in square feet and applies the deduction before waste.1 That ordering matters: waste belongs on the tile you expect to install, not on wall area that will remain open.
The example window removes:
3 ft × 1.5 ft = 4.5 sq ft
Therefore:
net tile area = 25.5 - 4.5 = 21 sq ft
Why this example does not subtract every outlet box
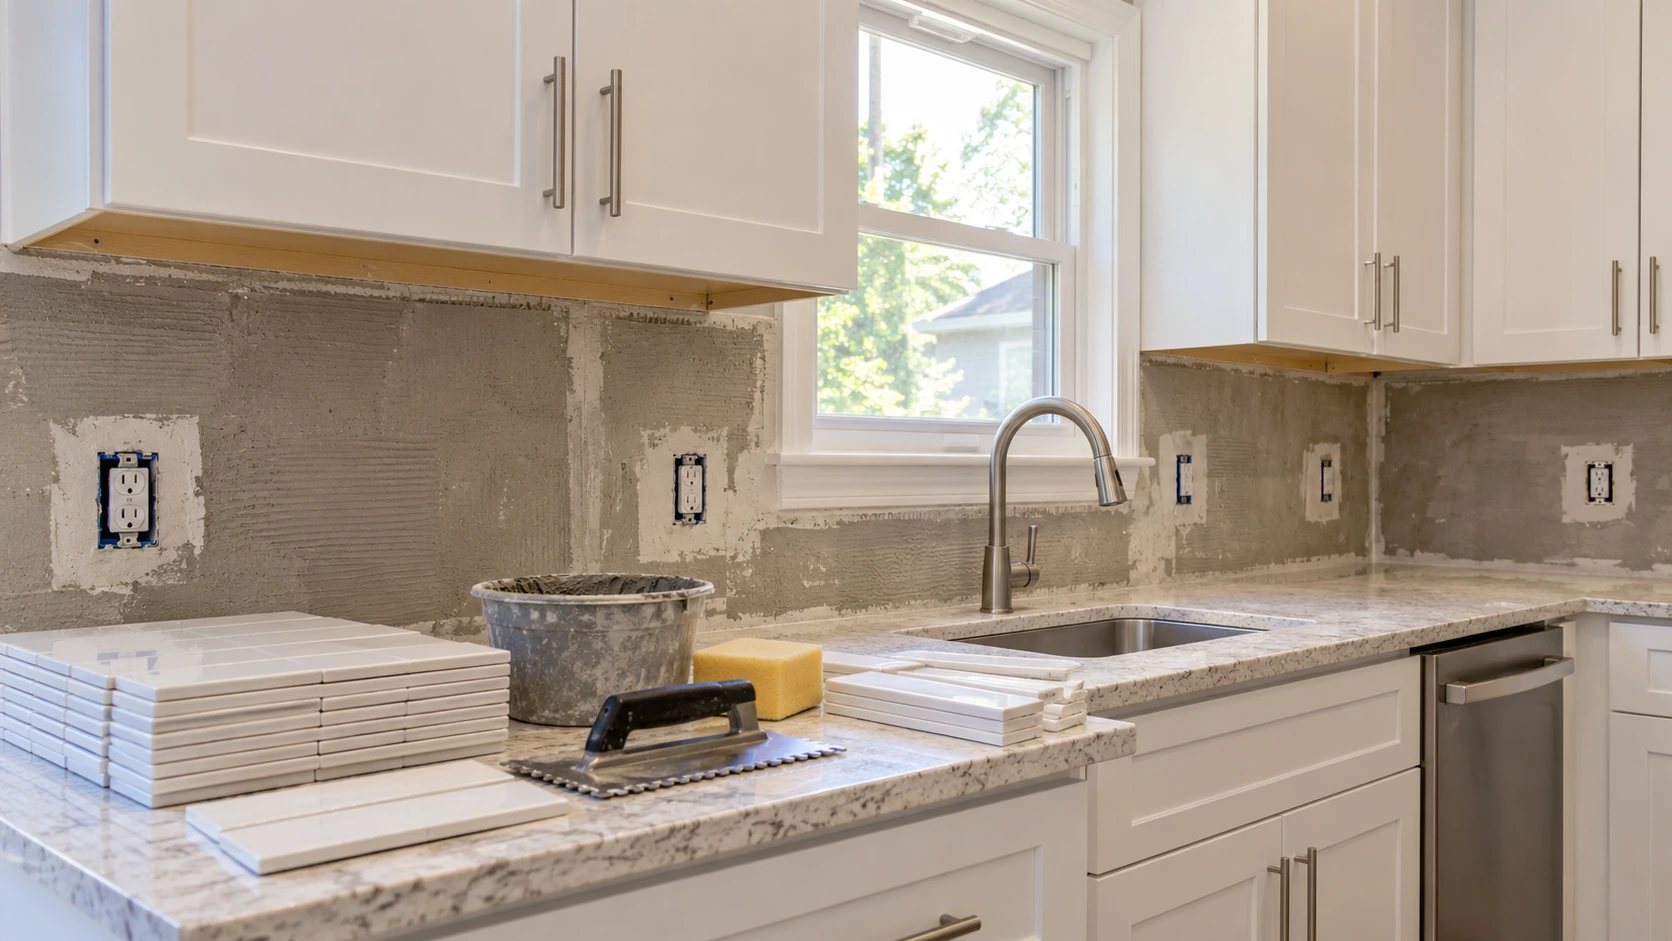
A receptacle or switch box is different from a 4.5 sq ft window. It removes a small amount of tile face, but it can force multiple cuts and leave offcuts that cannot always be reused.
For this manual example, the small boxes remain inside the 21 sq ft net field. That is an estimating choice made to keep the cut burden visible; it is not a universal rule and it is not an electrical-code statement. If a project has an unusually large group of openings, calculate their actual effect instead of copying this assumption.
Also keep electrical work separate from tile math. The tile takeoff does not determine whether a box needs adjustment, what device/cover arrangement is permitted, or who may perform the work.
Choose the actual tile before you convert area to pieces or cartons
Tile dimensions, joint width, edge treatment, and pack coverage are product-specific.
American Olean's current Color Story Wall — Stable product page lists a nominal 3 × 6 wall tile, marks the series as suitable for walls/backsplashes, recommends a 1/16 in grout joint for that line, and lists matching trim shapes including a 3 × 6 bullnose and a 1/2 × 12 Jolly piece.2
Those details make the series useful as a traceable example, but they are not a recommendation to use this tile in your kitchen. Check the selected product's current data.
A current Lowe's listing for a Color Ways Matte Stable 3 × 6 ceramic wall tile shows 12.5 sq ft per carton, 100 pieces per carton, and 0.125 sq ft per piece.3 That retailer pack data gives us a concrete example of why square-foot takeoff and purchase quantity are not the same thing.
Add a visible waste allowance—without pretending one percentage fits every backsplash
The calculator exposes a waste-factor input and notes that layout pattern affects cut waste.1 A backsplash with one uninterrupted rectangular field is different from a kitchen with a window, several boxes, short returns, exposed ends, and a more cut-intensive pattern.
For this manual example, use 12% waste only as a demonstration input. It is not a BuildListCalc default, not a manufacturer rule, and not a recommendation for every straight-lay backsplash.
The calculation is:
waste-adjusted tile coverage = net tile area × (1 + waste fraction)
21 × 1.12 = 23.52 sq ft
The number you should carry forward for tile purchasing is therefore 23.52 sq ft of planned coverage.
If the layout changes to diagonal, herringbone, a centered pattern with small end cuts, or a border-heavy design, revisit the waste input instead of assuming 12% still applies.
Convert the coverage to full cartons
The current BuildListCalc material list explicitly distinguishes coverage quantities from purchase quantities. On the public default scenario, the tile row is an installed/coverage basis rather than a package count, while packaged materials are rounded to whole purchase units.1
That is exactly why you should reconcile the calculator's tile coverage to the supplier's carton coverage before buying.
Using the current retailer example of 12.5 sq ft per carton:3
cartons = ceil(23.52 sq ft ÷ 12.5 sq ft/carton)
cartons = ceil(1.8816) = 2 cartons
Two cartons provide:
2 × 12.5 = 25 sq ft of purchased coverage
The same listing says there are 100 pieces per carton, so the order would contain 200 pieces in this product-specific example.3
That does not mean you should buy exactly two cartons of every 3 × 6 tile. Different products use different pack sizes, and special-order material, dye-lot considerations, breakage replacement, lead time, or return policy can affect the purchasing decision.
Tile, mortar, grout, and trim do not use one shared coverage formula
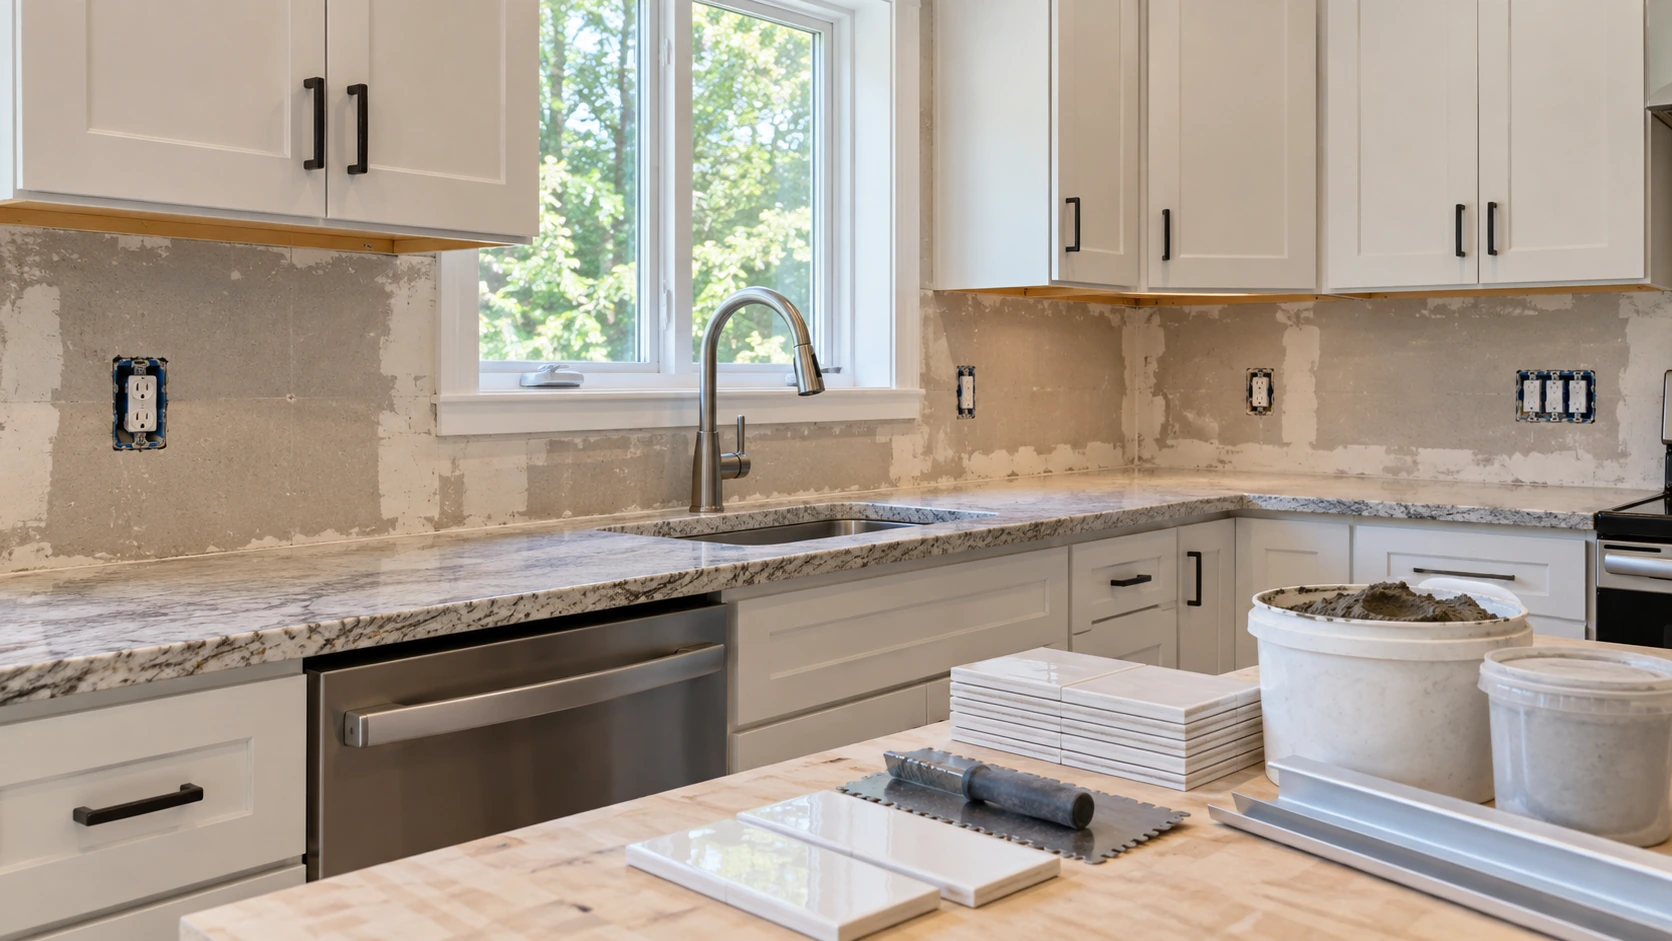
A common takeoff mistake is to calculate 23.52 sq ft and then apply that number mechanically to every material. The materials respond to different variables.
Tile: area, pattern, cuts, and carton size
Tile starts with net finish area, then an explicit waste allowance, then supplier package rounding.
For the example:
- Net tile area: 21 sq ft
- Demonstration waste: 12%
- Planned tile coverage: 23.52 sq ft
- Example carton coverage: 12.5 sq ft/carton
- Purchase result: 2 cartons
Setting material: trowel and application change coverage
BuildListCalc warns that its thinset and grout counts use generic manufacturer coverage rates and should be checked against the selected trowel, joint width, and actual tile body.1
A current CUSTOM Building Products SimpleSet coverage chart demonstrates why. For that named premixed setting material, a 3/16 × 5/32 in V-notch used with tile up to 6 × 6 is listed at 40–44 sq ft per gallon, while a 1/4 × 1/4 × 1/4 in square-notch is listed at 20–25 sq ft per gallon.4 The same chart says the values are for estimating and can vary with installation practices and jobsite conditions.4
That is almost a two-to-one coverage difference from trowel selection alone. Do not infer mortar quantity solely from the number of tile cartons.
This is a manufacturer example, not a recommendation to use SimpleSet or either trowel on the project. Use the selected setting-material instructions and the coverage required for the actual tile/substrate system.
Grout: tile geometry and joint width both matter
The grout calculation is different again. CUSTOM's current SimpleGrout chart is organized by tile size and joint width. For example, its 1-gallon chart shows a 3 × 3 × 1/4 tile at 152 sq ft with a 1/16 in joint but 79 sq ft with a 1/8 in joint; the same table changes again for other tile sizes.5
The important lesson is not those exact numbers for our 3 × 6 backsplash—the chart does not give us a 3 × 6 row to copy. The lesson is that joint width and tile geometry materially change grout coverage. Use the actual grout manufacturer's chart or calculator instead of extrapolating from an unrelated row.
Edge trim: measure linear edges, not square feet
Specialty trim is another separate takeoff. BuildListCalc's current planning assumptions say the simple tile count does not include a specialty trim package, and cuts around cabinets remain outside the calculator's schematic quantity path.1
Measure the exposed edge length where a finished termination is actually needed. If, for example, the selected tile series uses a 12 in long Jolly trim and the design has 8 linear ft of exposed edge, the theoretical base count is:
8 ft × 12 in/ft = 96 in
96 in ÷ 12 in/piece = 8 trim pieces
Then review corners, cut loss, damaged pieces, transitions, and the manufacturer's actual trim options before ordering. American Olean's current Stable line lists a 1/2 × 12 Jolly and other trim shapes, which is why this example can be traced to a real product family.2
Cabinets and appliances change geometry even when they do not change the room size
A backsplash takeoff should follow the finish boundaries, not the kitchen floor plan.
Check these conditions before locking the tile order:
- Upper-cabinet height. The tiled band may not be the same height on every wall.
- Range/hood area. Tile may continue higher behind the range or to the hood; measure that area separately.
- Window trim. Measure the true opening and decide whether returns/reveals receive tile before subtracting.
- Countertop upstands or short splashes. Do not double-count wall area hidden by another finish.
- Open ends. Identify every edge that will be visible and decide whether the selected system uses bullnose, profile trim, caulked termination, or another accepted detail.
- Outlet/switch locations. Treat them as cut-planning constraints and keep any electrical alterations outside the tile quantity decision.
Do not automatically turn a kitchen backsplash into a shower-wall assembly
The current Tile Calculator's wall mode can carry backer and waterproofing allowances, but its own text distinguishes regularly wet walls such as showers and tub surrounds from sound, dry wall conditions.1
For a kitchen backsplash, first identify the actual substrate and exposure. Do not switch on a waterproofing system simply because the finish is tile. Likewise, do not assume an existing wall is ready just because it looks flat from across the room. Damaged board, loose paint, contamination, movement, moisture damage, or an incompatible surface can change the preparation.
This article does not prescribe a substrate. Follow the selected tile/setting-material system and the conditions accepted for the project.
How to use BuildListCalc without over-reading the result
The current public Tile Calculator shows one surface length and width, tile dimensions, joint width, surface type, layout pattern, substrate options, waste, and an openings/fixtures deduction.1
For a straightforward backsplash section:
- Choose wall as the surface path.
- Enter the real section length and tiled height.
- Enter the selected tile's nominal face dimensions.
- Select the intended layout pattern.
- Use the opening deduction only for area that truly will not receive tile.
- Choose substrate/wet-area options only after the assembly is decided.
- Review the waste actually being used.
- Read tile as a coverage quantity and then reconcile it to the selected carton coverage.
- Verify mortar and grout against the selected manufacturer's coverage information.
- Add specialty edge trim and cut-planning items separately.
For multiple backsplash runs with different heights, keep the section arithmetic visible rather than forcing the kitchen into one fake rectangle. The worked example in this article deliberately performs that geometry manually.
Worked-example recap
| Item | Manual example input or result |
|---|---|
| Main backsplash run | 12 ft × 1.5 ft = 18 sq ft |
| Return run | 5 ft × 1.5 ft = 7.5 sq ft |
| Gross backsplash area | 25.5 sq ft |
| Large window deduction | 3 ft × 1.5 ft = 4.5 sq ft |
| Net tile area | 21 sq ft |
| Demonstration waste input | 12% |
| Waste-adjusted tile coverage | 23.52 sq ft |
| Product-specific carton coverage | 12.5 sq ft/carton |
| Raw carton result | 1.8816 cartons |
| Rounded purchase result | 2 cartons |
| Purchased coverage in example | 25 sq ft |
| Example carton piece count | 100 pieces/carton; 200 pieces purchased |
This is a manual arithmetic example using current product/retailer data for a traceable package-size demonstration. It is not an observed BuildListCalc custom output and not a product recommendation.
Final check before buying
A good backsplash estimate does not hide all of the kitchen's complexity inside one square-foot number.
Measure the separate wall sections. Subtract meaningful large openings before waste. Keep small cutouts visible as layout work when that better represents the job. Make the waste assumption explicit. Convert the final tile coverage to the actual supplier carton. Then calculate setting material, grout, and edge trim from their own manufacturer/product quantity bases.
That is the useful role of a finish takeoff: not to decide the entire installation for you, but to turn a known wall layout into a material list whose assumptions can be reviewed before the first carton is opened.
Sources
- BuildListCalc, Tile Calculator, accessed September 15, 2026. https://buildlistcalc.com/calculators/tile-calculator
- American Olean, Color Story Wall — Stable, accessed September 15, 2026. https://www.americanolean.com/products/wall/color-story-wall/stable
- Lowe's, Daltile Color Ways Matte Stable 3-in x 6-in Matte Ceramic Subway Wall Tile (12.5-sq ft / Carton), accessed September 15, 2026. https://www.lowes.com/pd/American-Olean-Color-Ways-Matte-Stable-3-in-x-6-in-Matte-Ceramic-Subway-Wall-Tile-12-5-sq-ft-Carton/5013496601
- CUSTOM Building Products, SimpleSet® Pre-Mixed Thin-Set Mortar, accessed September 15, 2026. https://www.custombuildingproducts.com/products/simpleset-pre-mixed-thin-set-mortar-2
- CUSTOM Building Products, SimpleGrout® Pre-Mixed Grout, accessed September 15, 2026. https://www.custombuildingproducts.com/products/simplegrout-pre-mixed-grout