Diy Tutorial
How Many Studs Do You Need for a Wall? Plan Studs, Plates, Corners, Openings, Headers, and Sheathing
Plan a wall-framing takeoff by separating stud spacing from corners, openings, plates, header/sill allowances, framing waste, sheathing, and fastening allowances.
BuildListCalc Editorial Team · 8 min · Published August 29, 2026 · Updated August 29, 2026 · Fact checked August 24, 2026
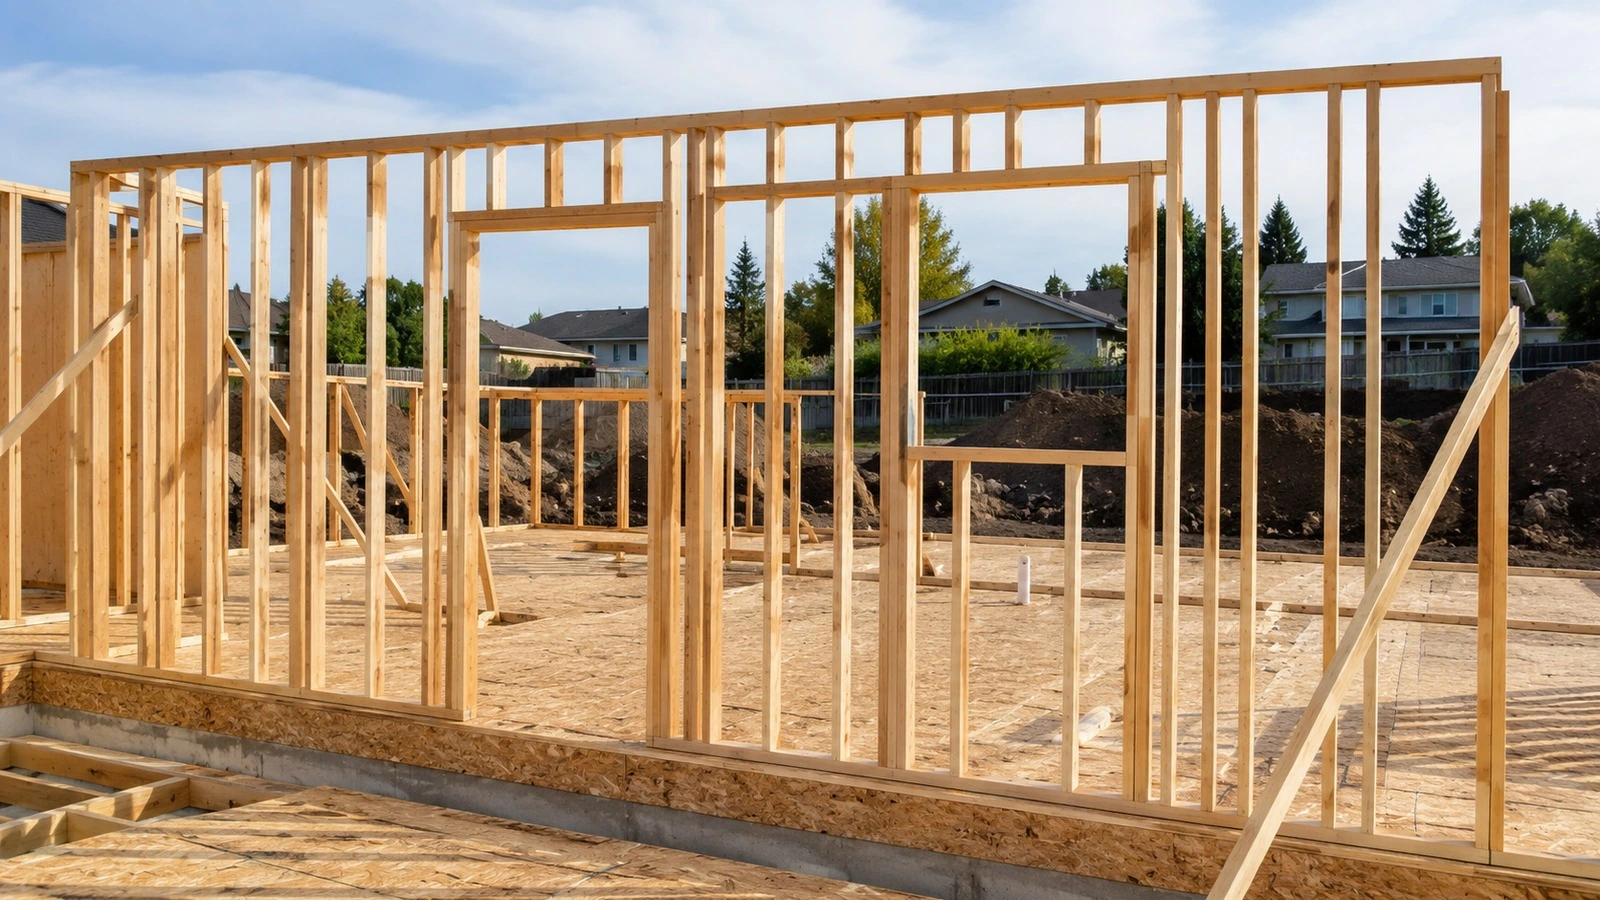
A wall stud count starts with spacing, but it does not end there. A real wall also has ends and corners, top and bottom plates, door and window framing, header and sill allowances, waste, and—on many exterior walls—structural sheathing. That is why dividing wall length by 16 inches rarely produces the final purchase quantity.
BuildListCalc’s Lumber Calculator is a planning tool for wall framing and sheet sheathing. Its current public version estimates studs, plates, directional opening-framing allowances, framing nails, optional exterior sheathing, board-foot totals, and linear-foot totals. It does not size beams, joists, rafters, engineered members, hold-downs, or project-specific headers, and it does not create a sealed framing plan or permit set.
1. Start with stud lines, not a shopping count
“16 inches on center” means the distance is measured from the centerline of one stud to the centerline of the next. For a simple 20 ft straight run:
20 ft × 12 = 240 in
240 ÷ 16 = 15 spaces
A straight run with 15 equal spaces needs 16 stud lines from one end to the other.
That is only the spacing backbone. It does not yet account for a corner turn, a door, a window, a header, a sill, extra studs required by the selected framing detail, or purchase waste. BuildListCalc keeps those decisions visible rather than pretending “16 studs” is the finished answer.
2. Do not treat 16 in o.c. as the only possible wall system
The current Lumber Calculator calls 16 in o.c. a common prescriptive baseline for many residential walls and also offers 19.2- and 24-in. layouts with stronger review warnings.
Building America’s advanced-framing guidance explains why wider spacing exists: 2×6 walls at 24 in o.c. are one recognized advanced-framing approach that can reduce redundant lumber and increase insulation space. The same federal guidance also warns that local conditions and adopted rules matter; some high-wind jurisdictions may restrict wider spacing.
So the planning sequence should be:
- identify whether the wall is interior or exterior and whether it carries load;
- determine the framing system the project is actually designed to use;
- confirm the allowed spacing and member size for that wall;
- only then convert the layout into a material count.
Do not switch a 16-in. wall to 24-in. spacing simply to reduce the stud count.
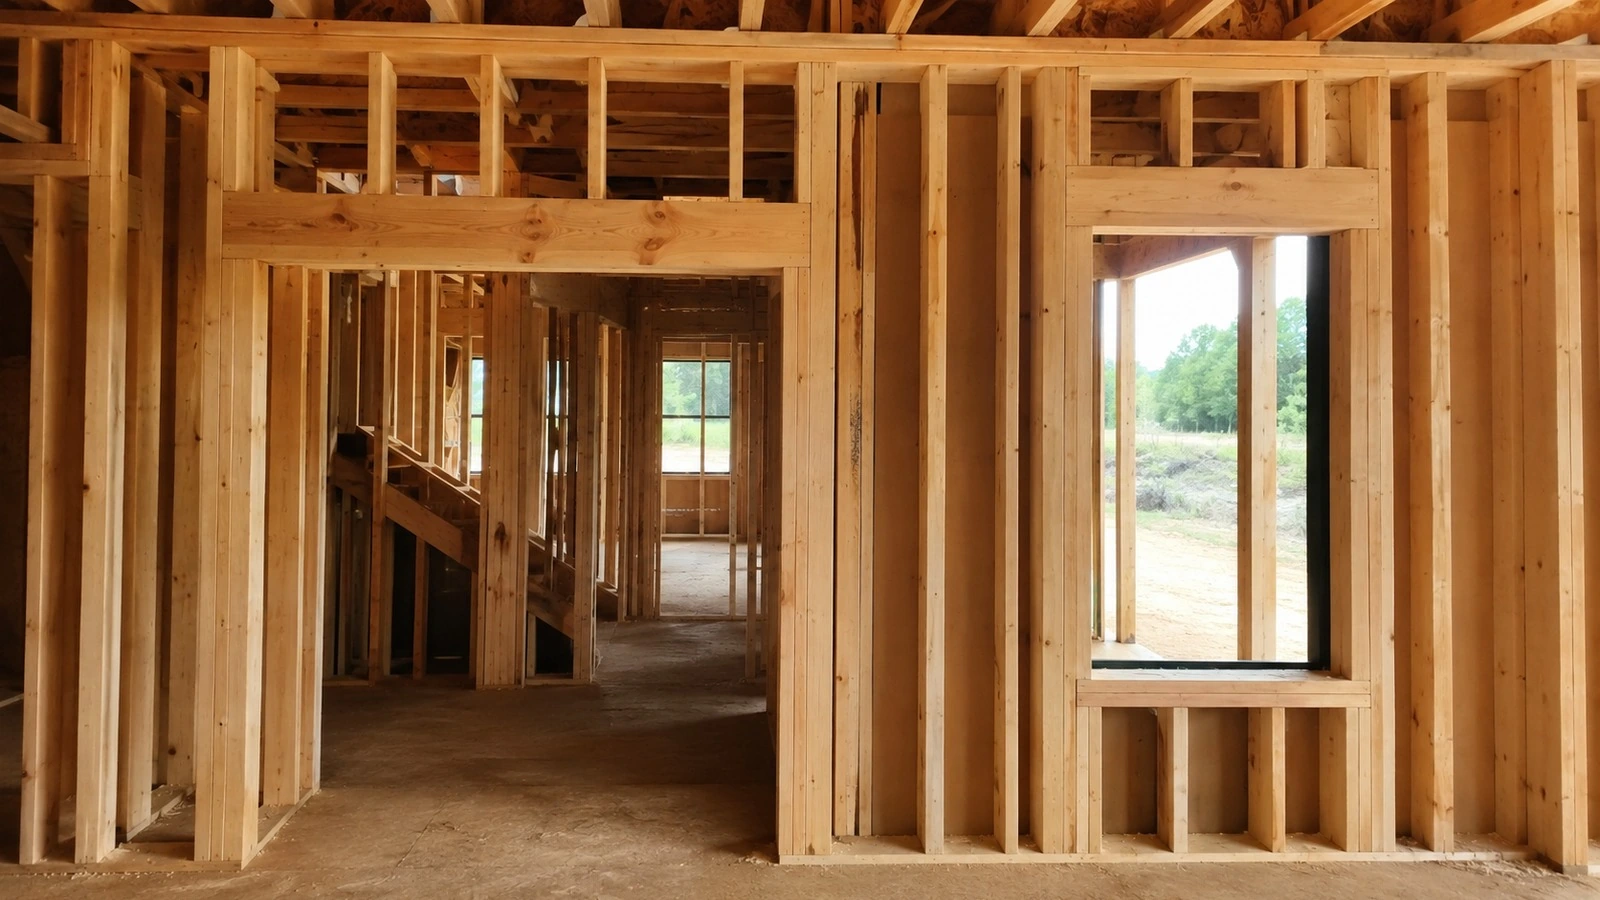
3. Corners add framing that a spacing formula cannot see
The current BuildListCalc tool has a separate Corner Count field. A straight partition can use zero; each actual turn is entered so the takeoff can carry additional corner-framing lumber.
This is important because a wall corner is not just another on-center stud line. The framing detail has to connect the walls and provide the required backing or load path for the actual assembly. Traditional and advanced framing can use different corner details, and Building America specifically documents reduced-stud insulated corners as an advanced-framing option.
For estimating, count the actual wall turns first. Let the approved framing detail—not a generic “three studs per corner” shortcut—determine what belongs there.
4. Doors and windows change both stud count and member types
Openings interrupt the regular stud grid. Building America’s door/window guidance identifies the familiar framing pieces around an opening:
- king stud — full-height stud beside the opening;
- jack/trimmer stud — shorter supporting member associated with the header in conventional framing;
- header — horizontal framing above the opening;
- sill — horizontal member below a window;
- cripple studs — shorter studs above or below openings where the wall layout requires them.
The exact configuration depends on whether the wall is load-bearing, the opening size, loads above, framing approach, and local design requirements. Advanced-framing details can intentionally reduce redundant members in some assemblies.
BuildListCalc therefore uses door and window dimensions to create directional header/sill framing allowances, but its own scope statement says those allowances do not replace engineered lintel or point-load design.
That distinction is critical: the calculator can help you buy lumber for a planning scenario; it cannot tell you that a particular header size is structurally adequate for a specific house.
5. Plates are easiest to verify in linear feet
The current calculator lets you choose the plate count. Its basic exterior-wall example uses three plate runs across a 20 ft wall—consistent with the visible “3 plates across 20.00 lf” quantity basis.
The linear-foot check is:
3 × 20 ft = 60 linear ft of plate material
If the selected stock length is 8 ft:
60 ÷ 8 = 7.5 boards
The current example applies 8% framing waste:
7.5 × 1.08 = 8.1 boards
Rounded to whole purchase units, that becomes 9 plate boards, matching the public calculator result.
This is a traceable example, not a rule that every wall uses three plates or 8% waste. Single-top-plate advanced framing, non-load-bearing partitions, project-specific bottom-plate requirements, stock length, splices, and the actual wall design can change the order.
6. Use the current 20 × 8 ft example to understand why the final stud count is higher
The current public starter scenario is:
- exterior wall: 20 ft × 8 ft;
- stud spacing: 16 in o.c.;
- 0 doors and 0 windows;
- 2 corners;
- 7/16 in OSB wall sheathing;
- framing waste: 8%;
- sheathing waste: 10%.
The calculator’s headline result is 22 studs and 6 sheathing sheets for 160 sq ft of exterior wall framing. It also shows 9 plate boards, 248 linear ft of framing, and 165 board ft.
Do not reverse-engineer 22 into a universal corner formula. The calculator describes its stud, plate, and header quantities as common nominal-lumber heuristics for a planning takeoff. The useful lesson is that the 16 on-center backbone is only one component; corners and the visible waste setting move the purchase count above the simple line-stud number.
7. Sheathing should be estimated by wall coverage, but ordered as a structural product
Exterior mode can add structural sheet sheathing. The current 20 × 8 ft wall has:
20 × 8 = 160 sq ft
A typical 4 × 8 sheet has:
4 × 8 = 32 sq ft
Ignoring cuts, five sheets provide exactly 160 sq ft. With the calculator’s current 10% sheathing waste:
160 × 1.10 = 176 sq ft
176 ÷ 32 = 5.5 sheets
Rounded to whole units, that becomes 6 sheets, matching the current output.
APA’s current Rated Sheathing specification says Rated Sheathing may be plywood or OSB, is intended for uses including wall sheathing, and is typically produced in 4 × 8 ft panels. APA also publishes separate design and installation guidance because panel rating, orientation, fastening, bracing/shear requirements, exposure, and the complete wall system still matter.
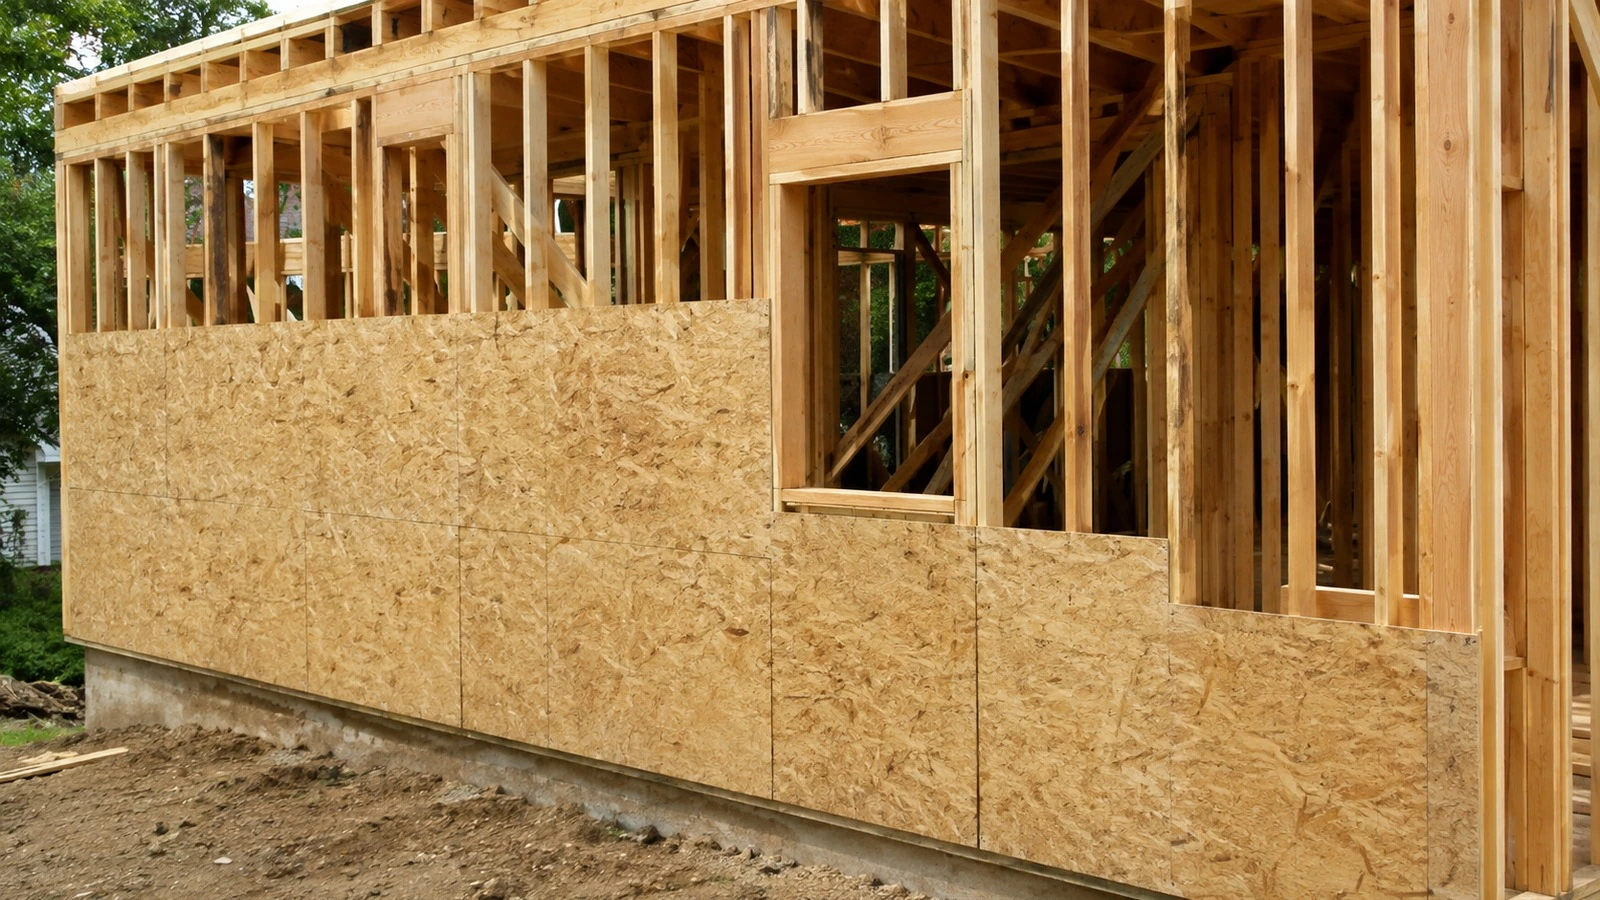
8. Do not confuse structural sheathing with the rest of the exterior wall
The Lumber Calculator deliberately stops at structural sheathing. Its current exterior-mode exclusions include:
- house wrap / water-resistive barrier;
- flashing tape;
- insulation;
- siding or cladding;
- connectors and anchors;
- structural hold-down design;
- exact sheathing fastener schedules.
That boundary prevents a dangerous accounting shortcut: six OSB sheets do not mean the exterior wall is weather-ready or structurally complete. Sheathing is one layer in a larger assembly.
Use the Siding Calculator or a project-specific assembly workflow for cladding/weather-barrier planning, and use the actual design documents and product instructions for structural panel attachment and bracing requirements.
9. Framing nails are another planning allowance
The current example carries 1 box of framing nails and describes its basis as approximately one box per 75 framing pieces, with the calculator’s framing waste included.
Treat that as a procurement allowance only. Nail size, type, spacing, connector nails, sheathing fastening, anchors, and engineered connections are not resolved by that single box count. The project’s framing details and selected connectors control the actual fastening schedule.
10. Board feet and linear feet help you audit the list
BuildListCalc exposes both linear feet and board feet because they answer different questions.
- Linear feet help verify the total running length of studs, plates, headers, and related lumber.
- Board feet express lumber volume and can help compare framing packages, but they do not replace piece counts or member specifications.
In the current 20 × 8 ft example, the page shows 248 lf and 165 bd ft. Those metrics are useful cross-checks when comparing scenarios such as 2×4 versus 2×6 framing or a different spacing, but the purchase list still needs exact stock lengths and member types.
11. A safer way to answer “How many studs do I need?”
Instead of using one shortcut formula, work through this sequence:
- Measure each wall segment. For an L-shaped or multi-segment wall, BuildListCalc accepts the combined length and a separate corner count.
- Confirm the designed stud spacing and stud size. Do not choose a wider spacing only to save lumber.
- Count actual turns. Corners add framing that is not visible in the spacing calculation.
- Enter doors and windows. Openings change both regular stud lines and the directional header/sill allowance.
- Choose the plate path. Verify the number of plate runs, bottom-plate requirements, stock lengths, and splices.
- Apply visible framing waste. Treat it as a planning input, not a universal percentage.
- If exterior, add the correct structural sheathing product and waste. Then keep weather barrier, flashing, cladding, anchors, and bracing details in their proper workflows.
- Review the final design requirements. Header sizing, point loads, bracing, high-exposure conditions, and engineered connections need the appropriate project-specific review.
Final takeaway
A wall is not “length ÷ stud spacing.” The reliable estimating chain is stud grid → corners → openings → plates → directional header/sill framing → waste → optional sheathing → fastener allowance. BuildListCalc makes those quantity assumptions visible so you can audit the purchase plan without confusing a material estimate with structural design.
Related tool: Lumber Calculator
Sources
- BuildListCalc, Lumber Calculator. Accessed August 24, 2026.
- DOE/PNNL Building America Solution Center, Advanced Framing: Minimum Wall Studs. Accessed August 24, 2026.
- DOE/PNNL Building America Solution Center, Advanced Framing: Minimal Framing at Doors and Windows. Accessed August 24, 2026.
- APA – The Engineered Wood Association, APA Rated Sheathing. Accessed August 24, 2026.
- APA – The Engineered Wood Association, Engineered Wood Construction Guide: Wall Construction. Accessed August 24, 2026.