Diy Tutorial
How to Plan a Backyard Pergola: Footings, Posts, Beams, Rafters, Shade Slats, and Wind/Snow Review
Plan an open backyard pergola from footprint and utility review through footings, posts, beams, rafters, shade slats, exterior hardware, and wind/snow review.
BuildListCalc Editorial Team · 7 min · Published August 25, 2026 · Updated August 27, 2026 · Fact checked August 21, 2026
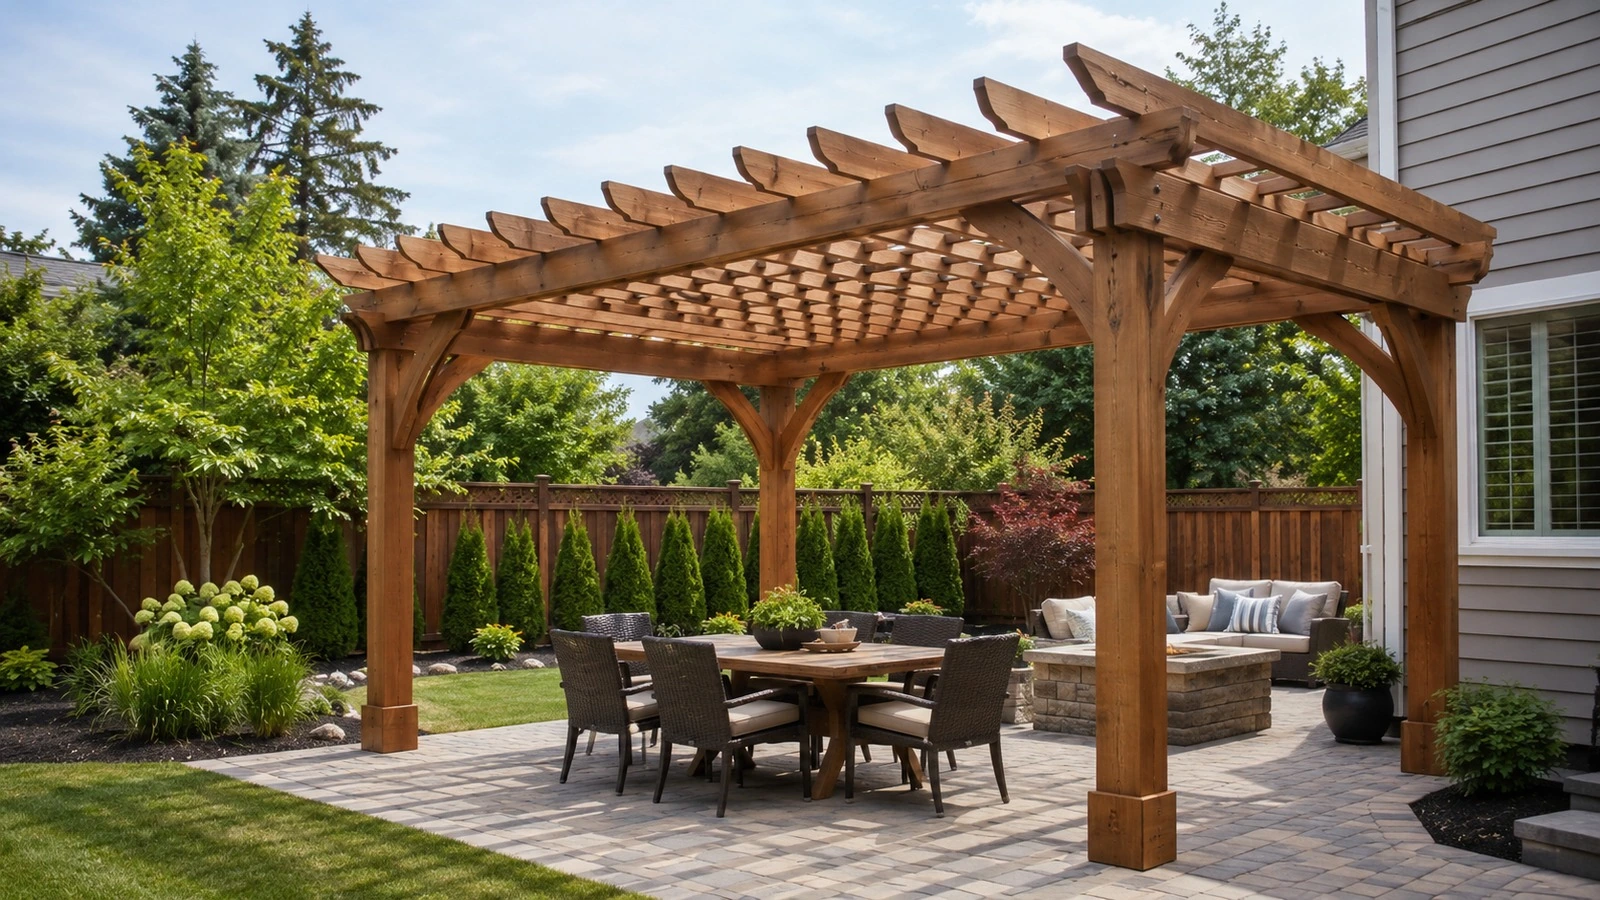
A pergola looks simple because it is open to the sky. Structurally, though, it still has to move loads from rafters and shade members through beams and posts into the ground, while every exposed connection has to survive outdoor moisture. The safest way to plan one is to treat it as a small structure—not as patio furniture—and to keep the final span, footing, attachment, and connection decisions subject to local review.
BuildListCalc’s Pergola Material Calculator is designed for open residential pergolas. It plans piers, posts, beams, rafters, optional shade slats, hardware, and finish. Covered roofs, patio-cover drainage, engineered uplift design, and permit-ready attachment details stay outside the calculator’s scope.
1. Decide whether you are really building a pergola
Start with the roof condition. An open pergola uses spaced rafters and, optionally, spaced shade slats. Once the project becomes a solid or water-shedding roof, you are no longer planning the same assembly the BuildListCalc pergola tool models.
That distinction matters before you buy lumber. A covered structure can introduce different drainage, attachment, weatherproofing, and structural-review needs. If your concept includes polycarbonate roofing, shingles, metal panels, or another continuous cover, treat it as a separate design problem and confirm the applicable local requirements before ordering materials.
For an open pergola, define these basics first:
- overall length and width;
- height above grade;
- freestanding or attached layout;
- whether you want knee braces;
- whether you want shade slats above the rafters;
- the site’s wind, snow, and exposure conditions.
The current BuildListCalc tool uses these choices to organize its planning estimate, but the result remains a material takeoff—not an engineered connection schedule or permit document.
2. Lay out the footprint before you think about lumber counts
Pergola planning works better from the ground up. Mark the actual footprint where the structure will stand and confirm that doors, walkways, patio edges, drainage paths, and other site features still work around the posts.
If new piers or post foundations require excavation, contact 811 or your state 811 center a few business days before digging. The national 811 service says to wait for the affected utilities to respond and then dig carefully around marked lines. Utility marking does not decide your pergola location for you; it tells you where buried utility conflicts need to be respected or the layout reconsidered.
Once the footprint is fixed, record the dimensions you actually measured. BuildListCalc accepts feet-and-inches style dimensions or decimal feet for the pergola length and width.
3. Plan footings and posts as one system
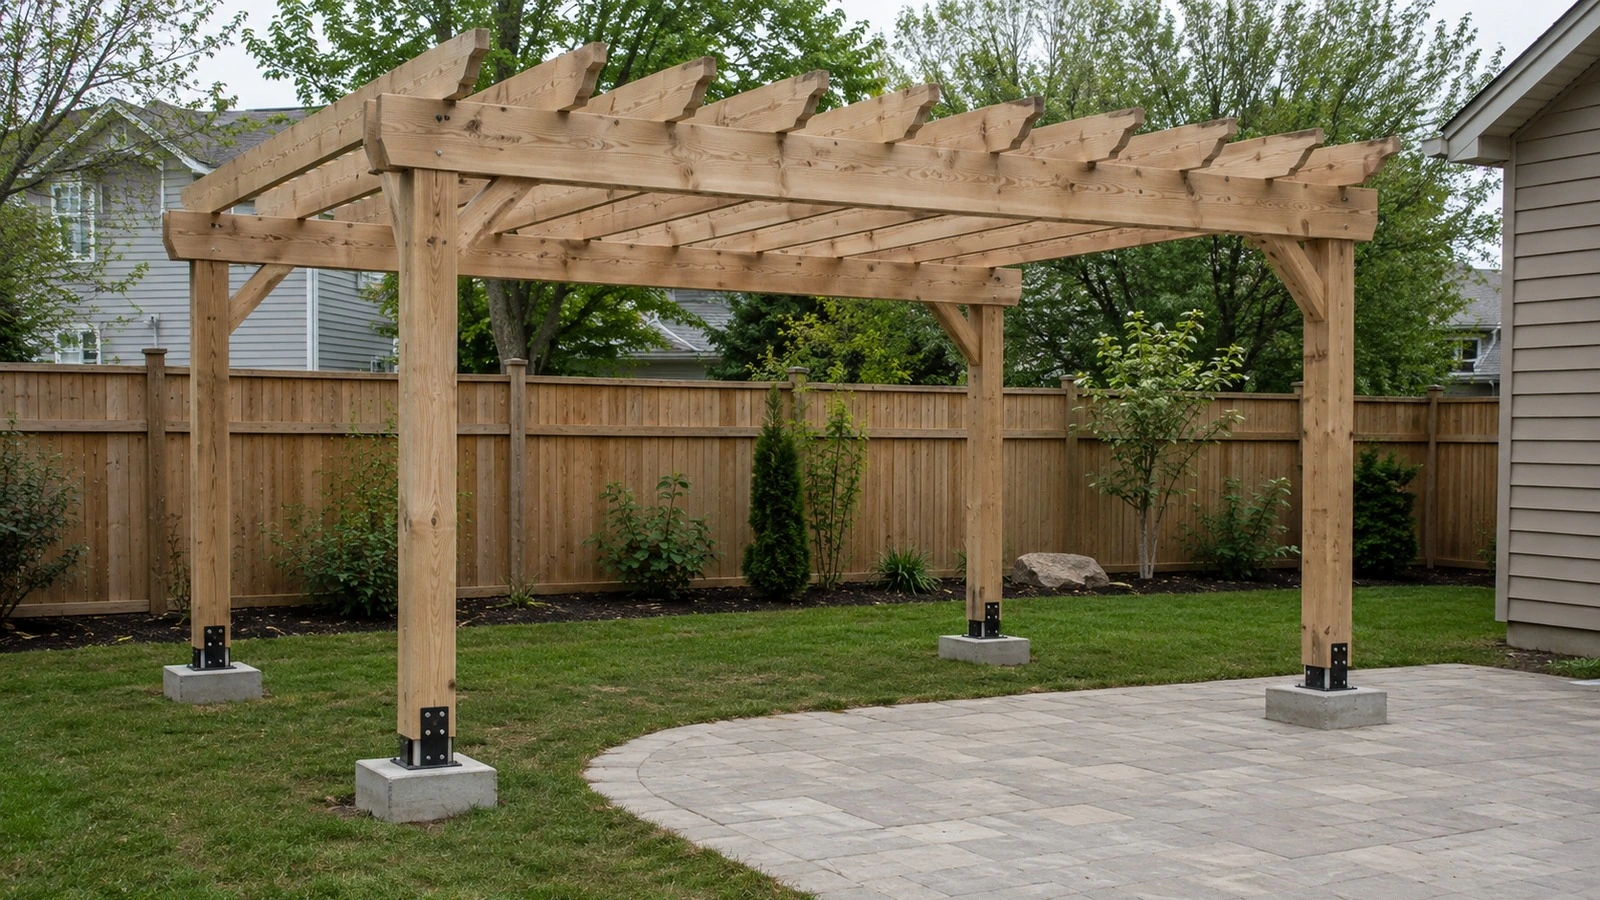
The calculator models cylindrical concrete piers with elevated post bases. Its current planning assumptions place the modeled pier below the local frost basis used by the calculator and keep the wood post elevated above the concrete.
The page states its own frost basis as a calculator default of 36 in, with the modeled pier extending 42 in below grade plus a 6 in pedestal. That is a planning default, not a local requirement. Confirm the frost depth that actually applies at your address before treating the modeled pier as adequate.
Do not turn that model into a universal footing detail. Actual pier diameter, depth, reinforcement, concrete requirements, post-base type, and anchorage can depend on soil, frost depth, wind, snow, structure height, tributary area, and local rules. If your site is on a slope, has fill soil, sits in a high-exposure location, or needs unusual spans, the footing decision deserves specific local review.
For material planning, the useful sequence is:
- determine the post count and layout;
- confirm the locally appropriate footing concept;
- select a compatible elevated post base or other reviewed connection;
- calculate concrete only after the footing geometry is settled.
4. Choose exterior wood and compatible hardware together
Outdoor lumber and metal connectors should be selected as a system. BuildListCalc can model pressure-treated framing and other wood choices, but the final product selection still needs to match the exposure and the supplier’s treatment information.
Simpson Strong-Tie’s corrosion guidance treats exterior construction as a wet-service condition and notes that preservative-treated wood and environmental exposure affect connector and fastener selection. Its treated-wood guidance also says the treatment parameters and exposure need to be considered when choosing compatible fasteners, connectors, and anchors.
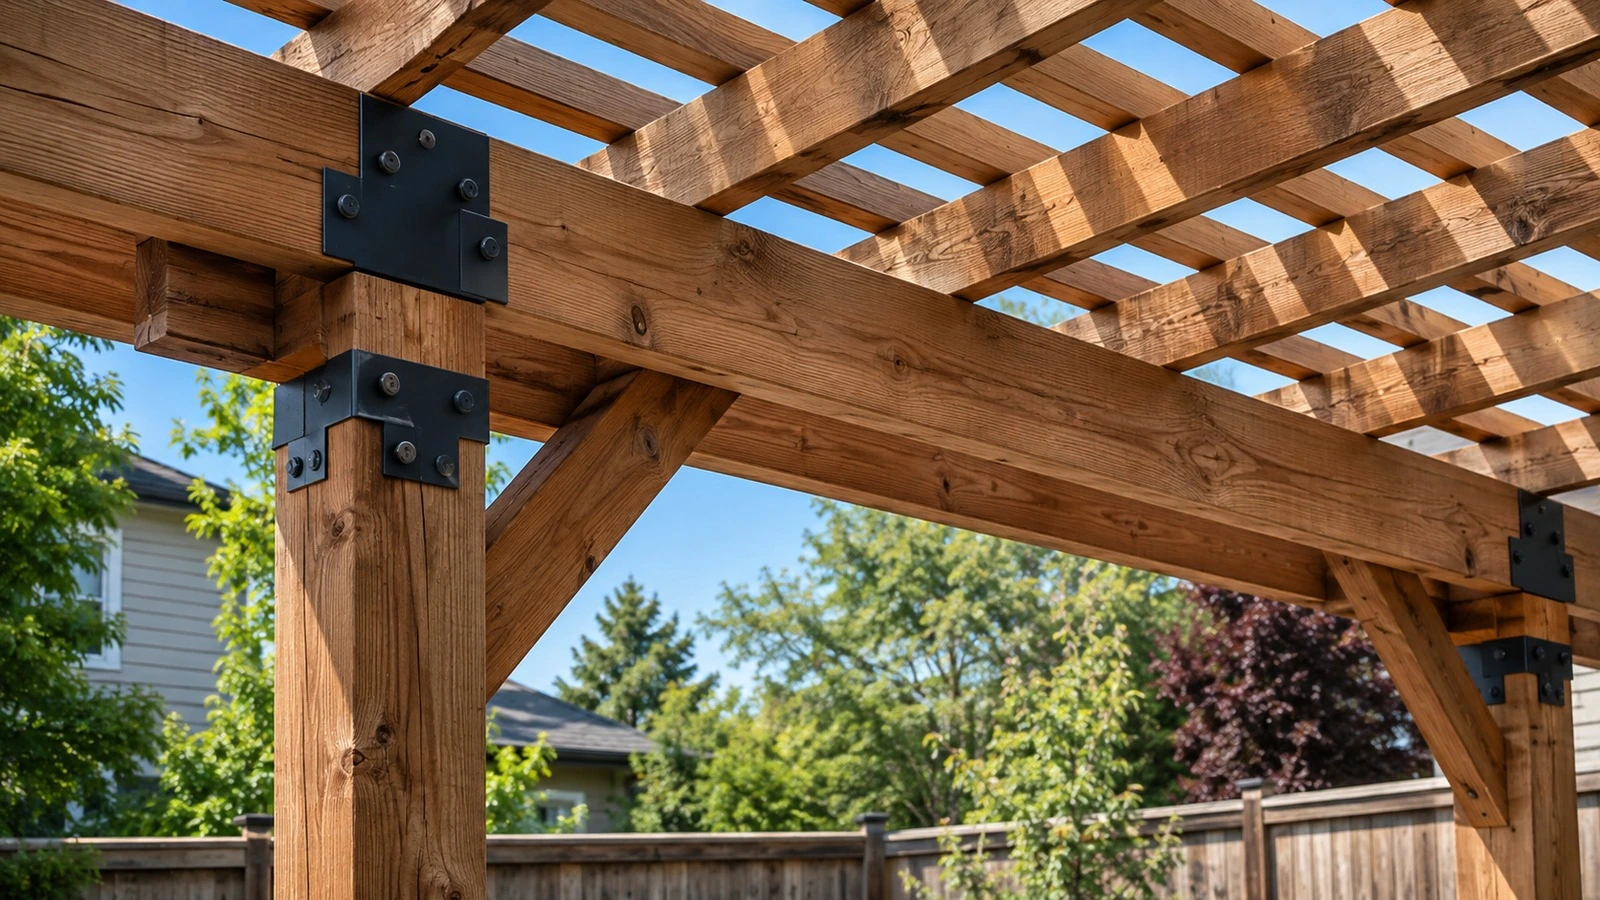
For a homeowner, the practical rule is simple: do not choose a post, beam, connector, screw, and anchor independently. Confirm that the hardware finish or base metal is suitable for the actual treated wood and exposure. Salt air and unusually corrosive environments deserve extra attention.
5. Beams and rafters define the visible structure—but not by appearance alone
The Pergola Builder lets you choose beam size, beam-to-post mounting approach, rafter size, rafter spacing, and rafter overhang. It also presents notched or column-cap bearing as a typical residential planning starting point and treats side-mounted beam arrangements as needing additional hardware review.
Those controls are useful for a takeoff, but they are not a species-, grade-, span-, and load-specific engineering table. The calculator itself states that beam and rafter sizing uses conservative planning bands rather than project-specific structural design.
That means you can use the tool to compare layouts and material quantities, but you should not infer that a larger member is automatically adequate just because it appears in a calculator option. Final member sizes, spans, notches, bolts, caps, ties, and uplift connections should follow the project’s actual design requirements and local review.
6. Shade slats change both appearance and material count
Shade slats are optional in BuildListCalc. When included, the calculator lets you choose a slat profile and gap, then adds the repeated members and fastener allowance to the material list.
Smaller gaps generally mean more slats and a visually denser overhead pattern. Larger gaps reduce the board count and create a more open look. Treat the calculator’s 2D and 3D views as schematic planning aids; they help you understand repeated layers but do not replace a dimensioned construction detail.
A useful planning sequence is:
- choose the pergola footprint;
- settle the post and beam lines;
- choose rafter spacing and overhang;
- then tune the shade-slat profile and spacing for the look you want.
That order keeps an aesthetic choice from accidentally driving the primary structure.
7. Use wind and snow settings as a review flag, not a guarantee
The live Pergola Builder includes a Wind / Snow Exposure control. Its higher-exposure option is intended for sites such as ridge tops, shorelines, open fields, or snow-belt locations where the calculator should tighten its planning assumptions for framing and hardware.
This is useful because exposure should be considered before you order materials, but it is not a local design-load lookup and it does not establish that a proposed pergola is adequate for a specific address. If wind or snow is a meaningful design driver at your site, confirm the governing loads and connection requirements with the appropriate local authority or design professional.
8. Read the material list as a purchasing plan, not a stamped design
For the current 16 ft × 12 ft starter-patio example shown on the public calculator page, BuildListCalc displays 6 posts, 13 rafters, and 59 concrete bags. Those numbers belong to that visible example and its selected assumptions; they are not universal quantities for every 16 ft × 12 ft pergola.
That distinction is important. A different post layout, footing geometry, beam size, rafter spacing, shade-slat choice, wood species, or exposure setting can change the list.
Before ordering, review the output assembly by assembly:
- posts and bracing — post count, size, and knee-brace allowance;
- footings — number of piers and the concrete quantity tied to the modeled geometry;
- beams — member count and the selected mounting approach;
- rafters — size, spacing, overhang, and ties;
- shade slats — profile, spacing, repeated board count, and screws;
- hardware — post bases, anchors, ties, and other planning allowances;
- finish — coverage allowance for the selected finish.
Then reconcile the list against the actual products you intend to buy. Pack sizes, stock lengths, connector models, treatment labels, and finish coverage can all affect the final order.
9. A practical sequence from idea to review-ready takeoff
A clean pergola plan usually follows this order:
- Confirm the project is an open pergola. If it has a solid roof, stop and use a different design workflow.
- Measure and mark the real footprint. Check circulation, patio edges, drainage, and buried-utility conflicts.
- Choose freestanding or attached. Attached conditions deserve careful review because the building connection is project-specific.
- Plan the footing and post system. Keep the actual soil, frost, wind, snow, and local requirements in view.
- Choose beams and rafters. Use BuildListCalc for planning quantities, not structural certification.
- Add shade slats only after the frame is settled. Treat their spacing as an architectural choice that also changes material count.
- Match exterior hardware to the wood and exposure. Do not mix treated lumber and connector finishes casually.
- Review the BOM before buying. Confirm stock lengths, pack sizes, product availability, and site conditions.
- Get professional or AHJ review where needed. Especially for attachments, unusual spans, high exposure, or local permit requirements.
Final takeaway
A pergola is easiest to plan when you separate geometry, structure, shade, and purchasing into different decisions. BuildListCalc can organize those decisions into a material takeoff, show the relationship between posts, beams, rafters, and shade members, and flag higher-exposure planning paths. The final structure still has to match the real site, the actual products, and the requirements that apply where you build.
Related tool: Pergola Material Calculator
Sources
- BuildListCalc, Pergola Material Calculator. Accessed August 21, 2026.
- Common Ground Alliance / 811, 811 Before You Dig. Accessed August 21, 2026.
- Simpson Strong-Tie, Corrosion Information for Wood Connectors and Fasteners. Accessed August 21, 2026.
- Simpson Strong-Tie, Pressure-Treated Wood FAQ. Accessed August 21, 2026.
- Simpson Strong-Tie, Pergola Planner Software. Accessed August 21, 2026.