Diy Tutorial
Garage-to-ADU Conversion Planning: Check the Structure, Moisture, Utilities, Insulation, and Permits Before Demolition
Assess legal use, records, shell condition, moisture, fire and life safety, utilities, insulation, hazards, and permit handoff before treating a garage as convertible living space.
BuildListCalc Editorial Team · 13 min · Published August 3, 2026 · Updated August 23, 2026 · Fact checked August 1, 2026
Start with legal use and existing records
An accessory dwelling unit, or ADU, is a separate dwelling on a property that already has a primary home. Converting a garage into one is a change of use, not simply a finish upgrade. Before measuring cabinets or choosing flooring, ask the planning and building departments for the current path at the actual address. Zoning, recorded use, overlays, utility conditions, fire access, parking rules, owner-occupancy rules where applicable, and the adopted building and energy codes can differ by jurisdiction. The authority having jurisdiction (AHJ) decides what it will accept; a national tutorial cannot make that decision.
Gather the parcel profile, prior building permits, certificate of occupancy when one exists, approved plans, inspection history, code-enforcement records, easements, and utility records. Compare the documents with the garage that is actually present. Record additions, moved openings, enclosed carports, converted storage, added plumbing, altered trusses, or other work that does not appear in the records. Do not conceal an inconsistency or assume age makes it acceptable. Ask the local office what evidence and investigation it requires.
The Los Angeles Department of Building and Safety conversion bulletin, P/BC 2023-150 revised May 1, 2024, is a useful local example of what such a bulletin covers. It is a dated document, and Los Angeles has issued later revisions, so check the department for the current version rather than treating this copy as live guidance. It discusses permitted and unpermitted accessory structures, existing-condition review, plan-check records, and department clearances. It is not a national conversion standard. Its construction provisions, exceptions, dates, and departmental process apply in their stated Los Angeles context unless another authority says otherwise.
Use the consolidated LADBS ADU and permitting resources as another example of why records and site review come first. Plan review and permitting, inspection, enforcement, and property records are separate functions. A favorable online screening answer is not authorization to demolish. End this first pass with a written legal-use question list, the records you have, the records still missing, and the name of the office or professional responsible for each answer.
Measure the shell without assuming it is convertible
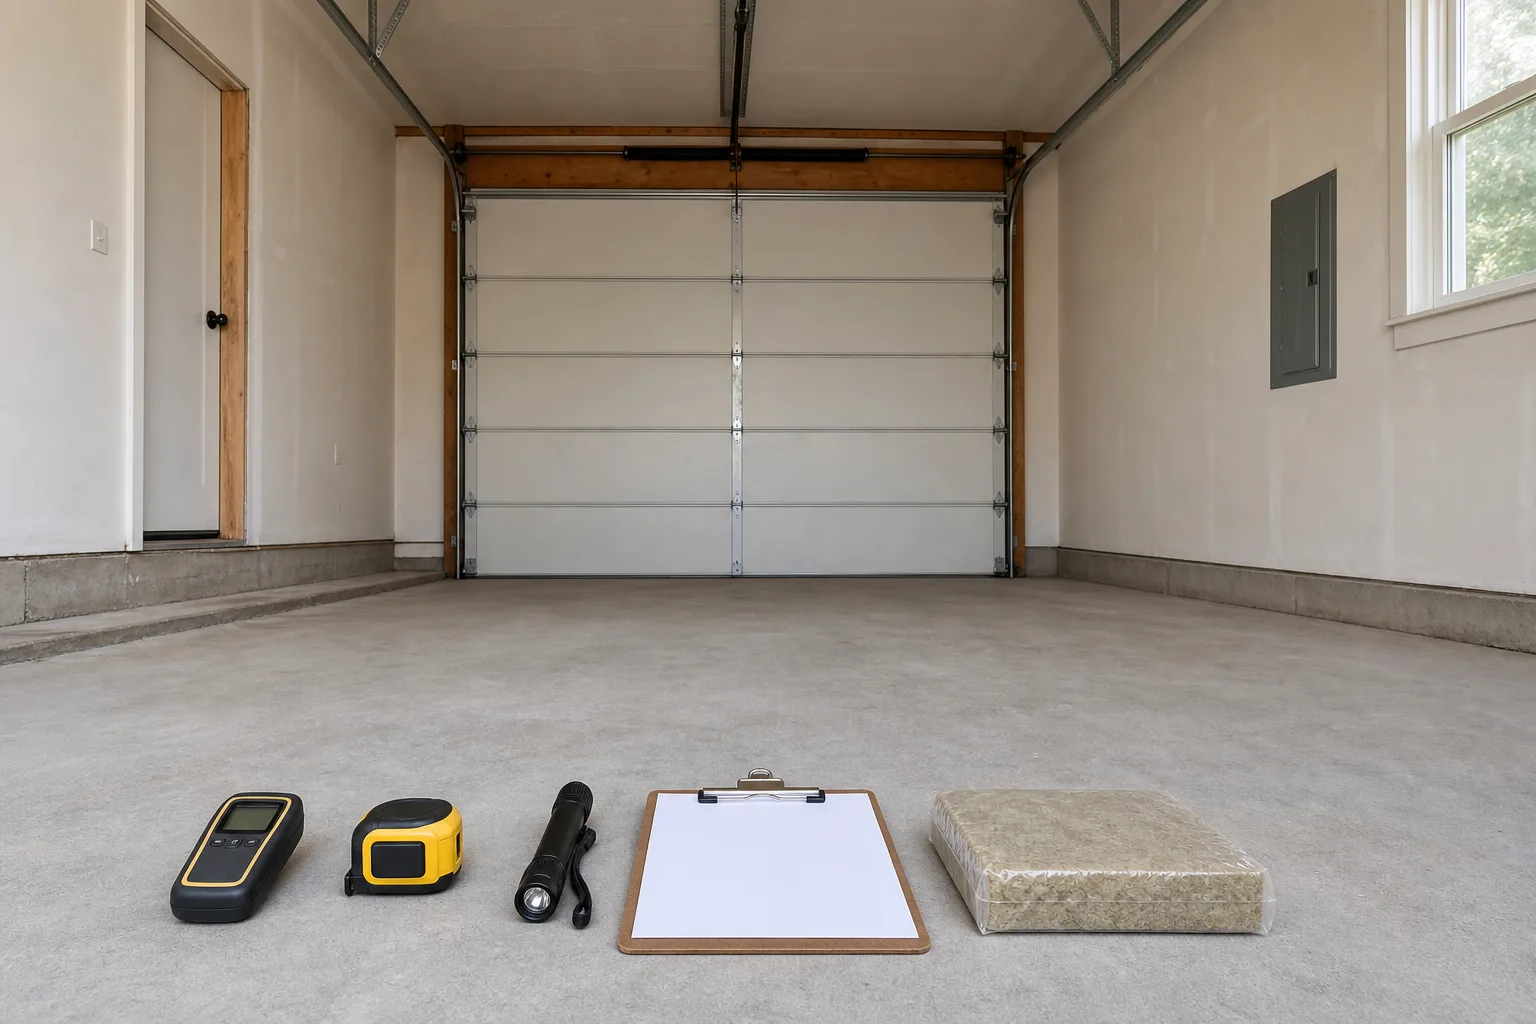
Document the existing shell while it remains intact. Measure the garage length, width, ceiling height, door and window openings, steps, thresholds, slab slope, wall thicknesses that can be observed without disturbance, and visible roof or ceiling framing. Photograph each wall, the ceiling, slab, exterior grades, drainage edges, garage-door opening, service locations, and connections to the house. Note where a measurement is blocked or uncertain instead of filling the gap with a convenient default.
Finished headroom is not the same as the current distance from slab to ceiling. A floor correction or raised floor, ceiling finish, ducts, piping, beams, soffits, fire assemblies, and insulation can reduce the remaining clear height. Record both the current field measurement and every known planned build-up. Let the designer and local reviewer determine the required finished condition. Do not cut framing, omit a required layer, or choose a thinner safety assembly simply to preserve a desired number.
Map safe access and egress questions without declaring them solved. Show the proposed primary entrance, its landing and exterior route, every sleeping area concept, existing windows and doors, proposed openings, and obstructions outside. Window count alone does not establish an emergency escape path. Opening size, clear opening, sill relationship to the finished floor, operation, exterior discharge, room use, light, ventilation, and the adopted local requirements all need review.
Treat the measurements as an existing-condition record, not a permit drawing. Label walls and framing as observed, concealed, damaged, altered, or unknown. If the garage has a story above, long spans, sagging members, cracks, water staining, settlement, or an unusual roof configuration, flag it for professional review. The goal of measurement is to expose uncertainty early so the engineer, architect or designer, inspector, and licensed trades can investigate it before demolition changes the evidence.
Have the slab, foundation, framing, and site reviewed
A garage slab may have been designed for vehicles and drainage rather than a dry, level living-space floor. The visible slab does not reveal every footing, thickened edge, reinforcement, vapor control layer, soil condition, repair, or buried utility. Likewise, existing walls and roof framing may not have been designed for added ceiling finishes, insulation, mechanical equipment, new openings, or a changed load path. Keep these questions open until the appropriate professional has reviewed records and conditions.
Ask a qualified design professional to define what must be observed, tested, calculated, or exposed. The review may include the slab and foundation edges, settlement and cracking, garage-door infill support, headers at new openings, braced-wall or shear path, roof and ceiling loads, attachment to the main dwelling, decay or pest damage, and site hazards. This tutorial does not prescribe repairs, underpinning, reinforcing, headers, anchors, or wall assemblies. Those decisions depend on the existing building, site, locally adopted code, and the professional who takes responsibility for the design.
Walk the exterior with the same discipline. Record finish grade, surface drainage, roof discharge, retaining conditions, slopes, property-line relationships, utility easements, trees, exterior equipment, and access for construction and inspection. Flood, wildfire, coastal, hillside, seismic, expansive-soil, methane, or other mapped conditions can change the review. Use current local maps and departments; do not infer clearance from a neighboring project or a generic hazard map screenshot.
Keep a decision log. For each observed crack, altered member, opening, damp area, or site constraint, record the photo, location, current condition, who reviewed it, what further information is required, and whether the finding affects feasibility, design, budget, or sequence. Stop if a finding makes the existing-shell path uncertain. A material list is not useful when the foundation, shell, or site path still may require redesign.
Resolve moisture, drainage, radon, and the floor build-up
Moisture planning begins before new finishes hide the slab and walls. Look for staining, efflorescence, damp odors, corrosion, peeling coatings, mold-like growth, damaged bottom plates, active leaks, ponding, poor exterior drainage, and roof or wall penetrations. Record weather and recent water events when observing the space. Do not seal over an unexplained condition or assume a dry day proves long-term performance.
The EPA's indoor environmental remodeling guidance, updated July 6, 2026, explains that moisture can enter through leaks, outdoor air, and the building shell, including the foundation. It also says envelope strategies vary by climate and that no single approach works for every house. Use that as a planning boundary: identify the water source and drying path, then have the local design team select compatible drainage, vapor, air, and finish strategies.
Include radon in the pre-design discussion. EPA advises testing because it cannot be seen or smelled. Ask the local authority, environmental professional, or qualified mitigation professional how testing and any mitigation path should be coordinated with the existing slab and proposed floor. Do not drill, trench, seal, or cover the slab based on a generic detail before the structural, moisture, radon, and utility scopes have been reconciled.
Build a floor decision matrix rather than selecting a finish first. Compare current slab condition, moisture findings, slope and elevation changes, door thresholds, exterior landings, headroom impact, accessibility, plumbing routes, and the selected finish system. Separate investigation and design allowances from material quantities. The final floor build-up must come from the accepted local design and current product instructions; the calculator's modeled floor options only help reveal how a possible build-up affects planning quantities and headroom.
Plan fire separation, egress, alarms, and safe access
Fire and life-safety review belongs near the beginning because it can change walls, ceilings, openings, penetrations, doors, alarms, and site access. Identify whether the garage is attached or detached, what spaces adjoin it, where property lines lie, and whether any existing separation has been altered. Record ducts, pipes, wiring, recessed equipment, doors, and other penetrations without opening assemblies. A surface that looks like drywall does not establish its rating or continuity.
Ask the AHJ and the responsible designer to define the required separation and opening protection for this project. Have licensed trades coordinate every planned penetration through those assemblies. Do not remove a wall or ceiling layer, add an unreviewed opening, route a duct, or fill a gap from a generic internet detail. The correct assembly depends on the actual building relationship, local amendments, listing requirements, and inspected installation.
Review egress together with room use and access. A sleeping concept can change emergency escape questions. A new entrance can affect landing, weather protection, path, lighting, and site circulation. Smoke and carbon-monoxide alarm locations, power, interconnection, and commissioning are also local design and inspection items. Keep combustion equipment, an attached garage, and the main dwelling in the same life-safety conversation rather than treating alarms as a shopping-list accessory.
Create one coordinated life-safety sheet for the design team: existing and proposed doors/windows, sleeping areas, exterior routes, adjoining uses, separation boundaries, penetrations, alarms, combustion appliances, and unresolved local questions. This is a handoff record, not a field instruction. Work should proceed only under the accepted documents, licensed-trade scope, permit conditions, and required inspections.
Confirm electrical, plumbing, sewer, HVAC, and ventilation capacity
MEP means mechanical, electrical, and plumbing. For an ADU concept, those systems are connected decisions rather than independent product choices. A kitchenette, bathroom, water heating, space conditioning, ventilation, laundry, and future equipment can affect electrical load, water supply, drainage, sewer capacity, exhaust routes, condensate, penetrations, equipment locations, clearances, and service access. List intended uses before asking trades to assess capacity.
Have a licensed electrician evaluate the existing service, panel, feeders, grounding and bonding, required load calculation, equipment locations, and permit path. Keep the panel closed and do not remove its cover for a planning photo. A spare-looking breaker position does not prove capacity. Do not select a subpanel or service upgrade from the calculator's readiness label; that label only records that trade review is still open or that a planning path has been selected.
Have a licensed plumbing professional evaluate water supply, fixture demand, shutoff strategy, drain and vent routing, sewer connection, slope constraints, backwater or pump questions, trenching implications, and local utility clearance. The shortest drawn line may cross structure, utilities, finished areas, or an unworkable elevation. Do not cut the slab or choose an ejector system from a generic plan. Coordinate the route with foundation, moisture, radon, and inspection requirements.
Have the HVAC and ventilation professionals evaluate loads, equipment, outdoor-unit location, line-set and condensate routes, exhaust discharge, combustion safety, make-up air where relevant, whole-dwelling ventilation, and interaction with the main house. EPA explains that tightening a shell without planned ventilation can allow pollutants to build up and recommends discussing the existing system and planned changes with an HVAC contractor. Keep every route visible in the permit and trade handoff before walls are closed.
Set the insulation and air-sealing path from the local design
Do not choose insulation by copying a national table or matching the product already in the garage. The required and workable assembly depends on the locally adopted energy code, climate, framing depth, roof or attic strategy, existing materials, moisture behavior, fire separation, ventilation, and inspection sequence. Ask the designer or energy professional which assemblies, documentation, calculations, and inspections apply to the address.
Survey the envelope without disturbing suspect material. Record accessible framing depth, existing insulation condition, roof ventilation, visible gaps, garage-door infill transitions, rim or sill areas, windows, doors, and MEP penetrations. Mark concealed areas unknown. If a required insulation level does not fit the existing framing or conflicts with drying, fire, or ventilation needs, route the conflict back to design rather than compressing material or deleting another layer.
Coordinate air sealing with moisture and ventilation. EPA's remodeling guidance treats source control, ventilation, and air cleaning as complementary, and explains that moisture-control approaches vary with climate. An air barrier should not be improvised one crack at a time without knowing the intended enclosure layer and drying direction. Product compatibility, substrate preparation, firestopping, and access for inspection remain part of the reviewed system.
Carry the accepted assembly into the takeoff only after it is defined. Separate wall, ceiling or roof, slab edge or floor, windows and doors, penetrations, and garage-door infill. Record product type, intended location, coverage basis, waste, accessories, and which rows still require supplier or inspector confirmation. The Garage Conversion / ADU Material Calculator can organize a planning allowance, but it does not perform energy modeling, select a locally accepted assembly, or create inspection documentation.
Screen for lead, asbestos, and other hazards before demolition
Do not begin sanding, scraping, drilling, cutting, opening walls, removing trim, disturbing flooring or insulation, or demolition until the hazard screen is complete. Building age, records, renovations, coatings, flooring, ceiling products, pipe or duct wrap, adhesives, insulation, moisture damage, pest contamination, stored chemicals, and prior vehicle use can all inform the investigation. Appearance alone cannot clear suspect material.
EPA's Lead-Safe Renovations for DIYers, updated July 8, 2026, warns that work in a pre-1978 home with lead-based paint can create dangerous lead dust. EPA recommends a lead-safe certified contractor for renovation, repair, and painting work in pre-1978 homes and recommends certified inspection or risk assessment to determine whether affected surfaces contain lead. Requirements can also depend on rental, child-care, or renovation-for-profit use. Keep that decision with EPA rules, state/local requirements, and qualified professionals.
EPA's asbestos remodeling answer, updated April 2, 2026, says suspect material cannot be identified simply by looking. If it is damaged or planned work would disturb it, EPA recommends sampling by a properly trained and accredited asbestos professional, followed by analysis at a qualified laboratory. Do not collect a sample, break a corner, or continue demolition to “see what is there.”
Add other project-specific hazards to the professional review: mold or active moisture, pest waste, fuel or chemical residues, underground tanks, combustion appliances, refrigerants, damaged wiring, gas piping, and contaminated soil where relevant. Record who owns each assessment and the stop-work boundary. Hazard findings can change abatement, design, occupancy protection, waste handling, schedule, and permit scope; they do not belong as hidden assumptions inside a material estimate.
Turn the feasibility findings into a permit and trade handoff
Organize the investigation into one versioned handoff. Include the project address, intended use, record set, measured existing-condition drawings, photos, survey or property-line evidence when required, site constraints, structural observations, moisture and radon findings, hazard reports, proposed room uses, and the open decisions for fire/life safety and MEP. Identify the source and date for each fact so an older assumption is not mistaken for a current field condition.
Create a responsibility matrix. The owner can gather records and define goals; the AHJ answers its process; the designer coordinates use, layout, envelope, life safety, and permit documents; the engineer addresses structural scope when required; environmental professionals handle sampling and hazard boundaries; licensed trades design and permit their systems; the contractor plans means, sequence, and pricing; inspectors verify work under their authority. Adjust the roles to local law and the actual contract.
Separate findings into cleared for continued planning, needs information, professional review required, and redesign or stop. Link every unresolved item to its owner and next evidence. Do not convert “selected for trade review” into “designed,” or a complete material row into permission to install. Permit comments, trade discoveries, inspection corrections, and product substitutions should update the same log and then flow back into the drawings and takeoff.
Request installed quotes only from the reviewed scope. Keep design fees, permits, tests, hazard work, utility fees, labor, equipment, temporary protection, disposal, taxes, delivery, contractor overhead and profit, and contingency outside a materials-only subtotal unless they are separately documented. The handoff should make uncertainty visible enough for a contractor to qualify the quote, not hide it behind one total.
Use the Garage Conversion / ADU Material Calculator without treating it as approval
Open the Garage Conversion / ADU Material Calculator after the first records and field pass. The current tool is an existing rectangular garage-shell conversion calculator. It asks about use and geometry, openings, floor and insulation paths, bathroom allowances, and pricing region. It also exposes readiness inputs that should be answered from the investigation and professional conversations, not guessed to make the result look favorable.
Read its feasibility review as six planning areas: headroom; egress; shell eligibility; fire and life safety; MEP routing; and utility or local review. These signals summarize selected answers and precheck states. Unanswered items stay open; negative choices can raise review or redesign flags. A resolved-looking signal means the relevant inputs are selected, not that an engineer, inspector, licensed trade, or AHJ has approved the condition.
The calculator's bathroom note is a planning allowance, not a seventh feasibility certification. Its modeled comparison does not verify fixture clearances, centerlines, shower size, door swing, plumbing design, or permit layout. Likewise, the schematic views, scenario comparisons, energy and permit-readiness cards, handoff pack, and materials BOM help organize discussion. They do not replace site-specific drawings, calculations, testing, trade design, product instructions, permits, or inspections.
Reconcile the output with the handoff before ordering. Check every material row against the accepted assemblies, actual measurements, supplier package and compatibility facts, and current regional source. Keep review-first rows open. Rerun the calculator when a field fact, permit comment, professional design, route, or product changes. The useful outcome is a transparent planning BOM tied to six visible readiness areas and a professional-review log—not a claim that the garage is ready to become an ADU.