Diy Tutorial
Straight, Diagonal, or Herringbone Tile: How Pattern Changes Cuts and Waste—and What It Means for Thinset and Grout
Compare straight, diagonal, and herringbone tile layouts without hiding waste assumptions, then plan cuts, thinset, grout, substrate, and movement-review boundaries.
BuildListCalc Editorial Team · 9 min · Published August 31, 2026 · Updated August 31, 2026 · Fact checked August 26, 2026
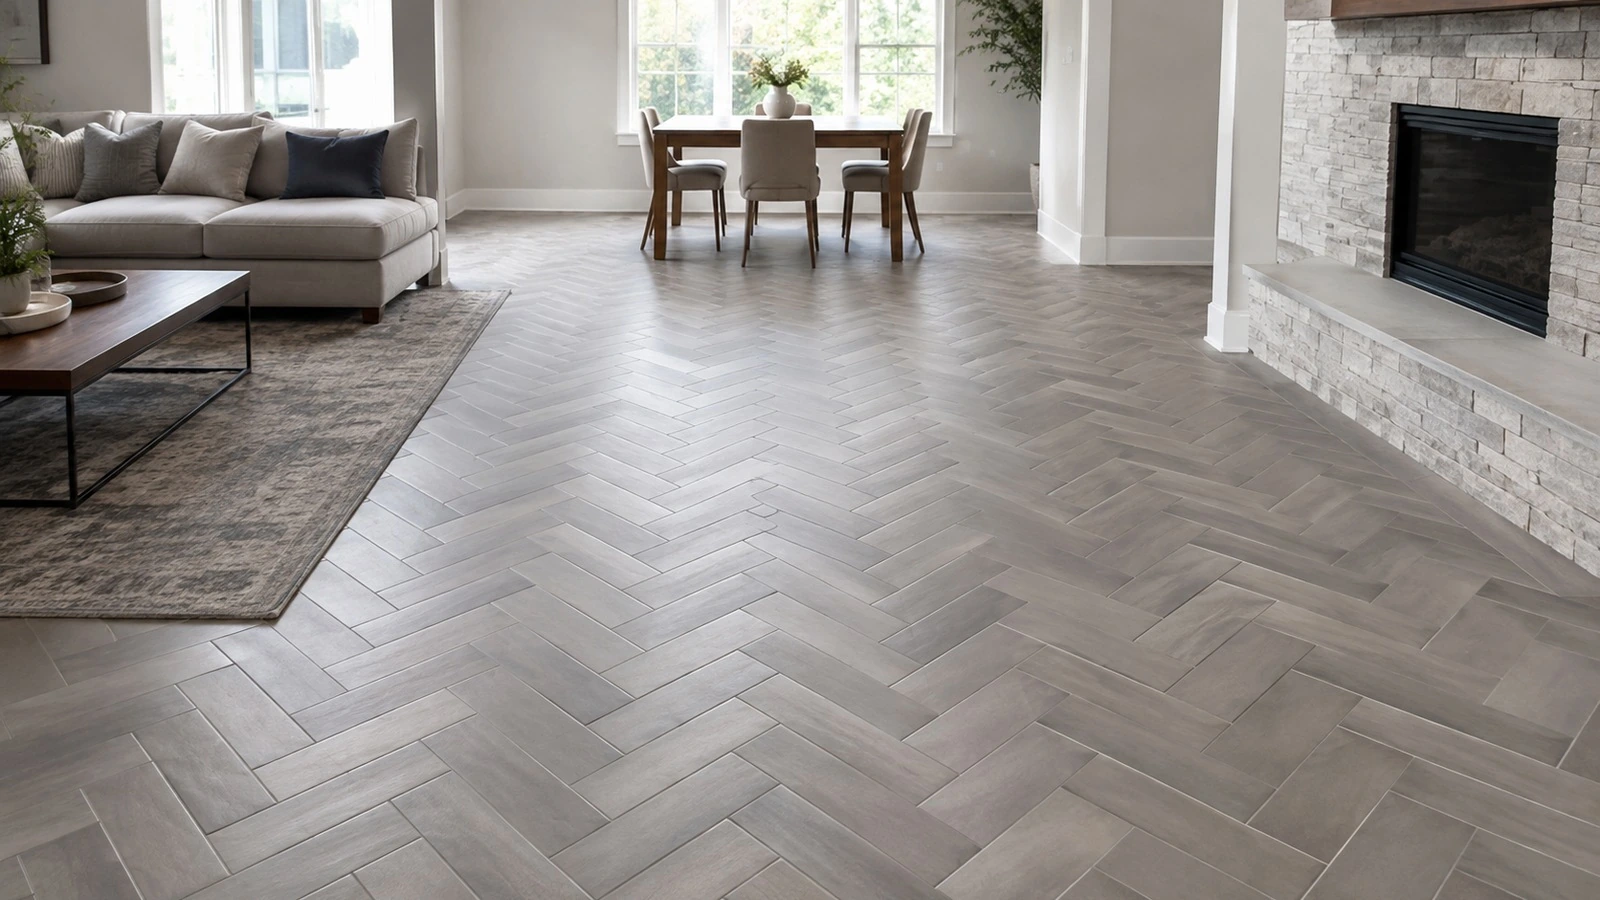
Tile layout changes more than the look of a room. It changes where cuts land, how many partial pieces you create, how much extra tile you should carry, and how carefully you need to plan the field before opening boxes or mixing mortar.
BuildListCalc’s Tile Calculator is designed as a finish-material takeoff for floor and wall tile. It can account for tile size, grout-joint selection, surface type, straight/diagonal/herringbone layout, openings, a visible waste factor, and optional substrate materials. Its output is a planning estimate—not a tile-setting specification, movement-joint detail, wet-area assembly design, or substitute for the selected tile and setting-material instructions.
1. Treat pattern as a quantity decision, not just a style decision
A straight lay usually keeps the field aligned with the room edges, so perimeter cuts are comparatively simple. Rotate the same field diagonally and more edges meet the walls at an angle. A herringbone layout can create many additional cut locations and smaller offcuts, depending on tile proportions, pattern orientation, and room geometry.
That is why the current BuildListCalc calculator explicitly warns that diagonal and herringbone layouts raise cut waste and layout labor in the field. It does not pretend there is one universal waste percentage for every diagonal or herringbone project. Room shape, tile dimensions, pattern orientation, border details, centered layout, niches, islands, tubs, and the installer’s ability to reuse offcuts can all change the actual allowance.
Use pattern to decide the planning method first. Then choose a waste factor that matches the real geometry rather than copying a percentage from another project.
2. Settle the substrate and wet-area assembly before you calculate finish tile
The calculator intentionally tells you to use the finish takeoff after the substrate, wet-area assembly, and layout pattern are already decided. That order matters.
For floors, the current tool can carry an uncoupling membrane or cement-board underlayment allowance. For walls, it can carry cement/fiber-cement backer or foam backer, and it can add a waterproof membrane allowance for shower walls, tub surrounds, and other regularly wet tile walls.
Those are planning selections, not universal construction rules. TCNA’s current Handbook description emphasizes that tile methods depend on a properly designed, constructed, and prepared substructure and includes separate guidance for wet areas, substrate flatness, mortar/grout specifications, joint sizes, and patterns. The selected system and manufacturer instructions still control the actual assembly.
So before comparing straight versus herringbone quantities, answer a more basic question: what prepared substrate or tile assembly will actually receive the finish tile?
3. Measure the tiled area before applying waste
Start with the real finish area, not the room’s floor area by habit.
For a simple rectangular floor:
Tile area = length × width
For a wall, calculate the wall surface that will actually receive tile. Then subtract large openings or fixtures only when the calculator input represents an area that truly will not be tiled. BuildListCalc provides an Openings / Fixtures to Subtract field for doors, windows, tubs, islands, and similar exclusions before waste is applied.
Do not subtract every small penetration. Tiny pipe holes and small cutouts may create more cutting rather than meaningful material savings.
4. Use straight lay as the clean baseline
The public Tile Calculator currently shows a simple baseline:
- surface area: 120 sq ft;
- tile size: 12 in × 12 in;
- grout joint: 1/8 in;
- layout: Straight lay;
- waste allowance: 10%;
- waste-adjusted tile quantity: 132 sq ft / 132 one-square-foot tiles;
- thinset: 2 bags;
- grout: 2 bags.
The arithmetic for the tile coverage is transparent:
120 sq ft × 1.10 = 132 sq ft
Because a nominal 12 × 12 tile covers about one square foot, the visible example also reads as 132 tiles. Change the tile size and the same square-foot coverage no longer equals the same piece count.
This is an example of the calculator’s current starting scenario, not a rule that every straight-lay project should use exactly 10% waste.
5. Diagonal layouts increase edge cutting
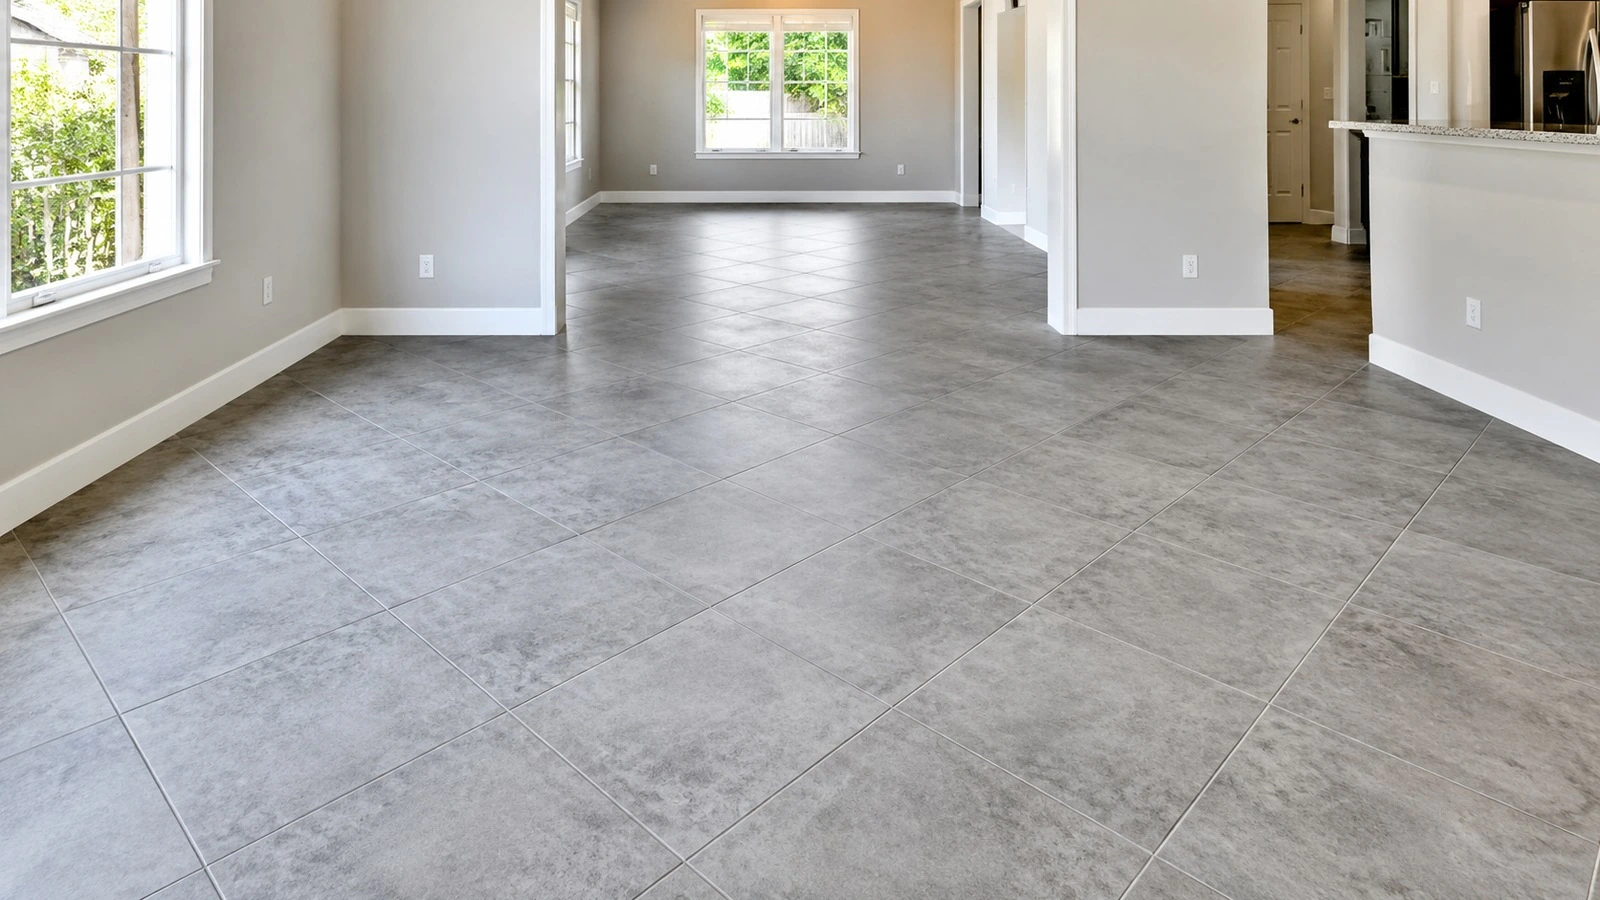
A diagonal field turns the tile grid relative to the room. Even in a perfect rectangle, that creates angled cuts along multiple edges. In an irregular room, the layout can become more cut-intensive quickly.
BuildListCalc responds to a diagonal selection in a specific way you should know about: it applies a pattern-based minimum waste allowance. For a floor, the calculator's planning minimum is 10% for straight lay, 15% for diagonal, and 18% for herringbone, with wall tile starting two points higher and large-format tile adding one or two more points on the diagonal and herringbone paths.
The waste field stays editable, but it behaves as a floor rather than a free input: the calculator uses whichever is larger, your entered percentage or the pattern minimum. Enter 10% on a diagonal floor and the result is still calculated at 15%.
The Waste allowance used line in the result metrics always shows the percentage the calculator actually applied, so check that value rather than assuming your input was used unchanged.
On the same 120 sq ft floor, switching the layout to diagonal therefore produces:
120 × 1.15 = 138 sq ft
That 138 sq ft is what the calculator produces on its own for a 12 × 12 diagonal floor, because 15% is its diagonal minimum. It is a planning floor chosen by the tool, not a TCNA requirement and not a statement that 15% is correct for your room.
6. Herringbone deserves its own layout review
Herringbone is more than “diagonal with a different look.” The pattern repeats in alternating directions, so the starting line, room center, border treatment, and perimeter cut strategy all matter.
A herringbone field can create many small angled pieces at walls and transitions. If the tile is long and narrow, the number and shape of those cuts can be very different from a square tile laid on a 45-degree diagonal. That is why a fixed herringbone overage should not be treated as universal.
The calculator's own herringbone minimum on this floor is 18%, which is where its automatic quantity lands. Choosing to plan at a higher 20% waste allowance on the same 120 sq ft floor would produce:
120 × 1.20 = 144 sq ft
The point is not that “herringbone equals 20%.” The point is that a more cut-intensive layout often needs a larger, explicitly chosen allowance, and the correct number should come from the room geometry, tile dimensions, layout plan, and installer judgment.
7. Grout-joint width is a product-and-layout decision
The current calculator includes a grout-joint selector because joint width affects grout planning. But BuildListCalc also tells you to verify the final joint width against the selected tile and grout.
TCNA’s grout FAQ explains why there is no single joint width that fits every tile: tile-to-tile size variation, edge shape, tile size, surface, installation location, and substrate plane all matter. A very tight joint can make dimensional variation more visible rather than hiding it.
Treat the calculator’s grout-joint value as a planning input. Confirm the actual joint with the tile manufacturer, grout manufacturer, and the installation requirements for the selected system.
8. Thinset quantity depends on more than floor area
BuildListCalc currently estimates thinset and grout using generic manufacturer coverage rates and specifically warns that the bag counts should be checked against the selected trowel, joint width, and actual tile body.
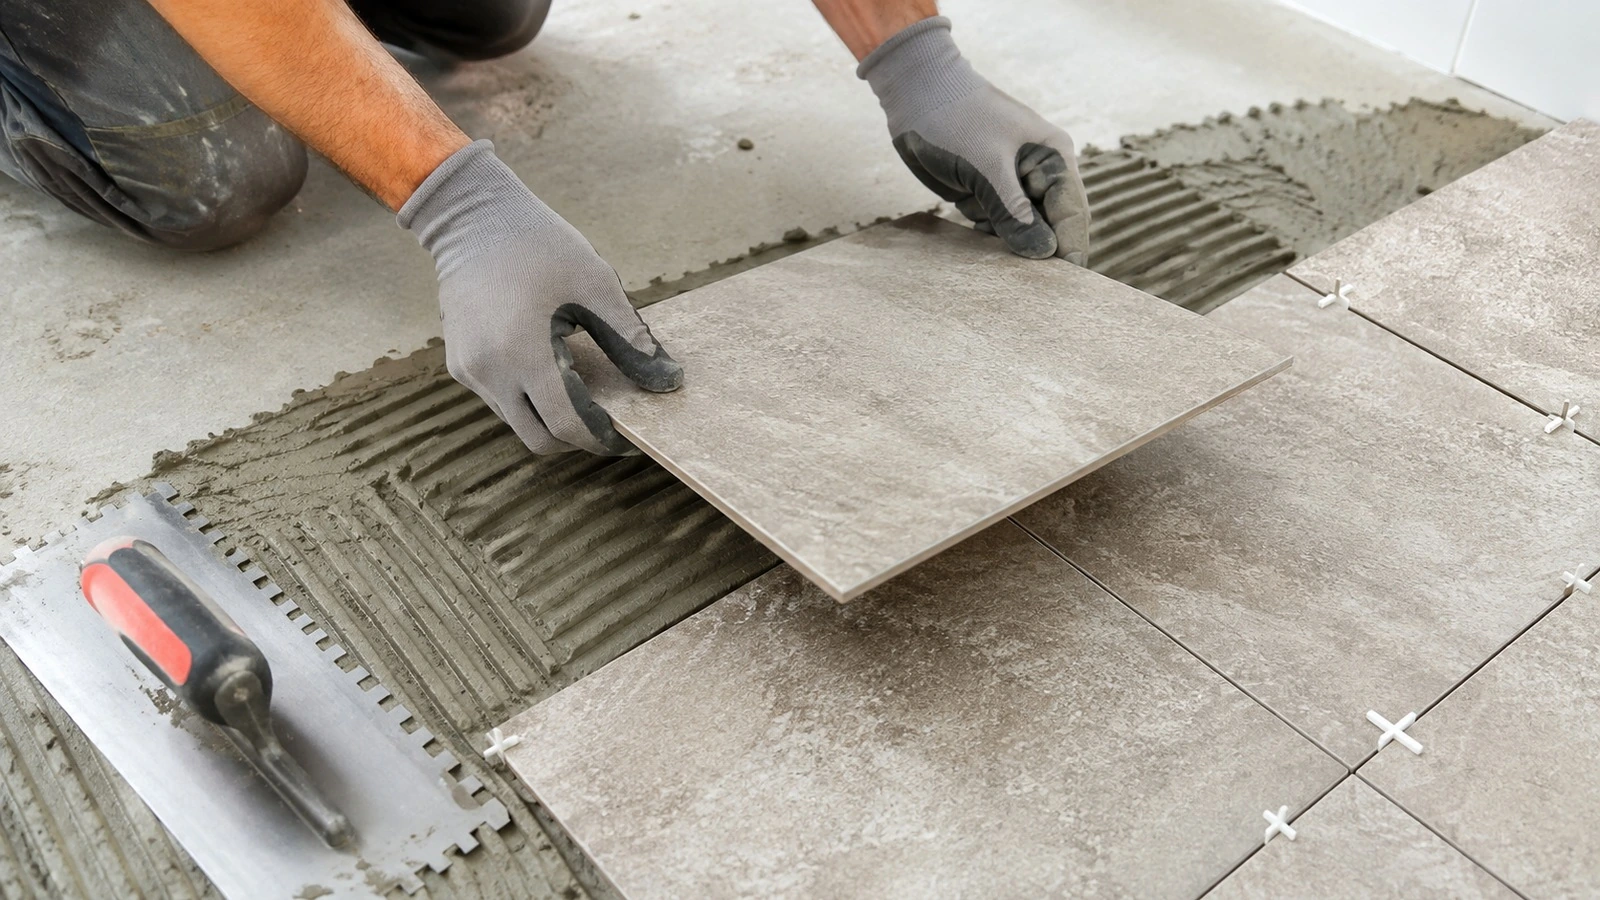
That warning is important. TCNA’s ceramic-tile guidance tells installers to use the correct notch-size trowel indicated by the setting-material manufacturer and notes that larger tile generally needs more setting material than smaller tile.
Pattern waste and mortar coverage are related, but they are not the same calculation. More cut tile can mean more handling and more field loss, while mortar consumption also depends on trowel geometry, substrate profile, tile back, required coverage, and application technique.
So do not simply take “15% more tile” and assume you automatically need exactly 15% more thinset.
9. Movement joints are not grout joints
A grout joint is the regular space between adjacent tiles. A movement joint is part of the installation strategy for accommodating expansion, contraction, and other movement in the tile assembly.
TCNA’s current placement FAQ says movement accommodation is needed in tile installations and notes that, in a small room, perimeter movement space hidden by baseboard or shoe molding may sometimes be sufficient. It also says exact movement-joint location and frequency depend on site conditions; larger areas, moisture, direct sun, exterior temperature range, and other conditions change the review.
BuildListCalc deliberately leaves movement-joint accessories outside the simple finish takeoff. Do not interpret a complete tile/grout shopping list as a complete movement-accommodation design.
10. Compare patterns with the same geometry—not different assumptions
If you want to know how pattern changes the quantity, hold the other inputs constant:
- enter the same surface length and width;
- use the same tile size;
- keep the same openings;
- keep the same substrate path;
- compare straight, diagonal, and herringbone;
- record the Waste allowance used value the calculator reports for each pattern, because the pattern minimum changes with the layout and you cannot hold the waste percentage constant below that floor;
- review the resulting tile, thinset, and grout quantities separately.
This avoids a common comparison mistake: changing the pattern, tile size, joint width, and substrate at the same time, then attributing the whole quantity change to the pattern.
11. Read the material list by quantity type
The calculator distinguishes between installed/coverage quantities and purchase quantities. In the current 120 sq ft example:
- the floor-tile line shows 132 sq ft of waste-adjusted coverage;
- thinset shows 2 bags as a purchase quantity;
- grout shows 2 bags as a purchase quantity.
The tile count comes from the waste-adjusted area divided by the tile's nominal face area; the grout-joint selection does not reduce it. A wider joint means each tile module occupies slightly more floor than its nominal face, so the modeled count runs marginally conservative. The tool also rounds packaged materials to whole purchase units, so the amount bought can exceed theoretical coverage. For tile, convert the waste-adjusted square footage to the actual carton coverage sold by your chosen product. For mortar and grout, verify the bag size and manufacturer coverage before ordering.
12. A practical planning sequence
Use this order for a cleaner takeoff:
- Confirm the substrate and wet-area system. Do not let a finish calculator choose the assembly for you.
- Measure the actual tiled surfaces. Subtract meaningful openings before waste.
- Choose the exact tile. Record nominal face dimensions from the carton or product page.
- Choose the layout pattern. Straight, diagonal, and herringbone should not share an automatic waste assumption.
- Dry-plan the field. Check centerlines, borders, transitions, and where small cuts will occur.
- Set a transparent waste allowance. Base it on geometry and cut reuse, not a universal internet percentage.
- Confirm grout joint and setting materials. Product instructions control actual joint and trowel choices.
- Use BuildListCalc for the quantity pass. Review tile coverage, thinset, grout, and any selected underlayment/backer/waterproofing allowances.
- Reconcile to packages. Cartons, bags, rolls, and accessory sizes determine the final order.
Final idea
Pattern is a visible design choice with a hidden material consequence. Straight lay is usually the simplest baseline; diagonal and herringbone make edge geometry and cut reuse more demanding. The right response is not to memorize a universal waste percentage. Measure the real tiled area, decide the substrate and wet-area assembly, choose the pattern, make the waste allowance explicit, and then use the Tile Calculator to turn those decisions into a reviewable material takeoff.
Related tool: Tile Calculator
Sources
- BuildListCalc, Tile Calculator. Accessed August 26, 2026.
- Tile Council of North America, Placement FAQ. Accessed August 26, 2026.
- Tile Council of North America, Grout FAQ. Accessed August 26, 2026.
- Tile Council of North America, Ceramic Tile FAQ. Accessed August 26, 2026.
- Tile Council of North America, 2026 TCNA Handbook for Ceramic, Glass, and Stone Tile Installation. Accessed August 26, 2026.