Diy Tutorial
How to Estimate Drywall for a Room: Sheets, Ceilings, Openings, Screws, Tape, and Joint Compound
Estimate drywall by separating walls and ceilings, deducting openings, choosing sheet length, applying visible waste, and planning screws, tape, compound, and outside corners.
BuildListCalc Editorial Team · 8 min · Published September 3, 2026 · Updated September 3, 2026 · Fact checked August 24, 2026
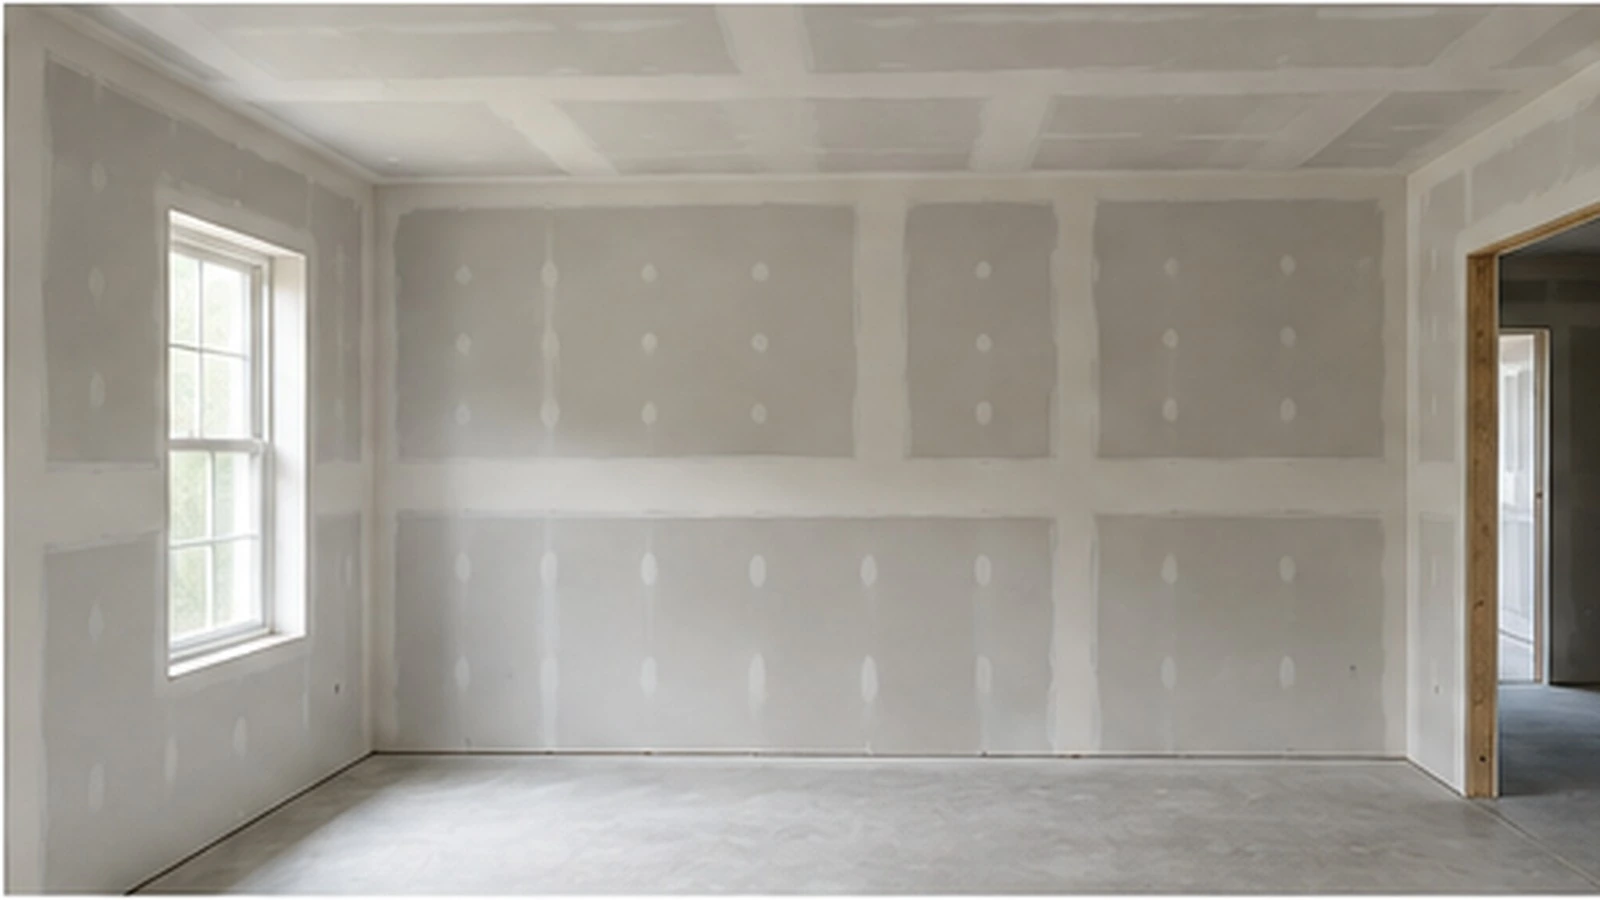
A drywall takeoff is more than “wall area divided by 32.” A useful plan has to separate wall and ceiling area, subtract the openings the estimator is designed to recognize, apply a visible waste allowance, choose a board size that can actually reach the room, and then add the finishing materials that turn panels into a finished surface.
BuildListCalc’s Drywall Calculator is designed for interior drywall planning. Its current public version supports direct-area or room-geometry inputs, optional ceiling drywall, 4 × 8, 4 × 9, 4 × 10, and 4 × 12 ft sheets, simple door/window deductions, a visible waste factor, screws, joint tape, joint compound, and outside-corner bead planning. It is a material takeoff—not a room-by-room cut list, a finish-level specification, or a substitute for a rated assembly or wet-area system.
1. Measure the surfaces before you count sheets
For a simple rectangular room, start with the wall perimeter and wall height. The gross wall area is:
2 × (room length + room width) × wall height
If the ceiling will also receive drywall, add:
room length × room width
BuildListCalc also has a direct-area mode for a single wall, patch scope, or another case where the drywall square footage is already known. That is useful when the room is irregular or when only part of the enclosure is being boarded.
Do not mix wall geometry and floor area. A 168 sq ft floor does not mean the room has 168 sq ft of drywall. The wall perimeter, wall height, ceiling choice, and openings determine the actual surface area.
2. Subtract openings the same way the calculator does
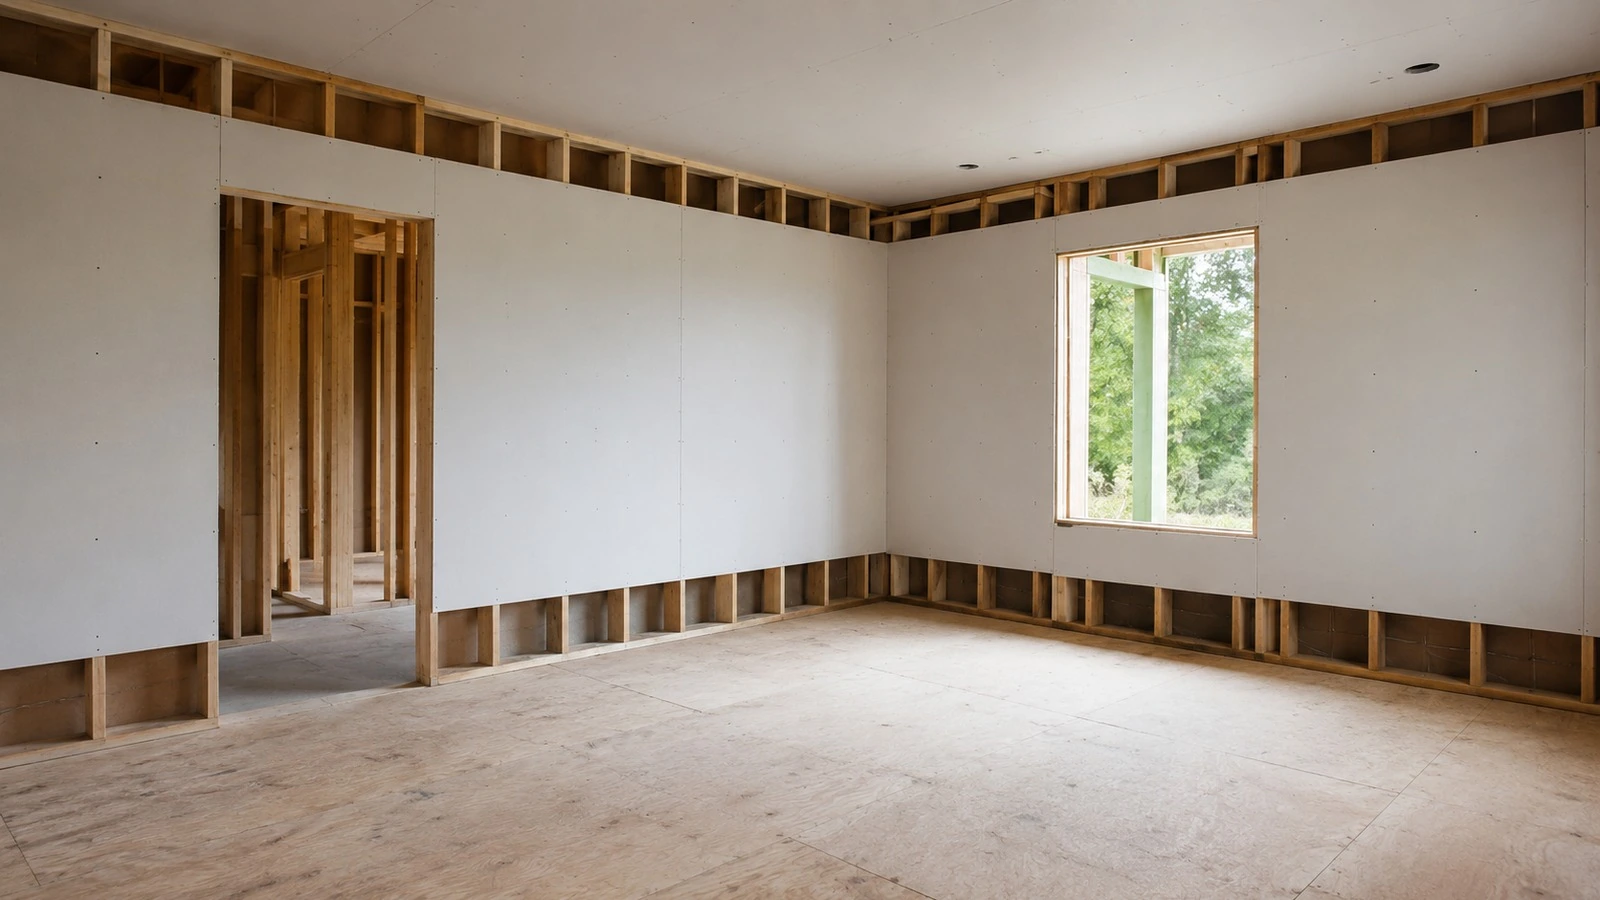
The current calculator subtracts simple rectangular door and window areas from the wall takeoff. Its own scope note also says it does not add closet returns, soffits, backing strips, or small partition offsets back into the total.
That makes the estimate transparent, but it is still a simplified geometry model. If the real room has deep window returns, niches, bulkheads, columns, partial-height partitions, or other surfaces, measure those separately instead of assuming the calculator has reconstructed them.
USG’s installation and finishing guide uses a similar estimating principle: measure the wall and ceiling areas and subtract large openings such as doorways and picture windows, while small penetrations are not normally treated as separate area deductions in its basic estimating method. That manufacturer method is useful context, but the BuildListCalc result should still be read according to the calculator’s own visible inputs and assumptions.
3. Choose sheet length for handling and joint layout—not just arithmetic
A 4 × 8 ft sheet covers 32 sq ft. A 4 × 9 covers 36 sq ft, a 4 × 10 covers 40 sq ft, and a 4 × 12 covers 48 sq ft. USG’s current product information lists common 48-in.-wide panels in lengths from 8 to 12 ft, and its installation guide recommends using longer panels when practical to reduce joints.
BuildListCalc therefore lets you choose 4 × 8, 4 × 9, 4 × 10, or 4 × 12 ft sheets. But the calculator explicitly says the sheet count is an area-based planning count, not a room-by-room cut layout.
Before selecting longer sheets, check the real delivery path:
- Can the panels turn through the entry, hallway, stair, or basement access?
- Can the crew or DIY team physically handle and position them?
- Does the wall or ceiling layout actually benefit from the longer length?
- Will the orientation and framing layout create joints where you can properly support and finish them?
Longer is not automatically better if the sheet cannot physically reach the room or if the actual board layout creates awkward waste.
4. Keep the waste factor visible
Waste covers cutoffs, damaged edges, layout inefficiency, and the fact that board coverage rarely lands exactly on a package boundary. BuildListCalc exposes the waste factor instead of hiding it in the sheet count.
For the current public starter example, the calculator shows:
- room: 14 ft × 12 ft;
- wall height: 8 ft;
- 1 door and 1 window;
- ceiling included;
- 4 × 8 ft sheets;
- finishing included;
- wall area after the calculator’s opening deductions: 384 sq ft;
- ceiling area: 168 sq ft;
- total drywall area: 552 sq ft;
- board waste factor: 10%.
The board-count check is:
552 sq ft × 1.10 = 607.2 sq ft of waste-adjusted coverage
607.2 ÷ 32 sq ft per 4 × 8 sheet = 18.975 sheets
Rounded to whole purchase units, that becomes 19 sheets, matching the current calculator output.
This is an example-specific check, not a recommendation that every drywall job should use exactly 10% waste. Adjust the waste input to the real layout and product plan.
5. Treat ceilings as a separate planning decision
Ceilings change both area and installation conditions. BuildListCalc lets you include or exclude ceiling drywall because a wall-only project should not silently acquire ceiling material.
The final board thickness, framing spacing, orientation, and fastener schedule should follow the selected panel manufacturer and any applicable rated assembly. USG’s current guidance, for example, gives product- and application-specific frame-spacing and fastening recommendations and separately notes that fire-resistance requirements must follow the relevant tested assembly and local requirements.
The practical takeaway is not to copy one generic screw pattern into every ceiling. Use BuildListCalc for quantity planning, then verify the actual panel and assembly instructions before installation.
6. Screws are a package estimate, not an exact fastening schedule
The current BuildListCalc example returns 1 screw box. The calculator explains that its screw-box quantity assumes a typical residential fastening pattern and a conservative 5 lb box, while framing spacing, adhesive use, board orientation, and finish requirements can change the real quantity.
USG’s FAQ illustrates why that distinction matters: for certain non-fire-rated applications it gives different screw spacing for ceilings and walls, and it explicitly says fire-rated work must follow the relevant fire test. Those manufacturer details are installation guidance for the named system—not a universal rule for every drywall assembly.
So use the screw-box line as a purchasing allowance. Do not use “1 box” as a substitute for a fastening schedule.
7. Tape and joint compound follow the finished board area
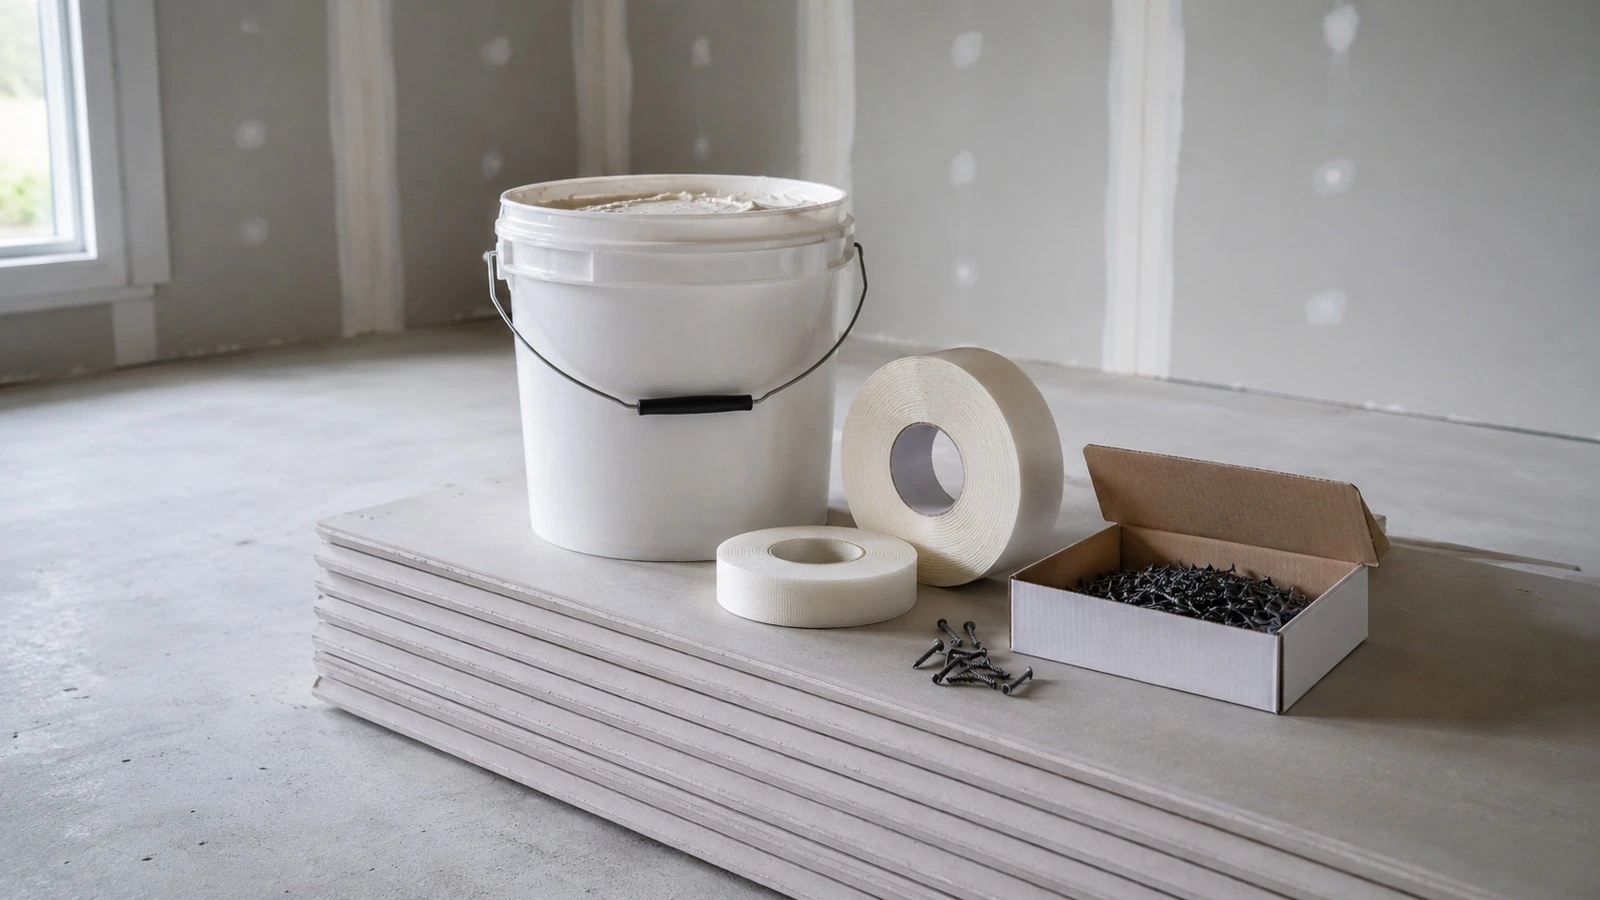
If you turn on finishing in BuildListCalc, the calculator adds joint tape, joint compound, and corner-finishing allowances. The public example returns:
- 2 joint compound buckets;
- 2 tape rolls;
- 0 outside-corner beads for the current simple room example.
USG’s installation guide treats joint tape and compound as a coordinated finishing system: tape reinforces joints and inside corners, while joint compound embeds tape and covers joints, fasteners, corner bead, and trim. The quantity required in practice depends on the board layout, number of joints, selected compound, finish expectation, workmanship, and package coverage.
BuildListCalc also warns that “finishing included” is still a planning takeoff and not a Level 5 finish specification — Level 5 being the most demanding of the industry finish levels, which calls for a skim coat over the entire surface. If a project has a defined architectural finish level, use the project specification and selected finishing system to determine the actual labor and material process.
8. Count outside corners deliberately
The calculator has a separate field for exposed outside corners or returns that need corner bead. Standard inside room corners are taped and are not counted as corner bead in that field.
That distinction helps prevent a common estimating mistake: treating every room corner as a purchased length of corner bead. Walk the room and count only the actual exposed outside drywall corners and returns that your selected trim system will finish.
9. Keep continuously wet tile areas out of an ordinary drywall takeoff
The current Drywall Calculator treats standard, mold-resistant, and Type X choices as dry-area planning selections. It explicitly says shower walls and other continuously wet tile substrates need a cement/backer assembly rather than ordinary gypsum board.
USG’s Durock cement-board system guide likewise identifies cement board as a water-durable tile base for tub and shower areas. That is manufacturer guidance for a named system, not a universal specification for every wet-area assembly, so the final backer, waterproofing, fasteners, joints, and tile system must follow the selected products and local requirements.
The estimating rule is simple: if a surface belongs to a wet-area backer/waterproofing system, do not quietly count it as ordinary room drywall just because it is inside the same room.
10. Reconcile the takeoff before buying
A good drywall estimate ends with a field check, not the “Calculate” button. Before ordering:
- confirm the room dimensions and wall height;
- confirm whether the ceiling is actually in scope;
- verify door and window counts and sizes;
- add any returns, soffits, niches, or other surfaces the simple model does not include;
- confirm the board type and sheet length can be delivered to the room;
- review the waste factor;
- verify the panel manufacturer’s installation requirements and any rated-assembly details;
- match screw, tape, compound, and corner-bead quantities to the actual products and package sizes.
For the current 14 × 12 ft starter example, BuildListCalc’s headline takeoff is 19 drywall sheets, 2 joint compound buckets, 2 tape rolls, and 1 screw box for 552 sq ft. That is a useful planning list because its assumptions are visible. The final order still belongs to the measured room, selected products, and actual installation path.
Final takeaway
Estimate drywall in layers: surface area → openings → ceiling scope → board size → waste → fasteners → finishing materials. BuildListCalc turns those inputs into a repeatable purchasing plan, while the manufacturer instructions and any project-specific rated or wet-area requirements control the actual installation.
Related tool: Drywall Calculator
Sources
- BuildListCalc, Drywall Calculator. Accessed August 24, 2026.
- USG, Sheetrock Brand Installation and Finishing Guide J371. Accessed August 24, 2026.
- USG, USG Assemblies FAQs. Accessed August 24, 2026.
- USG, USG Durock Brand Cement Board Systems. Accessed August 24, 2026.
- USG, Sheetrock Brand Gypsum Panels. Accessed August 24, 2026.