Diy Tutorial
Garage Floor Epoxy Planning: Surface Prep, Crack Repair, Primer, Epoxy, Flakes, and Clear Coat
Plan a garage-floor epoxy project by reviewing slab condition first, then estimating cleaning, minor crack repair, primer, body coat, flakes, clear topcoat, and traction options.
BuildListCalc Editorial Team · 8 min · Published August 26, 2026 · Updated August 27, 2026 · Fact checked August 21, 2026
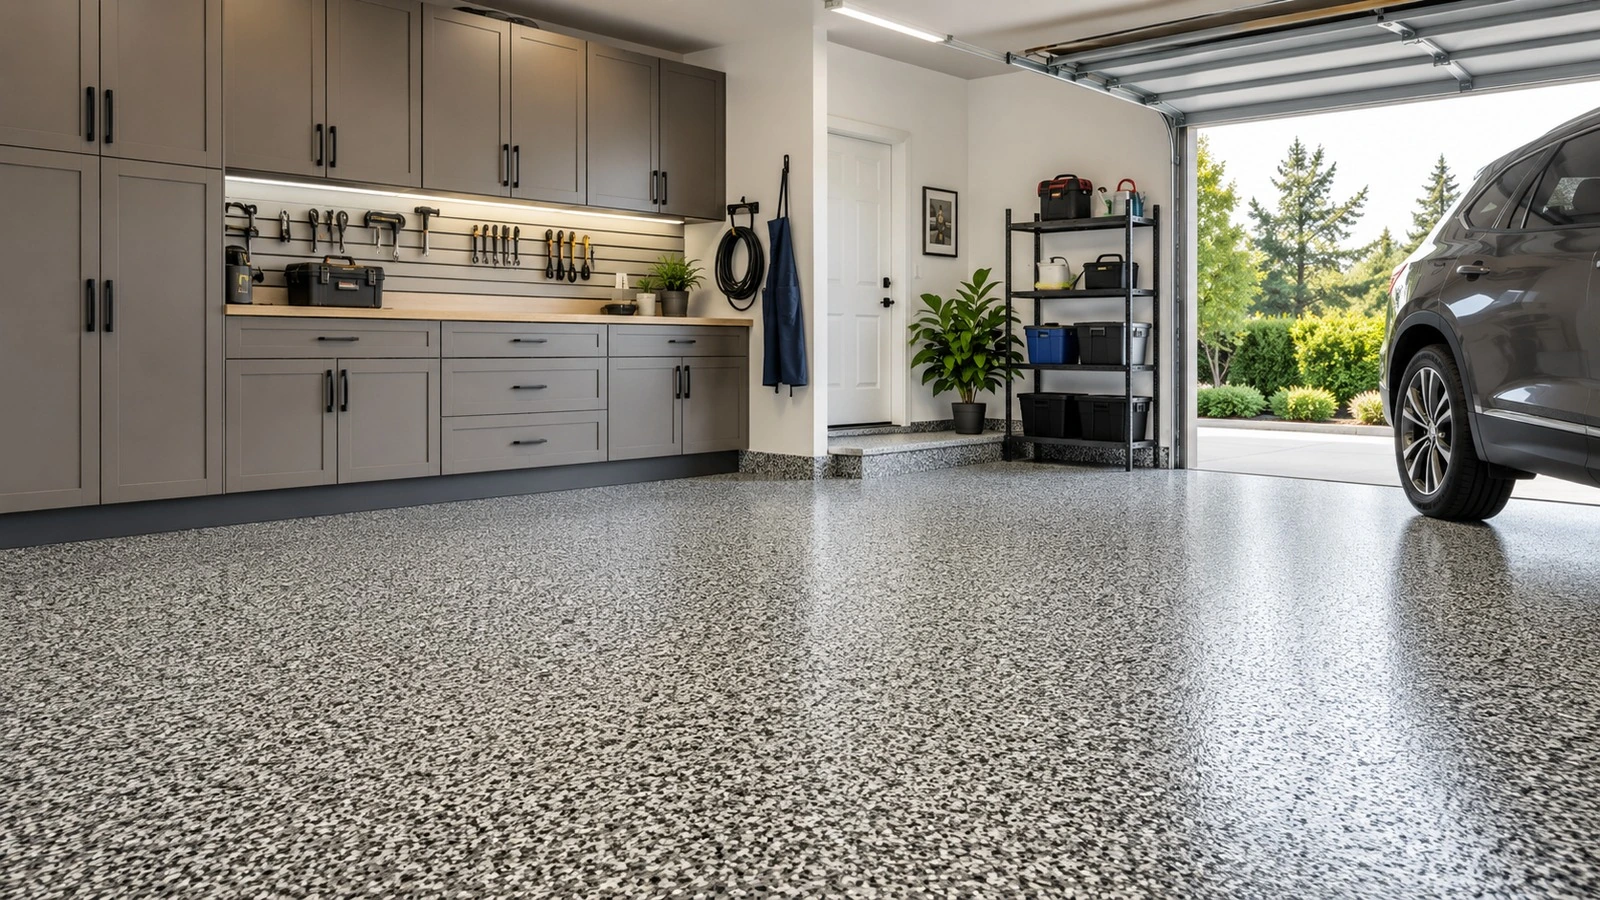
A garage-floor coating project is mostly a surface-condition project before it becomes a coating project. Square footage is easy to calculate; adhesion, moisture, contamination, old coatings, cracks, and cure windows are what decide whether the material list is even worth using.
BuildListCalc’s Epoxy Floor Calculator is designed for simple rectangular concrete floor-coating systems. It can plan degreaser, minor crack filler, primer, epoxy body coat, decorative flake, clear topcoat, and a slip-resistant additive. The calculator assumes the slab condition and prep path have already been reviewed.
1. Inspect the concrete before calculating coating quantities
Start with the floor you actually have, not the floor you hope is underneath the stains and old finish.
The current BuildListCalc calculator explicitly warns that its coating path assumes a clean, dry concrete slab. Active moisture, oil contamination, and failing old coatings need separate prep review before coating. It also keeps grinders, shot blasting, moisture-mitigation primers, slab patching, moving-joint repair, and spall rebuilds outside its basic bill of materials.
Before opening the calculator, inspect for:
- oil and grease contamination;
- an existing paint, sealer, or coating;
- moisture concerns or visible dampness;
- hairline/static cracks versus moving cracks or open joints;
- spalls, scaling, or weak concrete;
- curbs, pits, steps, equipment pads, or other geometry that makes the floor more complicated than a plain rectangle.
If the floor has a serious substrate problem, solve that problem first. A quantity estimate cannot turn unsuitable concrete into a coating-ready surface.
2. Moisture is a go/no-go review item, not a waste-factor setting
Rust-Oleum’s current concrete-prep guidance says to test for moisture before applying a coating. Its garage-floor guidance also says moisture and previous coatings help determine what prep work is needed.
BuildListCalc follows the same planning boundary: moisture mitigation is not part of the simple material list. That means you should not compensate for moisture by buying extra epoxy or adding a bigger waste factor. If the slab has a moisture issue, choose a compatible testing and mitigation path for the actual product system before proceeding.
This is especially important because different coating systems have different substrate and moisture limits. Follow the coating manufacturer’s current instructions for the system you will actually install.
3. Clean and degrease the entire floor
Visible oil spots are not the only contamination that matters. Rust-Oleum’s Cleaner & Degreaser guidance says thorough cleaning is important for adhesion and recommends cleaning and degreasing the whole floor because hidden contaminants can also affect the coating.
For planning purposes, that is why BuildListCalc includes degreaser as a prep material rather than treating cleaning as optional housekeeping.
A practical sequence is:
- remove loose debris;
- address heavy oil/grease contamination according to the prep-product instructions;
- clean and degrease the full coating area;
- rinse and dry as required by the chosen system;
- reassess the concrete before moving to profiling or coating.
Do not assume a visually clean floor is chemically clean enough for a coating.
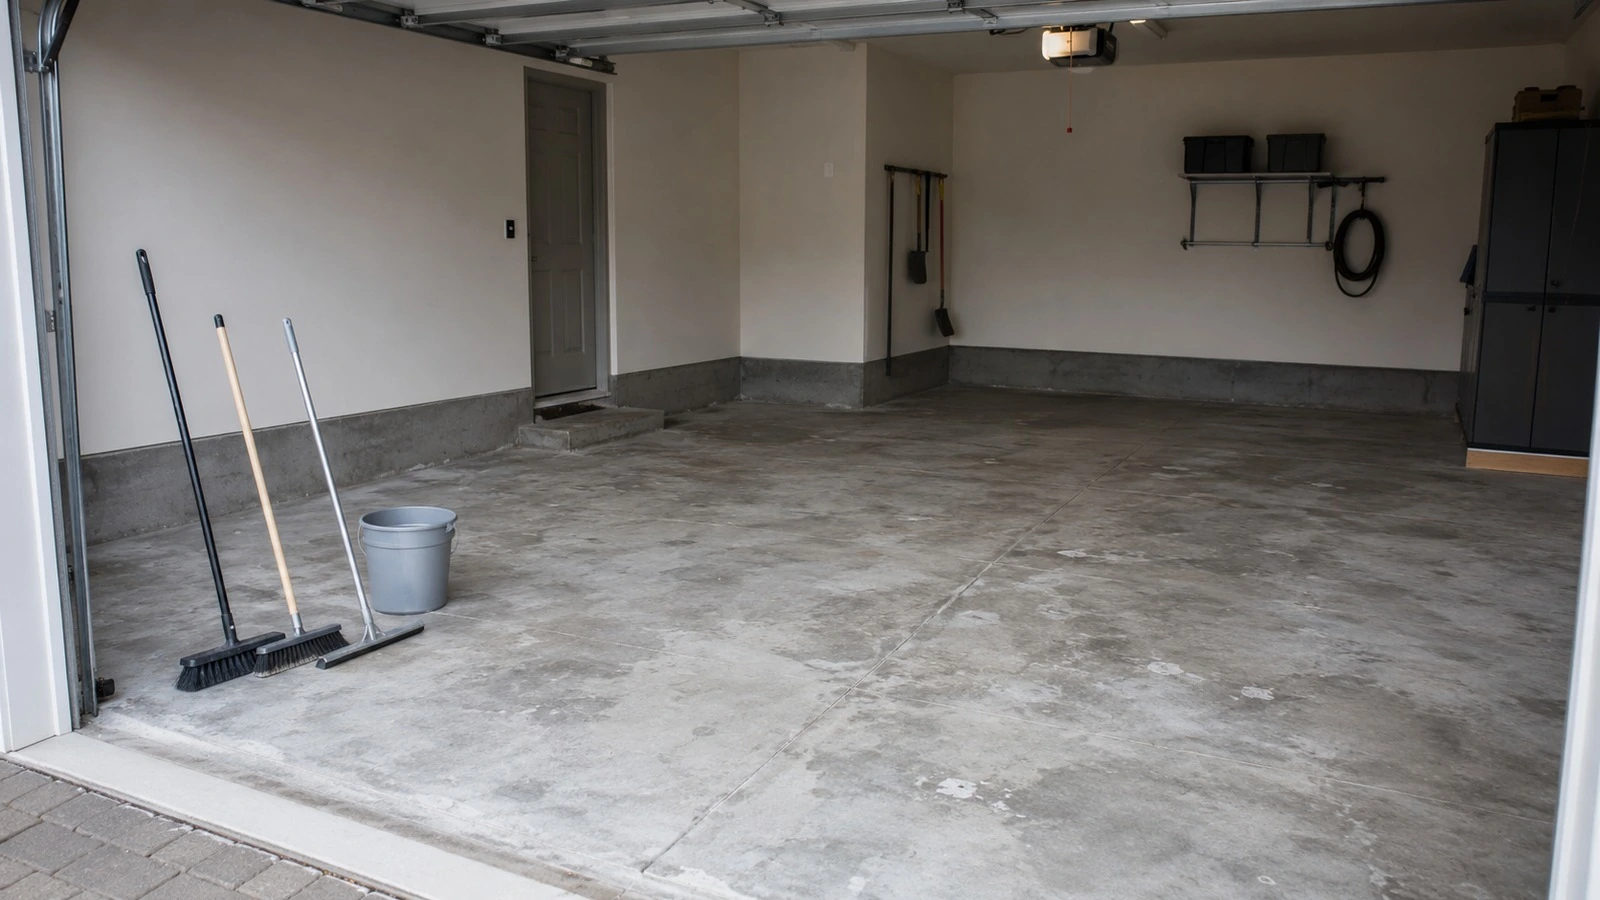
4. Profile bare concrete only as the coating system requires
Some systems call for etching or another method of creating a suitable surface profile. Rust-Oleum’s current Concrete Etch page describes its citric-acid product as a way to open pores in bare concrete to improve coating penetration and adhesion. Its broader garage-floor guidance says prep may include cleaning, etching, or priming depending on the existing condition and the product.
Do not translate that into “every garage floor must be acid-etched.” Existing coatings, hard-troweled concrete, contaminants, surface defects, and the coating manufacturer’s instructions can change the required preparation method. Mechanical preparation may be appropriate for some systems, but grinders and shot blasting are outside BuildListCalc’s basic BOM.
The calculator is therefore best used after you know which prep path applies.
5. Repair only the cracks that fit the calculator’s scope
BuildListCalc has an input for the total length of minor crack repair. Its current scope limits this to minor routed or static cracks and says moving joints, slab-flatness correction, moisture mitigation, and spall rebuilds require separate work.
That boundary matters. A crack-filler tube is a material allowance, not a diagnosis of why the concrete cracked.
Before using the crack-length input, distinguish:
- small static cracks that fit the selected repair product;
- control or construction joints that are intended to move;
- active cracks that continue changing;
- spalls or broken edges that need patching or rebuild;
- elevation changes or slab movement that may need professional evaluation.
Only put the simple repair length into the calculator when the condition truly fits that simple scope.
6. Decide whether primer belongs in your system
The live BuildListCalc page provides an Include floor primer control and notes that many residential concrete floors use primer unless the coating manufacturer specifically allows direct-to-concrete application.
That is a planning recommendation, not a universal rule. Some coating systems are designed for direct application to properly prepared concrete, while others specify a primer or a particular substrate sealer. Use the current instructions for the exact coating product and concrete condition you have.
If primer is required, calculate it as a separate layer over the prepared area rather than assuming the epoxy body coat can make up for missing prep or primer.
7. Choose the coating system before you calculate decorative flakes
BuildListCalc includes multiple coating presets and a flake-broadcast setting. Decorative flakes change appearance and can also change the amount of material involved in a heavier broadcast system.
For a simple solid-color garage floor, the planning stack may be:
prepared concrete → optional/required primer → epoxy body coat
For a decorative system, the stack may become:
prepared concrete → primer if required → body coat → decorative flake → clear topcoat
Note that the clear topcoat is not optional on the calculator's decorative-flake path: selecting the flake system hides the topcoat checkbox and always includes a topcoat in the material list.
The actual sequence and recoat window are product-specific. Rust-Oleum’s EpoxyShield product page, for example, packages a two-part epoxy with decorative color chips and recommends its compatible clear coating for additional protection and gloss. That example should not be used as a universal specification for every epoxy brand.
8. Treat the clear topcoat as a separate decision
For a solid-color system, the BuildListCalc calculator lets you include or omit a clear topcoat, and it warns that larger garage/shop epoxy floors often deserve a review of that choice. On the decorative-flake system the decision is made for you: the Include clear topcoat control is hidden and a topcoat is always included in the material list.
It is also worth knowing which chemistry the tool prices. The calculator's clear-topcoat line is a polyaspartic kit, not an epoxy clear. Check the selected polyaspartic product's working time and recoat window before planning the staging in section 11; they are product-specific.
A clear topcoat can be part of a system for wear, cleanability, appearance, or chemical resistance, but its compatibility, timing, coverage, and traction characteristics depend on the selected product system. Rust-Oleum’s current technical data for EpoxyShield Premium Clear Coating, for instance, presents it as a separate protective clear layer for coated or bare concrete and notes that the kit includes anti-skid additive.
Use that as an example of how a system can be built—not as a blanket rule that every epoxy floor requires the same topcoat.
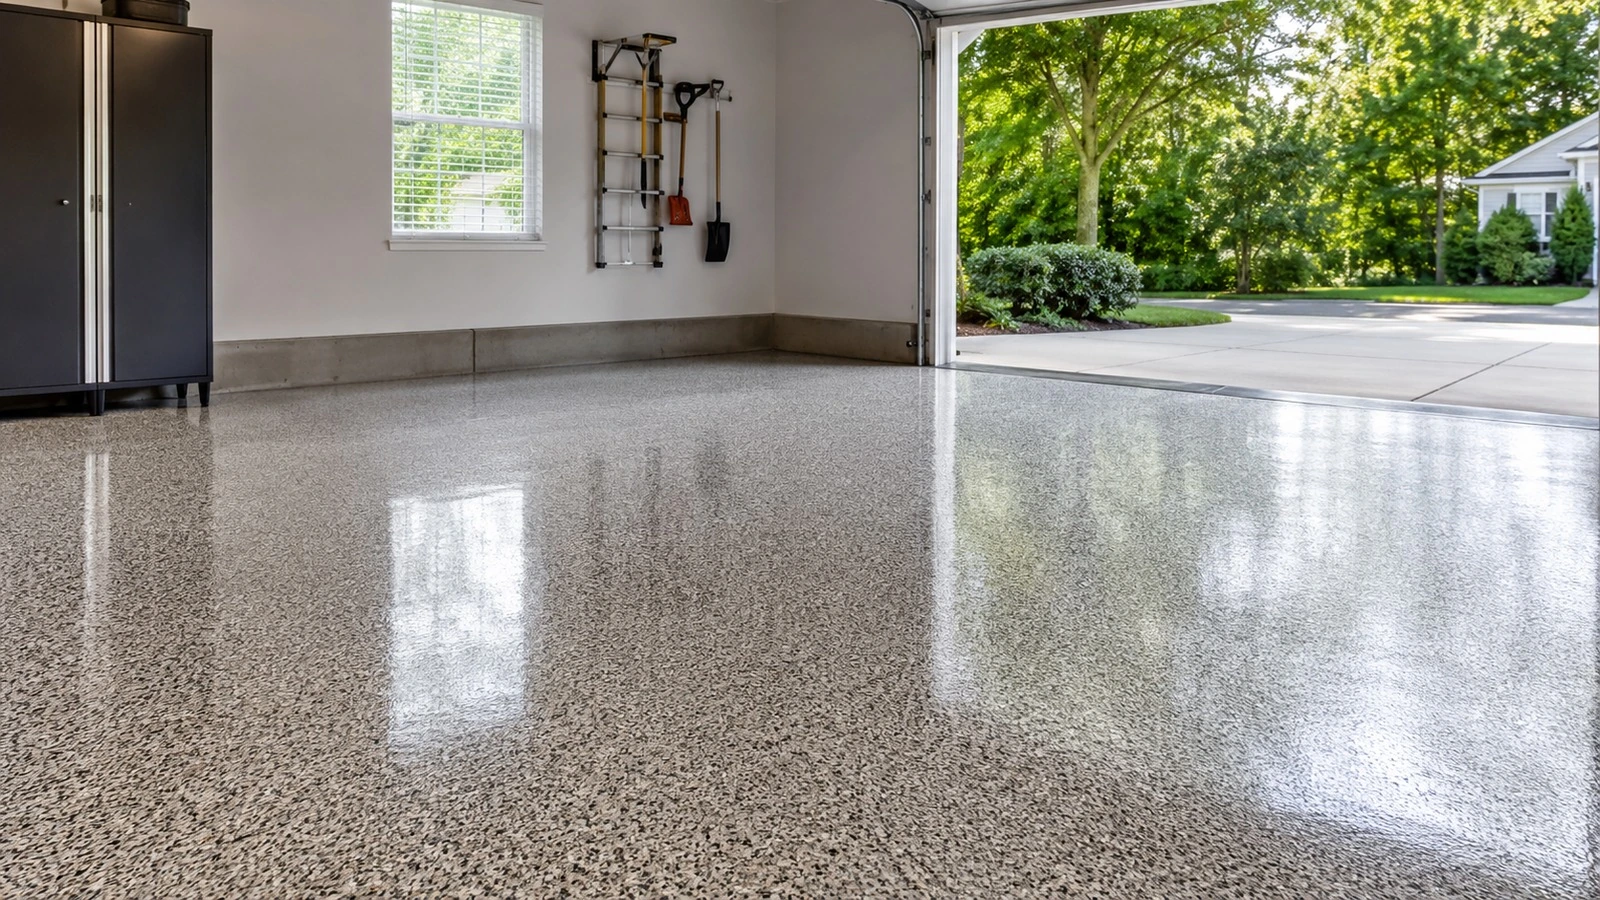
9. Do not let decorative flakes hide traction planning
The current BuildListCalc tool has a separate slip-resistant additive option. That separation is useful: decorative flakes and traction are not the same decision.
If the garage can be wet from rain, snow, vehicle runoff, washing, or shop use, review the finished system’s traction requirements and the coating manufacturer’s approved additive or texture options. More texture can also change cleaning feel and appearance, so choose intentionally rather than assuming “more flake” automatically solves slip concerns.
10. Use coverage rates as planning baselines, not guarantees
The calculator currently uses manufacturer-style coverage assumptions on properly profiled concrete and models a single body coat at roughly 250 sq ft per kit. It also warns that porosity, roller loss, installer method, multi-coat systems, porous slabs, and heavy flake builds can reduce real coverage.
That means a 400 sq ft floor can show 2 epoxy kits in the current solid-color example, but the number belongs to that calculator scenario and its assumptions. Your selected manufacturer’s stated coverage, the actual surface profile, system build, and waste factor should control the purchase review.
The same caution applies to primer and topcoat. Round-up to whole packages is necessary for purchasing, but buying more packages does not repair a bad substrate or create extra coverage where the surface is unusually porous.
11. Plan the work sequence before mixing any two-part coating
Two-part coatings have a limited working window after mixing. Rust-Oleum’s current garage-floor guidance tells users to follow the label and notes that mixed coatings must be applied within the product’s specified timeframe.
Before mixing:
- finish all cleaning and prep;
- complete the approved crack-repair work;
- verify the slab is ready under the manufacturer’s moisture rules;
- stage rollers, brushes, shoes/spikes or other system-approved tools;
- plan the exit path so you do not coat yourself into a corner;
- know where flakes or traction additive will be broadcast;
- know the product-specific recoat and traffic windows.
Do not borrow cure times from another brand or coating chemistry. The product you buy controls the actual mixing, application, recoat, and return-to-service schedule.
12. Read the BuildListCalc material list by layer
For the current 20 ft × 20 ft solid-color example, the public calculator shows a 400 sq ft floor with 2 epoxy kits, 2 primer gallons, and 2 degreaser gallons. Clear topcoat and crack filler are omitted in that visible scenario.
Again, these are example-specific quantities, not a universal recipe for every 400 sq ft garage.
Review the output by layer:
- slab cleaning — degreaser/prep allowance;
- minor crack repair — only when the input scope truly fits static/minor cracks;
- primer coat — if included and appropriate for the selected system;
- body coat — epoxy kits based on the modeled coverage and waste;
- decorative flake — based on the chosen broadcast style;
- clear topcoat — if the selected system calls for it;
- slip-resistant additive — if intentionally selected for the finished surface.
Then compare each line with the exact product instructions you intend to use. The calculator provides a purchasing framework; the manufacturer controls the coating system.
Final takeaway
A durable garage-floor coating starts with substrate review, not with the epoxy kit. Confirm moisture, contamination, old coatings, cracks, and surface prep first. Then use BuildListCalc to organize the simple rectangular coverage and material layers: cleaning, minor repair, primer, body coat, flakes, topcoat, and traction option. The result is a planning takeoff, while the final prep method, product compatibility, application window, and cure schedule come from the actual coating manufacturer and the condition of your slab.
Related tool: Epoxy Floor Calculator
Sources
- BuildListCalc, Epoxy Floor Calculator. Accessed August 21, 2026.
- Rust-Oleum, Cleaner and Degreaser. Accessed August 21, 2026.
- Rust-Oleum, Concrete Etch. Accessed August 21, 2026.
- Rust-Oleum, Moisture Stop Fortifying Sealer. Accessed August 21, 2026.
- Rust-Oleum, Garage Floor Coating. Accessed August 21, 2026.
- Rust-Oleum, EpoxyShield Premium Clear Coating Technical Data Sheet. Accessed August 21, 2026.
- Rust-Oleum, What Garage Floor Coating Should I Use?. Accessed August 21, 2026.