Diy Tutorial
How to Build a Compacted Gravel Base: Depth, Aggregate, Geotextile, Bedding Sand, and Drainage
Plan a compacted gravel base from utility locate and subgrade review through aggregate selection, lifts, geotextile, bedding sand, drainage, and supplier-ready quantities.
BuildListCalc Editorial Team · 10 min · Published September 7, 2026 · Updated September 7, 2026 · Fact checked August 26, 2026
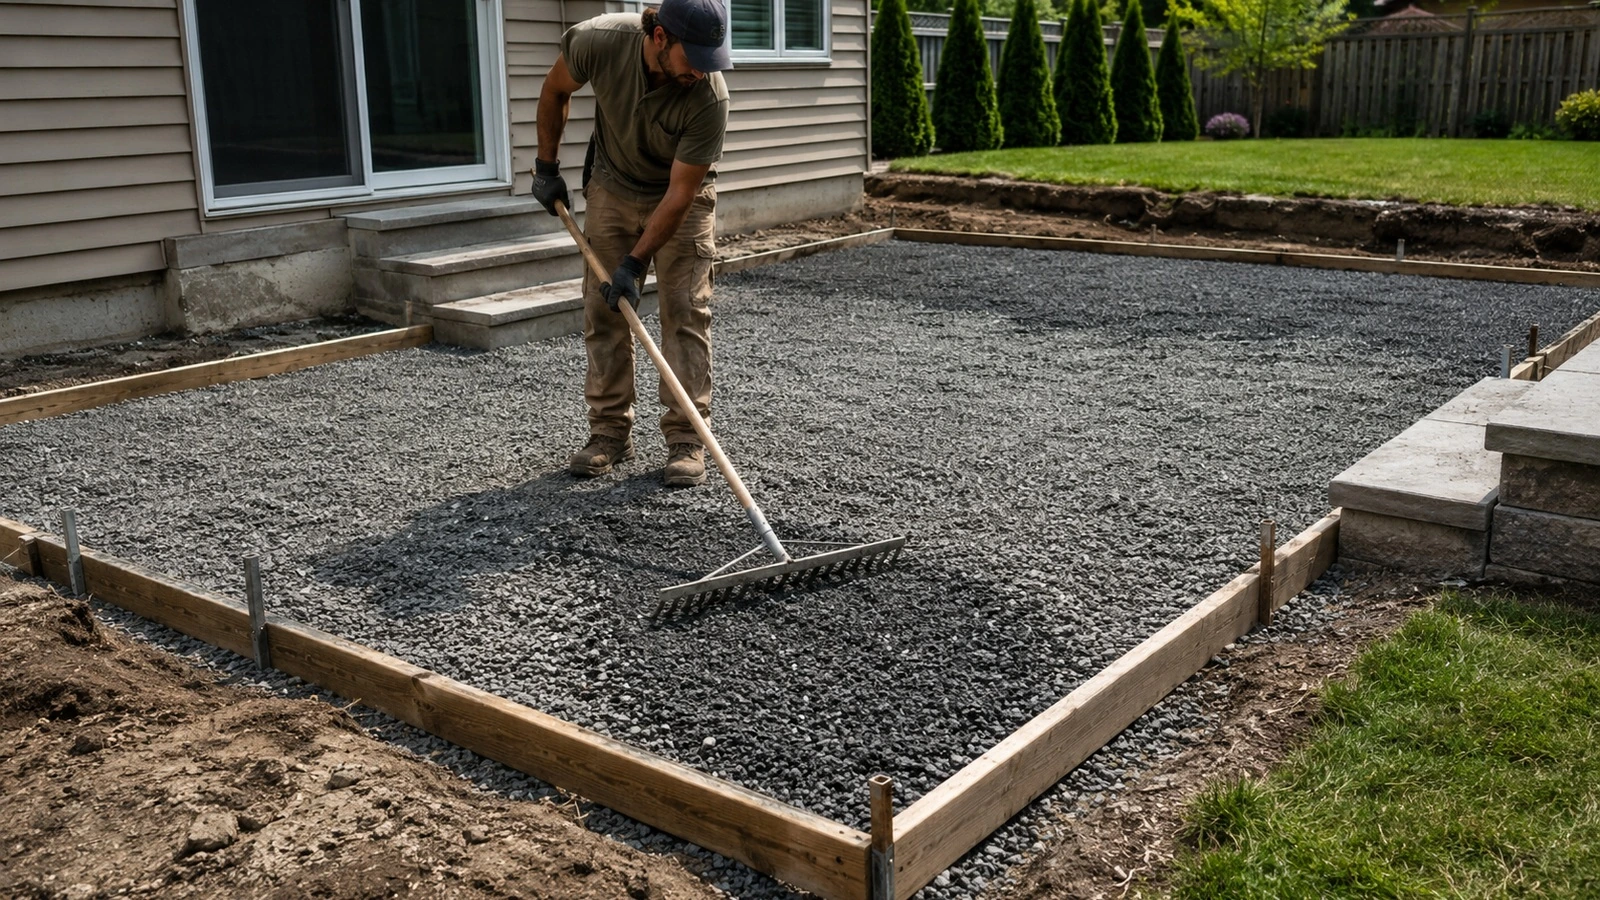
A gravel base is easy to underestimate because the finished work hides it. Once pavers, a shed, or another surface covers the stone, the base is no longer visible—but its depth, aggregate type, compaction, separation from soil, and drainage path still strongly affect how the finished project performs.
BuildListCalc’s Gravel / Paver Base Calculator is a base-prep material takeoff for rectangular paver-base footprints, gravel pads, and gravel driveways. It estimates compacted base gravel, optional separator fabric, and—when paver mode is selected—bedding sand and base extension. It does not replace a site-specific pavement section, geotechnical review, drainage design, excavation plan, or applicable local requirements.
1. Start by deciding which base system you are actually building
“Gravel” is not one material and “six inches of stone” is not one assembly.
The current BuildListCalc tool distinguishes three planning choices:
- Angular road base / dense-graded aggregate — the calculator’s primary compacted structural-base path;
- #57 stone — a cleaner, more open-graded aggregate that drains better and converts at a lower planning density;
- Pea gravel — treated by the calculator as a light foot-traffic surface, not the default compacted structural base.
That distinction is consistent with current industry installation guidance. Unilock’s patio guide describes a traditional base using minus road-base gravel with sand bedding and a separate permeable path using ASTM No. 57 with open-graded bedding. Belgard likewise describes dense-graded aggregate plus a sand setting bed as the traditional interlocking-paver system while providing a separate technical note for open-graded aggregate systems.
Do not swap one aggregate for another only because the supplier calls both products “gravel.” The gradation and intended system matter.
2. Call 811 before excavation
A base project usually begins with excavation, which means utility location comes before material quantity.
The national 811 service says anyone planning to dig should contact 811 or the state 811 center a few business days before digging, wait for the required utility responses, confirm that all affected utilities have responded, and dig carefully around marked lines.
This matters even for shallow work: 811 notes that some buried utility lines may be only a few inches below grade. A material calculator cannot identify buried utilities or tell you whether the marked corridor requires a footprint change.
Do the locate first. If a utility conflict changes the footprint, update the calculator after the layout changes—not before.
3. Work backward from finished elevation
Do not confuse base thickness with excavation depth.
For a paver project, the excavation must make room for the entire planned stack: compacted base, bedding layer, paver thickness, and any elevation allowance needed to reach the intended finished grade. A gravel-only shed pad or driveway may have a different top layer and therefore a different excavation calculation.
BuildListCalc currently uses 6 in compacted base as a common residential starting input, but the page explicitly warns that weak soils and vehicle loads often require more build-up. That is the correct boundary: six inches can be a planning starting point, not a universal residential requirement.
Before ordering aggregate, confirm:
- finished surface elevation;
- total compacted base depth;
- top-surface or paver thickness;
- bedding thickness when applicable;
- drainage direction;
- soil or frost conditions that could change the section.
4. Dense-graded road base and #57 stone are different systems
Dense-graded road base is the base type BuildListCalc assumes for its primary paver-base quantity path, and the calculator describes angular road base as the option that compacts most tightly for structural pads.
Open-graded #57 stone contains relatively little fine material and intentionally leaves more void space than a dense-graded base. Belgard’s open-graded technical note identifies ASTM No. 57 or similar gradation as an open-graded base option and explains that open-graded systems may use different thicknesses, geotextile details, bedding materials, and drainage provisions than dense-graded systems.
That means a project designed around dense-graded road base should not be converted to #57 simply by ordering the same depth. Belgard’s technical note even shows that its open-graded design can require a thicker aggregate layer for comparable structural capacity, with the exact section still dependent on site conditions.
For a DIY takeoff, select the system first. Then calculate the material for that system.
5. Prepare the subgrade before placing aggregate
The base can only perform as well as the soil supporting it.
After excavation, address loose or obviously unstable subsoil before building up stone. Unilock’s current patio guide recommends consolidating the loosened subsoil surface before placing the base system. Belgard’s open-graded guidance similarly starts with prepared, stable subgrade and notes that weak or yielding soil may need measures beyond simple geotextile.
This is an important limit in the BuildListCalc calculator: soil remediation, underdrains, and subgrade proof-rolling are outside the simple BOM.
A roll of fabric is not a cure for unstable soil. If the subgrade is visibly weak, yielding, repeatedly saturated, or otherwise outside the stable condition assumed by the selected detail, stop treating the problem as a quantity-only exercise.
6. Extend the paver base beyond the finished surface
Pavers need support near the edges, so the stone footprint can be larger than the visible paver footprint.
The current BuildListCalc paver-base example uses a 6 in base extension per side around a 12 ft × 10 ft surface. The calculator also notes that the paver-base extension rule uses the larger of the entered base thickness and a size-based minimum.
That extension changes the aggregate quantity materially because the base volume is calculated on the expanded footprint, not only the finished paver area.
This is one reason a simple “surface area × depth” estimate can under-order stone if it ignores edge support.
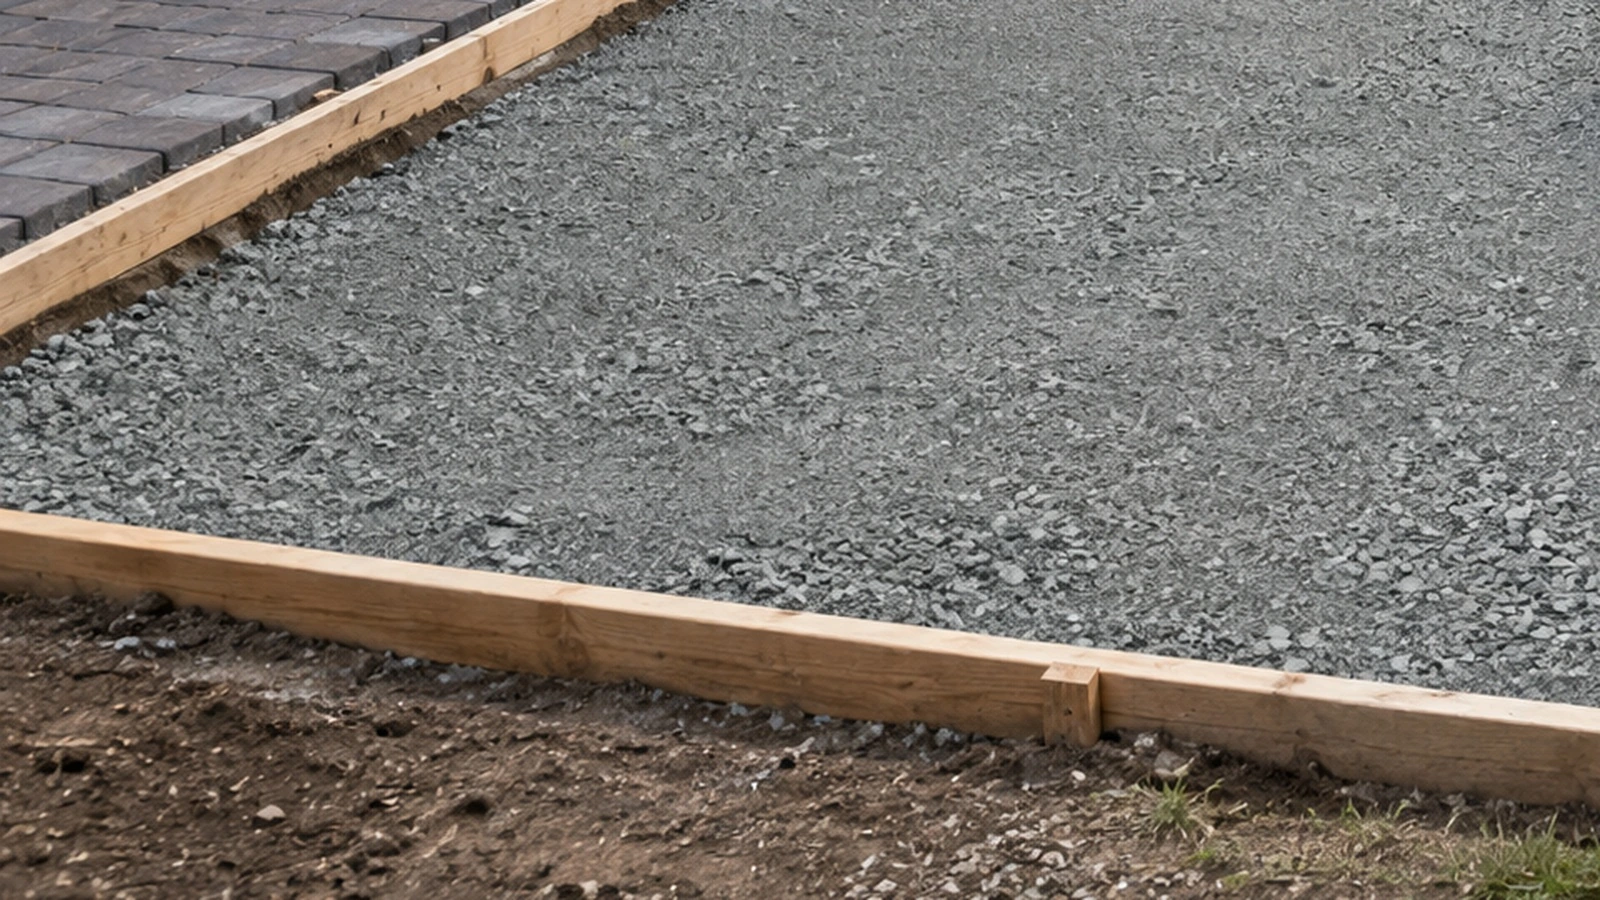
7. Compact the base in lifts, not as one deep pile
Compaction is a construction process, not a waste percentage.
For its traditional patio-base workflow, Unilock currently describes placing approximately 3 in of road-base gravel, compacting it, then placing another layer and repeating until the required base depth is reached. That is a manufacturer-specific example—not a universal lift thickness for every aggregate, machine, soil, or project—but it illustrates the main planning principle: build the compacted thickness in manageable layers rather than dumping the entire depth and expecting the surface to become uniformly dense.
Open-graded systems can use different lift thicknesses and compaction equipment. Belgard’s technical note gives a different procedure for its open-graded No. 57 system, reinforcing why lift rules should follow the selected base system and compaction equipment.
8. Bedding sand is not extra base
In paver mode, BuildListCalc keeps bedding sand separate from compacted base gravel. The current example uses a 1 in bedding-sand depth, and the material line describes it as a screeded setting layer rather than a thick leveling layer.
Unilock’s current patio guide likewise uses a nominal 1 in bedding course for its traditional sand-set workflow. The guide warns against treating inappropriate fine materials as a substitute for the specified bedding course.
The practical takeaway is simple: if the compacted base is low, uneven, or soft, do not fix the problem by adding several inches of loose bedding sand. Correct the base first, then screed the bedding layer intended for the selected paver system.
9. Geotextile is a separator—not a universal soil fix
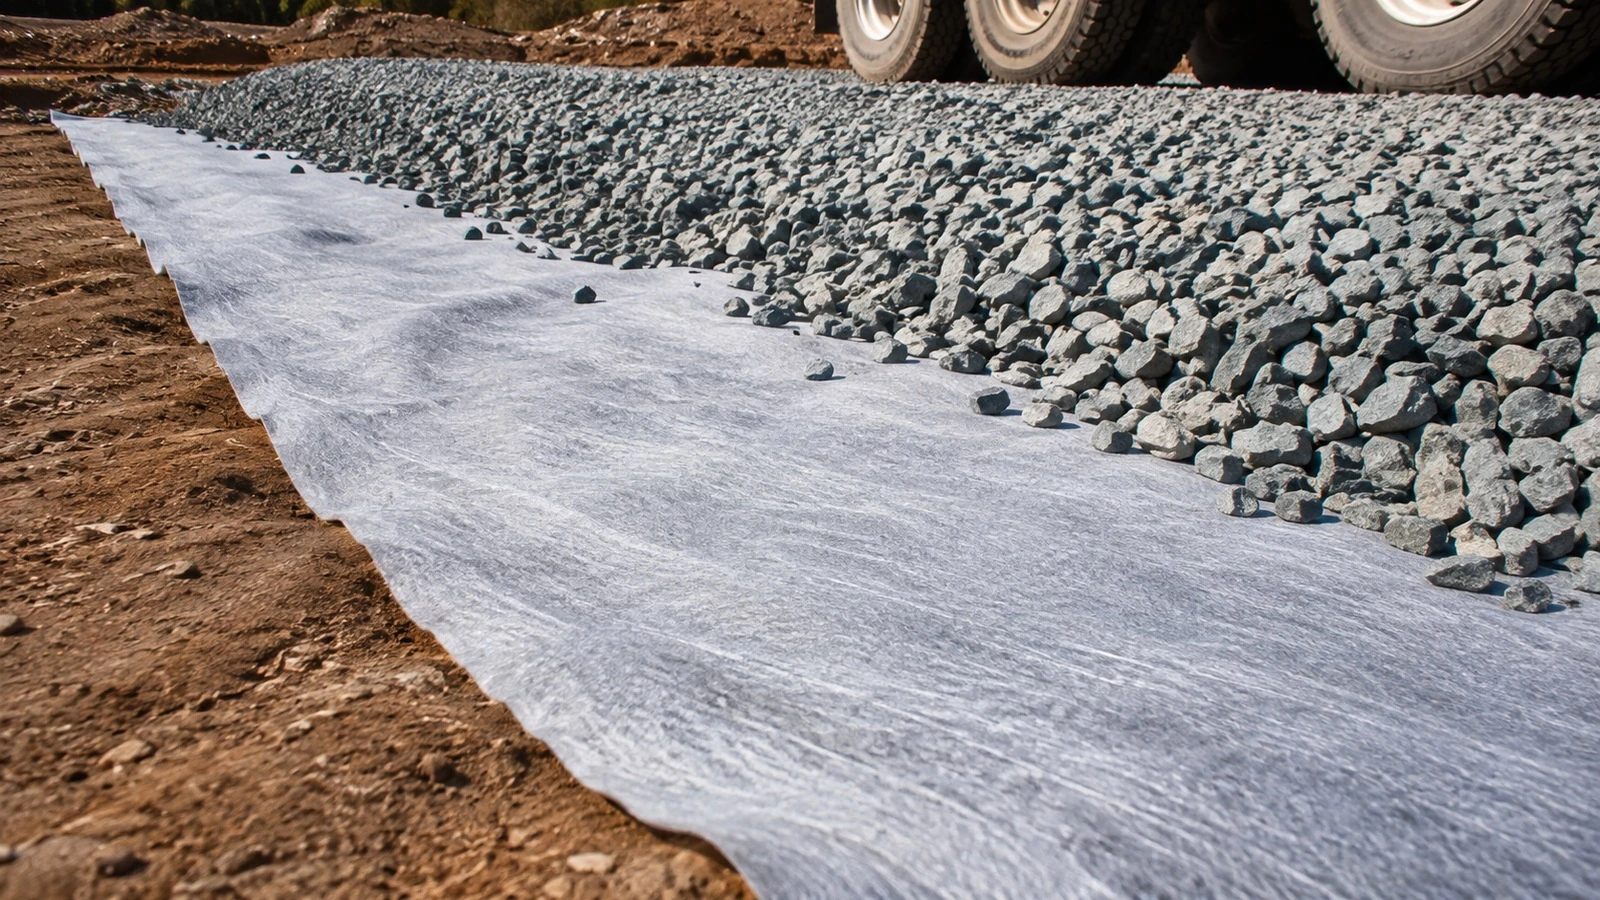
BuildListCalc models geotextile as a simple separator-fabric allowance with overlap. Its job in the takeoff is to represent a layer between soil and aggregate where the selected base detail calls for separation.
Belgard’s open-graded technical note gives one clear example: it recommends a permeable geotextile along the bottom and sides of certain open-graded systems to help prevent fine-grained soil from migrating into the stone. The same note says weak or yielding subgrade may require additional measures and that drainage conditions can justify underdrains.
So fabric is not automatically “always on” for every detail, and it does not replace drainage or soil stabilization.
10. Plan drainage before compaction locks the grade in
Once a compacted base is built, changing grade is much harder. Set the drainage direction early and carry it through the subgrade/base work.
Unilock’s current on-grade patio guide uses 1.5%–2% slope as a recommendation in its own traditional patio workflow. That number is useful as a manufacturer example, not a universal local rule for every site or surface. Final slope should still be checked against the selected surface system, the actual drainage path and outlet, site conditions, and applicable local requirements.
For open-graded systems, Belgard additionally discusses underdrains where water sources or fine-grained subgrade make saturation a concern. BuildListCalc intentionally leaves underdrains outside this simple calculator.
Do not let a base-material estimate create a false impression that drainage has been designed.
11. Recompute the current 120 sq ft example
The public calculator currently shows a paver-base example with:
- finished surface: 12 ft × 10 ft = 120 sq ft;
- compacted base: 6 in;
- base extension: 6 in per side;
- aggregate conversion: about 1.40 tons/cu yd;
- aggregate waste: 5%;
- bedding sand: 1 in;
- output: 3.89 tons base gravel, 2.78 cu yd base volume, 0.37 cu yd bedding sand, 1 geotextile roll.
The base footprint expands by one foot in each dimension because 6 in is added on both sides:
(12 + 1) ft × (10 + 1) ft = 13 ft × 11 ft = 143 sq ft
Six inches compacted is 0.5 ft:
143 × 0.5 = 71.5 cu ft
Convert to cubic yards:
71.5 ÷ 27 = 2.648 cu yd compacted geometry
Apply the visible 5% aggregate allowance:
2.648 × 1.05 = 2.780 cu yd
Convert using the calculator’s current planning density:
2.780 × 1.40 = 3.892 tons → 3.89 tons
The bedding-sand calculation stays on the finished 120 sq ft surface rather than the expanded base footprint:
120 × (1/12 ft) ÷ 27 = 0.370 cu yd → 0.37 cu yd
Those calculations reproduce the current public example. The 1.40 tons/cu yd value is a calculator planning conversion, not a promise that your local aggregate has exactly that density. Confirm the supplier’s material and ordering unit.
12. Read quantity type before calling the quarry
In the current BuildListCalc material list:
- compacted base gravel is shown as an installed/coverage quantity in tons;
- bedding sand is shown as an installed/coverage quantity in cubic yards;
- geotextile is shown as a purchase quantity in rolls.
The page also reports a bagged equivalent alongside the bulk figures, which is a quick way to see whether a small pad is realistically a bagged-material job or a delivered-bulk job. Bulk aggregate suppliers may sell by ton, cubic yard, or truckload. The calculator itself tells users to verify local aggregate density and supplier packaging before ordering. Once the supplier provides a material-specific density or sales unit, use that basis rather than converting repeatedly with a generic internet density.
Use the calculator to establish the geometry and planning quantity; use the supplier to close the order.
13. A practical build-planning sequence
- Confirm the project mode. Paver base, shed/gravel pad, and driveway are not identical systems.
- Contact 811 before digging. Resolve buried-utility conflicts before locking the footprint.
- Set finished elevation and drainage direction. Work backward to excavation depth.
- Review the subgrade. Do not bury soft or saturated problems under new aggregate.
- Choose the base system. Dense-graded road base and open-graded #57 are not interchangeable by name alone.
- Enter the real dimensions and compacted depth. Include the paver-base extension when applicable.
- Add separator fabric only when the selected detail calls for it. Fabric does not replace stabilization or underdrains.
- Place and compact in appropriate lifts. Follow the aggregate/system and equipment guidance.
- Correct the compacted base before bedding. Do not use loose sand as a deep leveling layer.
- Reconcile the BuildListCalc output with the supplier. Confirm the material, density or conversion basis, sales unit, delivery constraints, and site access.
Final idea
A well-planned gravel base is not “a hole filled with stone.” It is a sequence: locate utilities, establish grade, prepare the soil, choose the correct aggregate system, build compacted thickness in controlled layers, separate materials where appropriate, preserve drainage, and only then place the bedding or finished surface. Use the Gravel / Paver Base Calculator to turn the geometry into a transparent material takeoff—but keep soil, drainage, compaction method, and system-specific installation decisions visible rather than hiding them behind one tonnage number.
Related tool: Gravel / Paver Base Calculator
Sources
- BuildListCalc, Gravel / Paver Base Calculator. Accessed August 26, 2026.
- Common Ground Alliance / 811, Before You Dig. Accessed August 26, 2026.
- Unilock, Installation Guide: How to Install a Deck Paver Patio. Accessed August 26, 2026.
- Belgard, Using Open-Graded Aggregate Base with Belgard Interlocking Concrete Pavers. Accessed August 26, 2026.